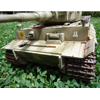
Here you see the factory travel lock, it looks nice but it doesn't move.

Remove the upper hull and look on the inside of the front and you'll find 2 pins that go through the hull that are part of the travel lock and they're crazy glued in. I drilled the pins out so the factory travel lock could then be removed. Note the lower "hinged" parts, I used the factory ones I simple cut the travel lock free of the hinge parts that mount to the deck.

Once removed and set next to the new one from Christian, you can also see where I cut the original towards the bottom.

I then cut and filed down the left over piece from the hinge leaving just the portion that would attach to the tank then I test fit it.

Here it is raised still in test fitting. Note green squadron putty used to fill the pins holes also while I was at it I removed and puttied over the red LED that's to the left of the main cannon.

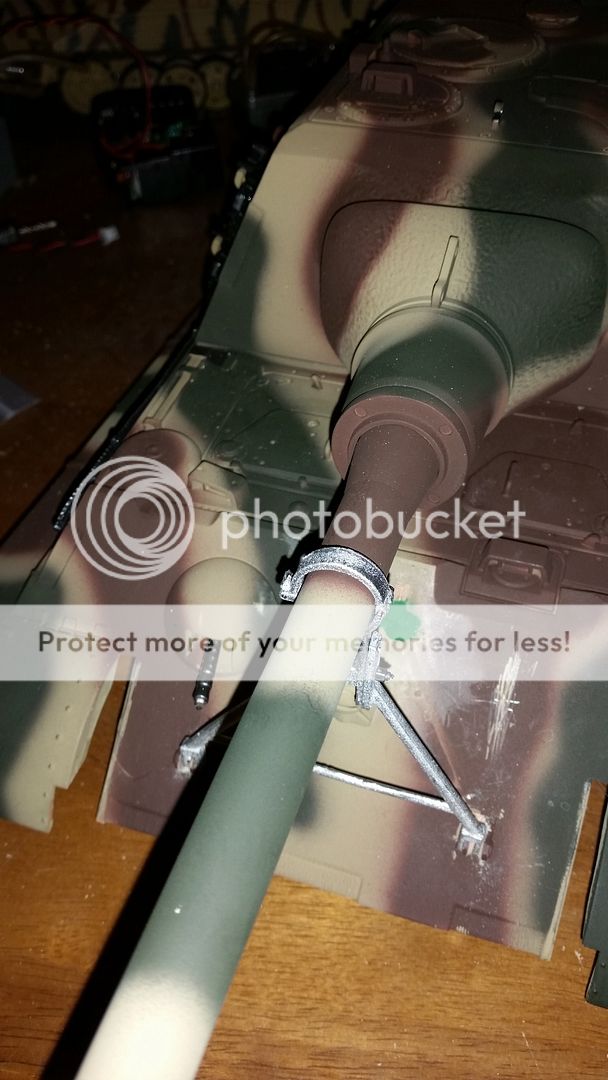

Here's the finished product! I also sanded down the fake old bolts and drilled out the deck hinge parts for a screw and nut. Also added the tiny brass parts for the travel lock, sadly I lost 1 of the tiny nuts for the brass bits so I just added a tiny drop of crazy glue to help hold it all together. I plan to use the insulation off of a wire to make a replacement "nut" for it. The crazy glue holds it all together perfectly the insulation will just be for cosmetics. Also need a couple more coats of paint to darken up the repaired area.


And yes it does go up and down and folds away juuuuuust like the real thing would! If anyone needs/wants more pics please just let me know, or if you have any questions please feel free.
Next time I'll be replacing the factory plastic mud flaps
Till the mud flaps arrive...