TORRO Sturmtiger build
Posted: Fri Oct 11, 2019 10:57 am
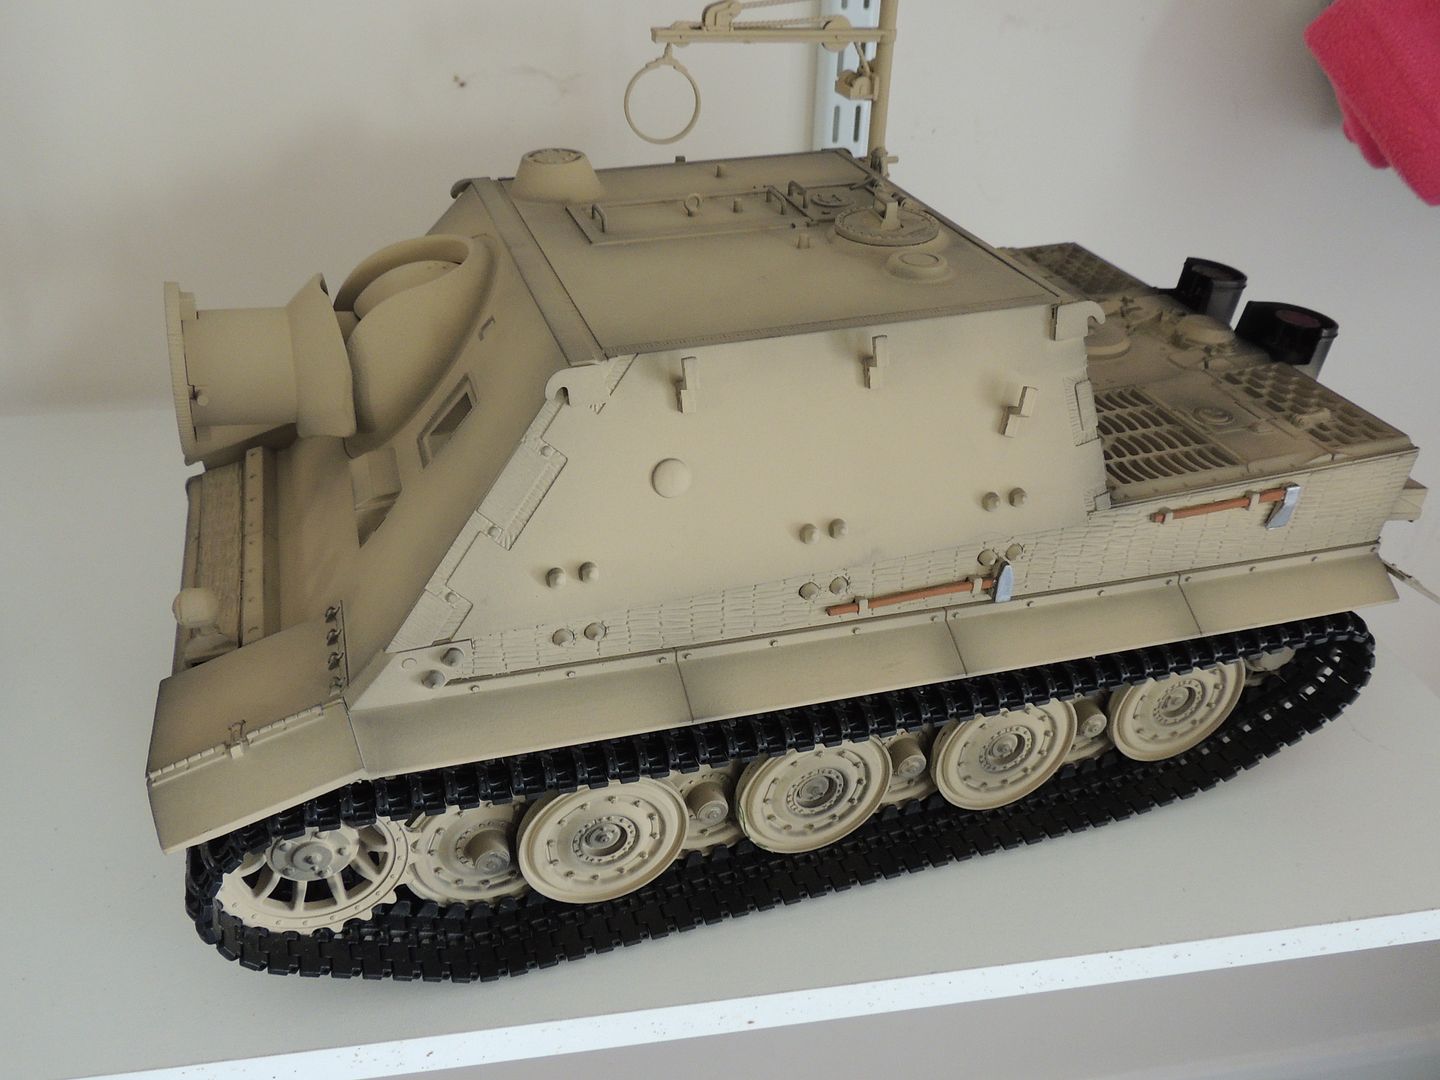
This is my sturmtiger I am modifying it from the standard kit with bits i can make from scratch or 3d print I will buy some parts for it that are to fiddly to make.
I would like to say this is not a build to please all the rivet counters out there and if i get things wrong thats the way it will stay hope that dosent offend anyone its just something to do when im not fixing my motorbike
But if there is any advice about what i am doing I would be more than happy to take it as its a bit of a learning curve for me.
So here is my starting point.
The first things to be changed were the gearboxes and drive sprockets
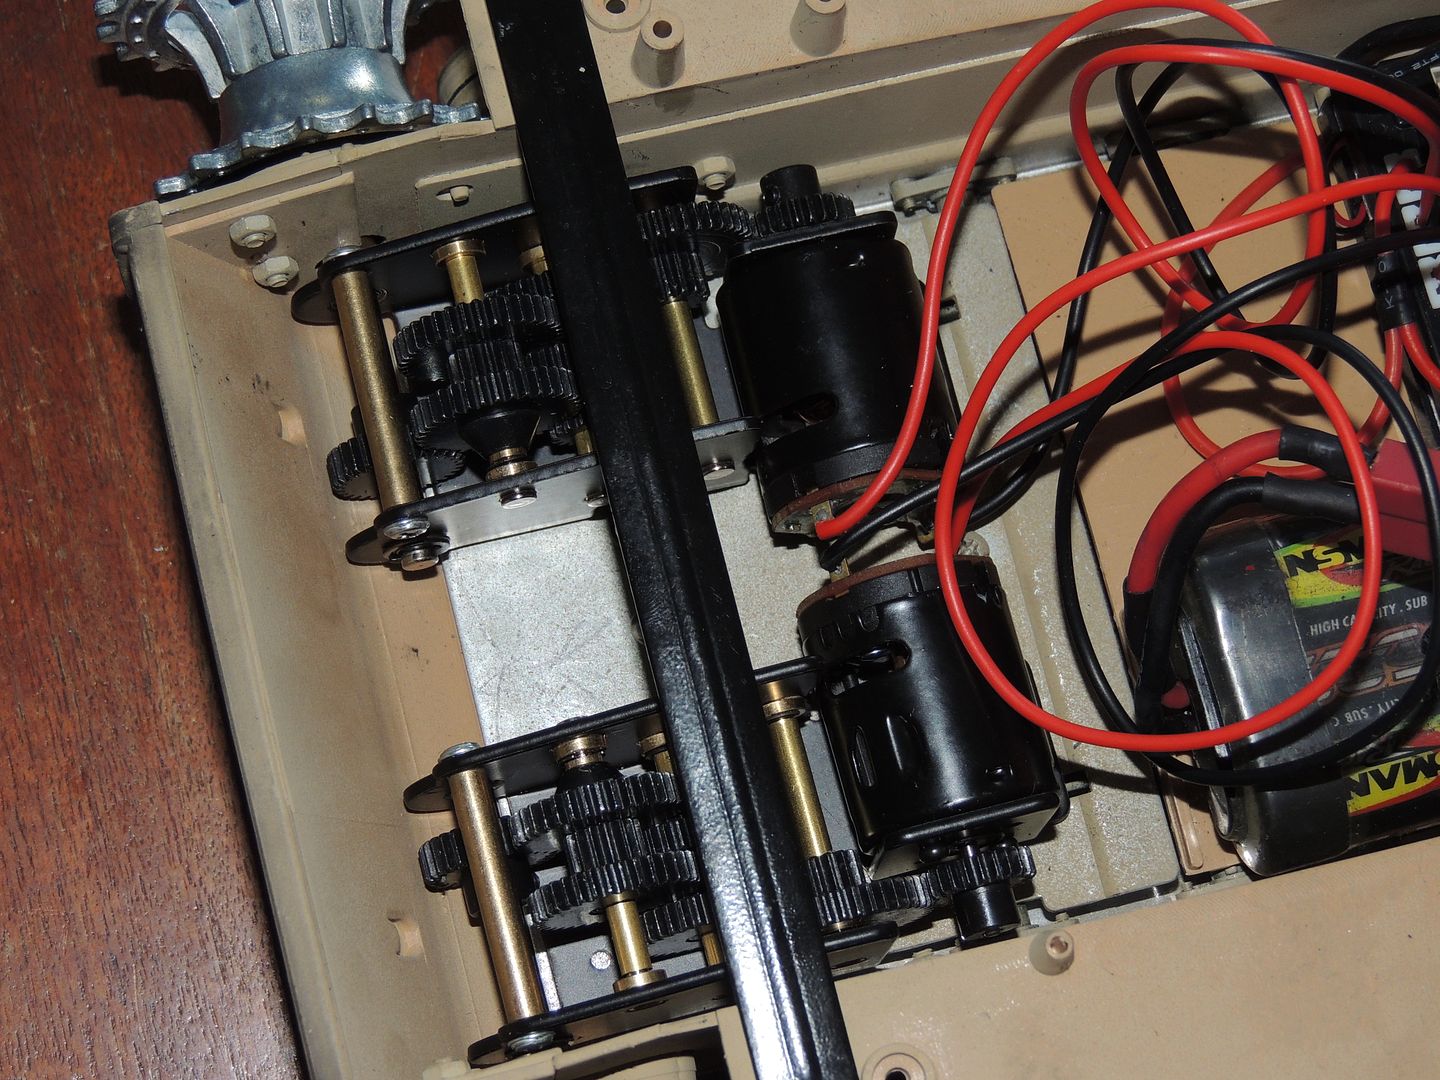

I will replace the road wheels and track eventually.
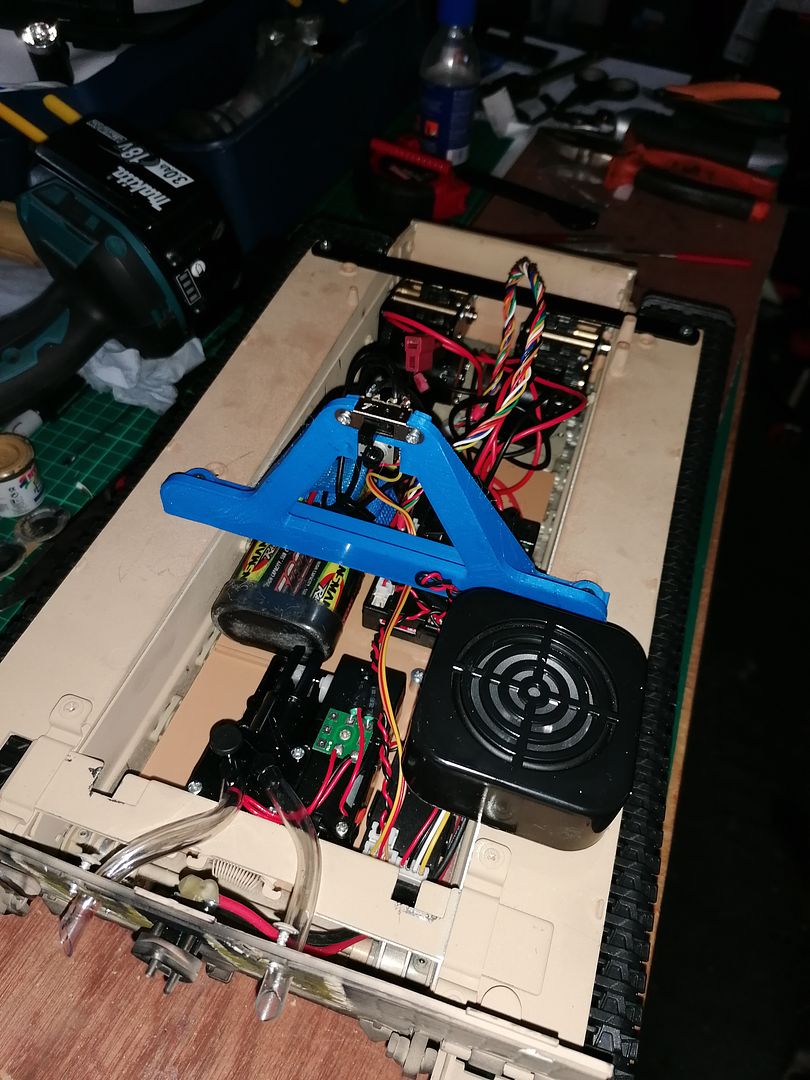
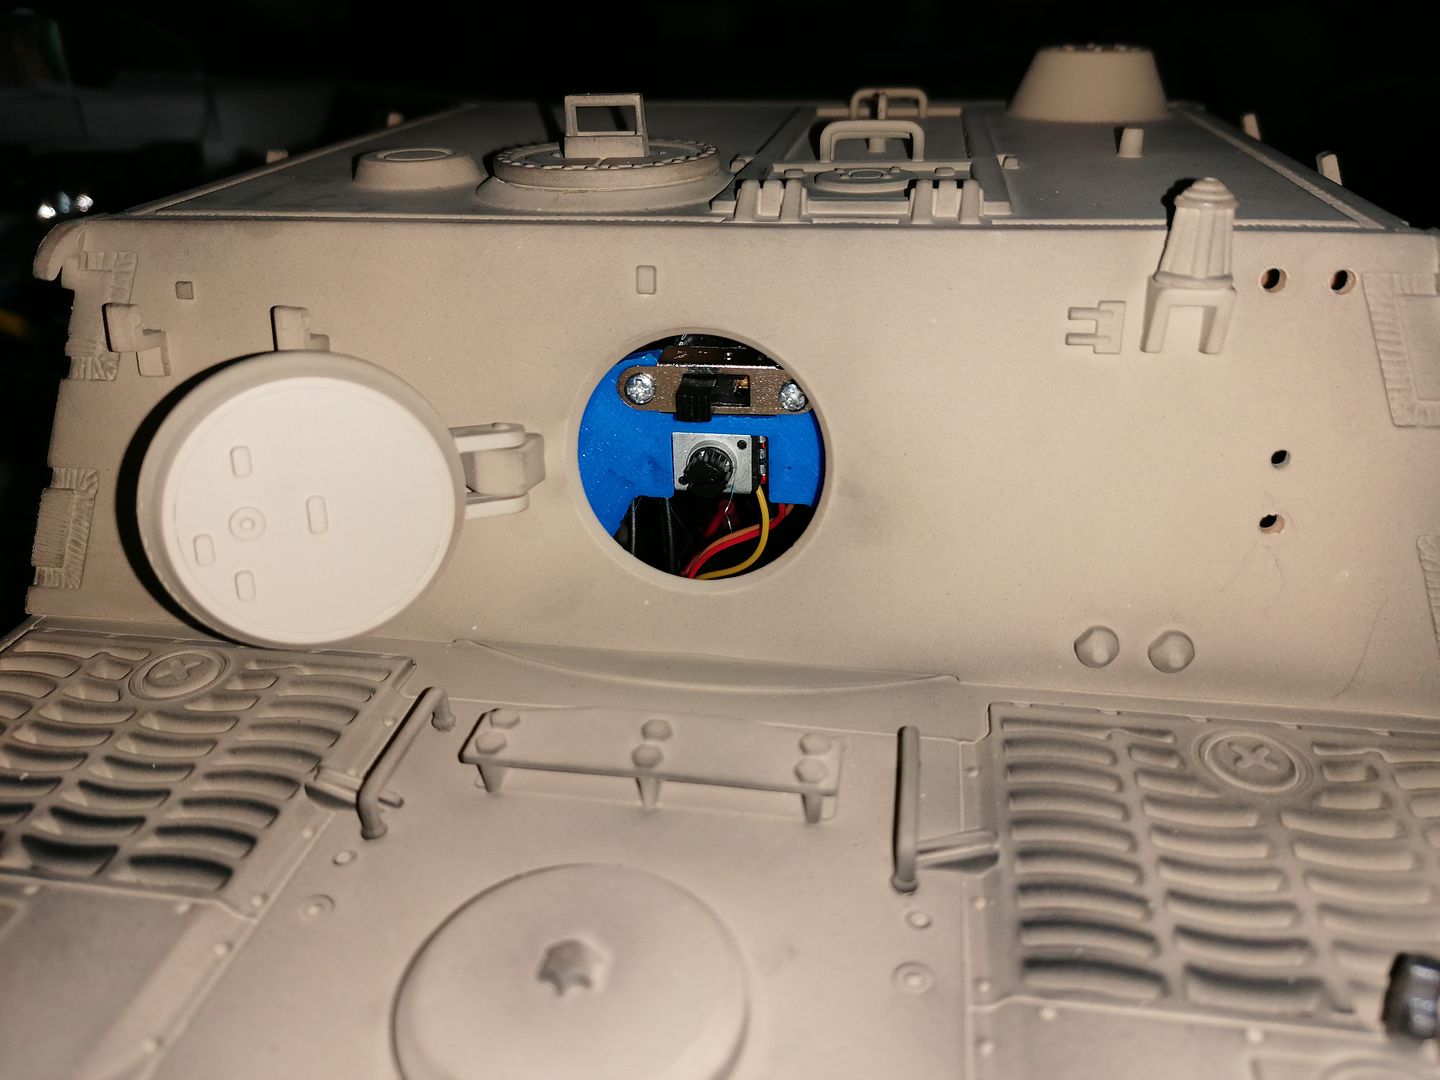
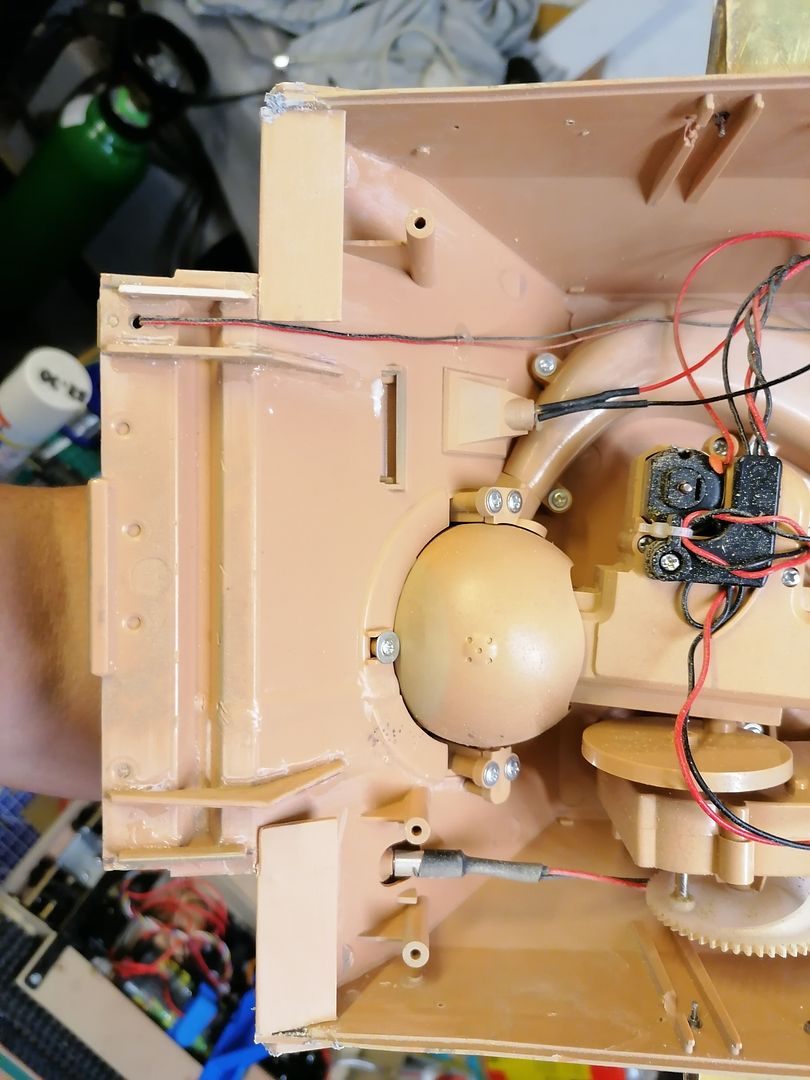
The switch bracket in the tank was absolute pants so made my own on the 3d printer now the switches line up with the hatch.
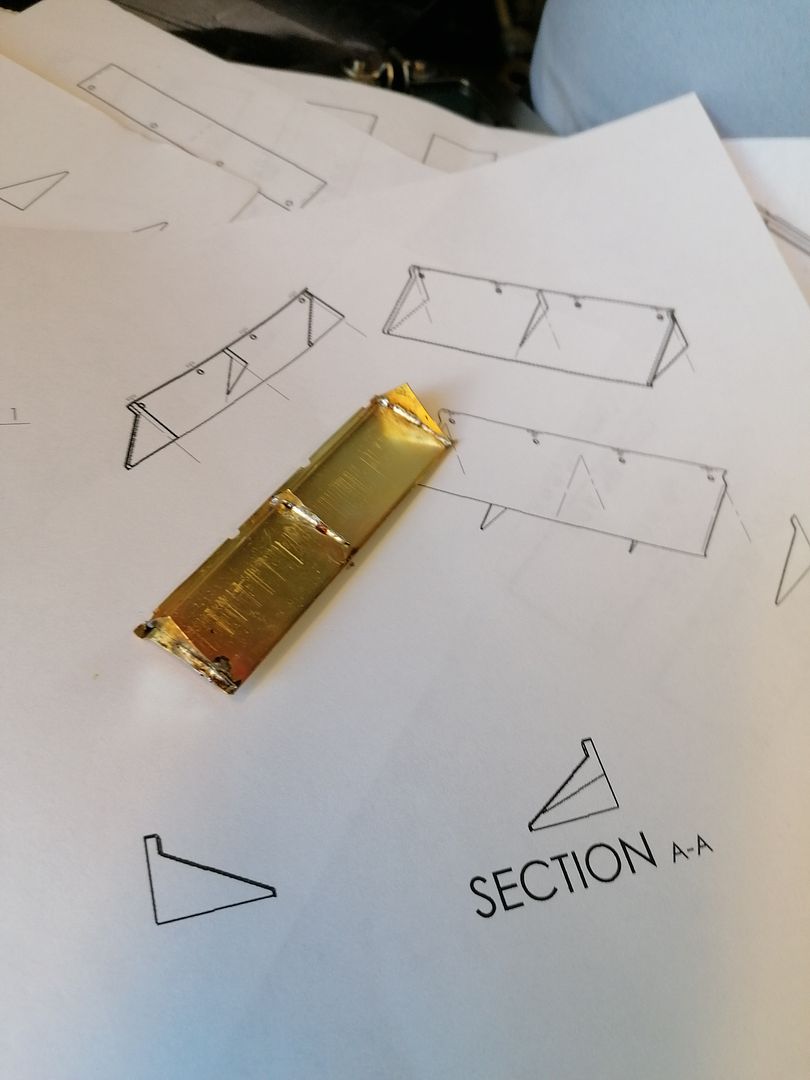
Now it time to get serious with it and break out the cutting tools but first after some measuring and tinkering on the computer I made some virtual side mudguards.
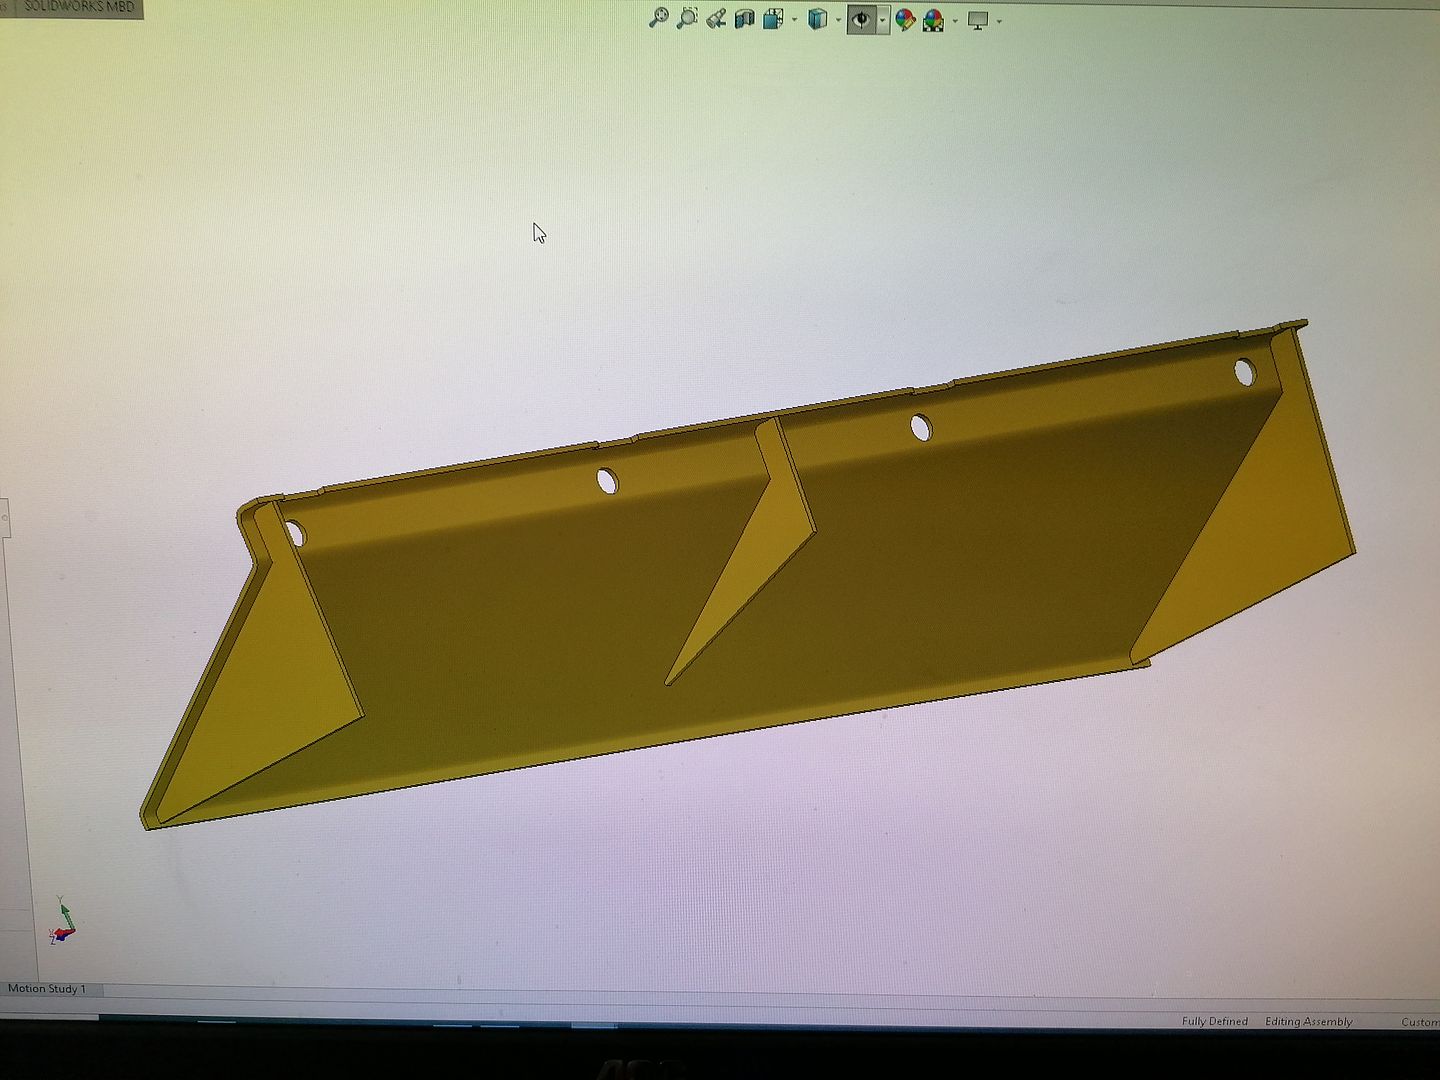
Which allowed me to make some 1;1 drawings
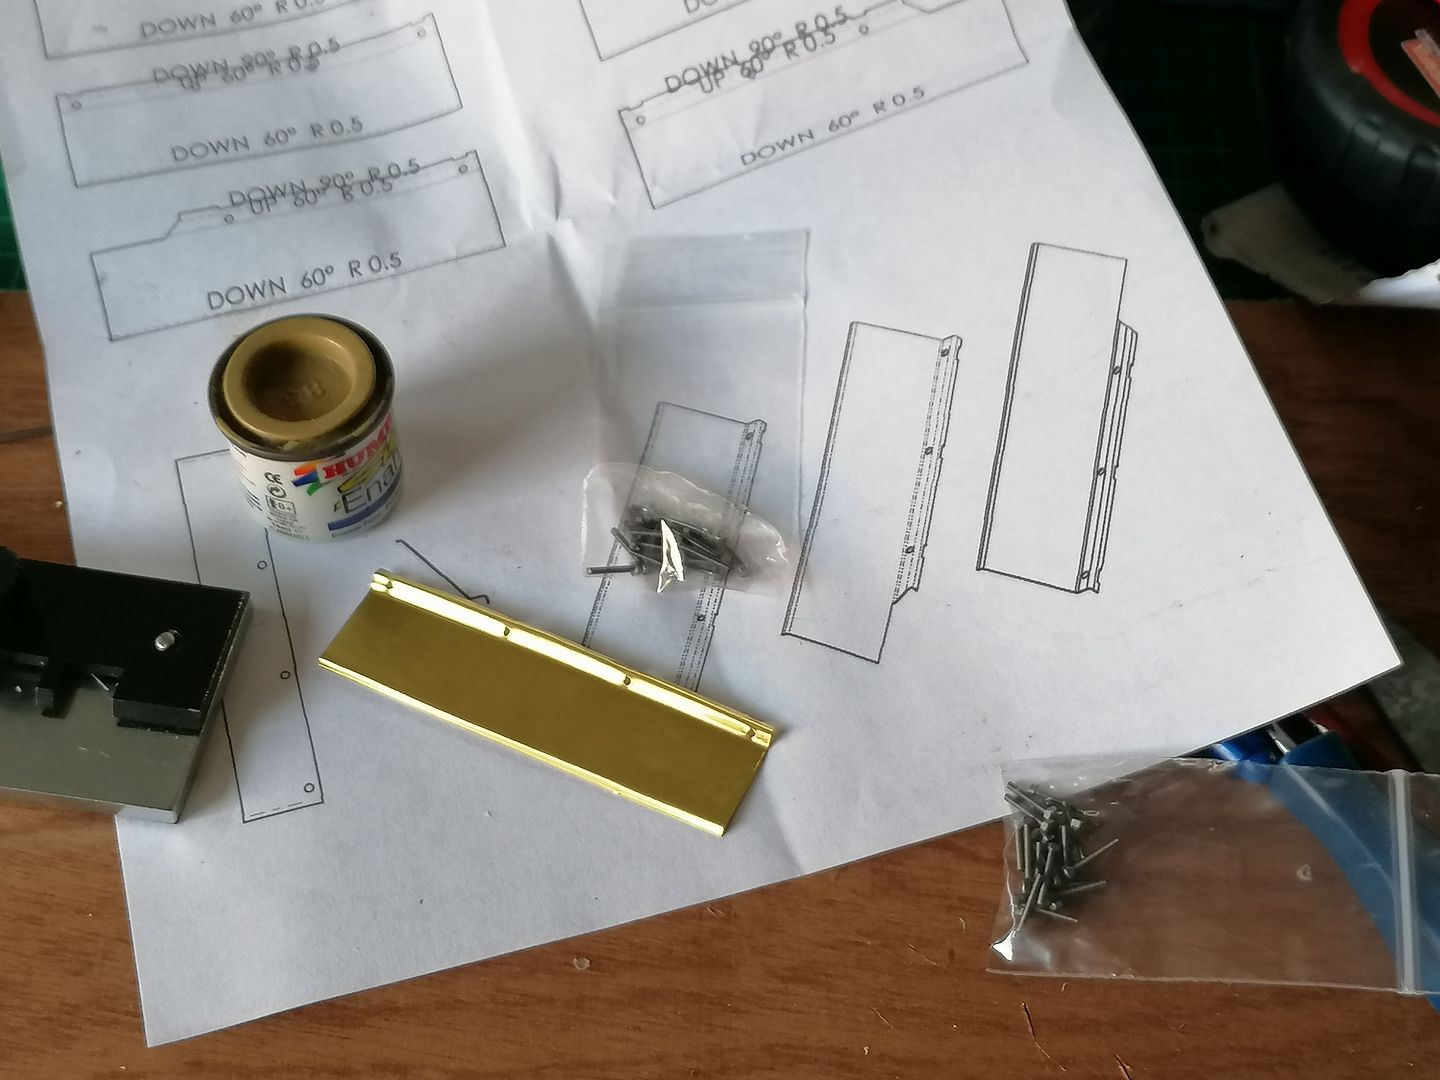
With some .25 brass sheet and the kitchen scissors they take shape
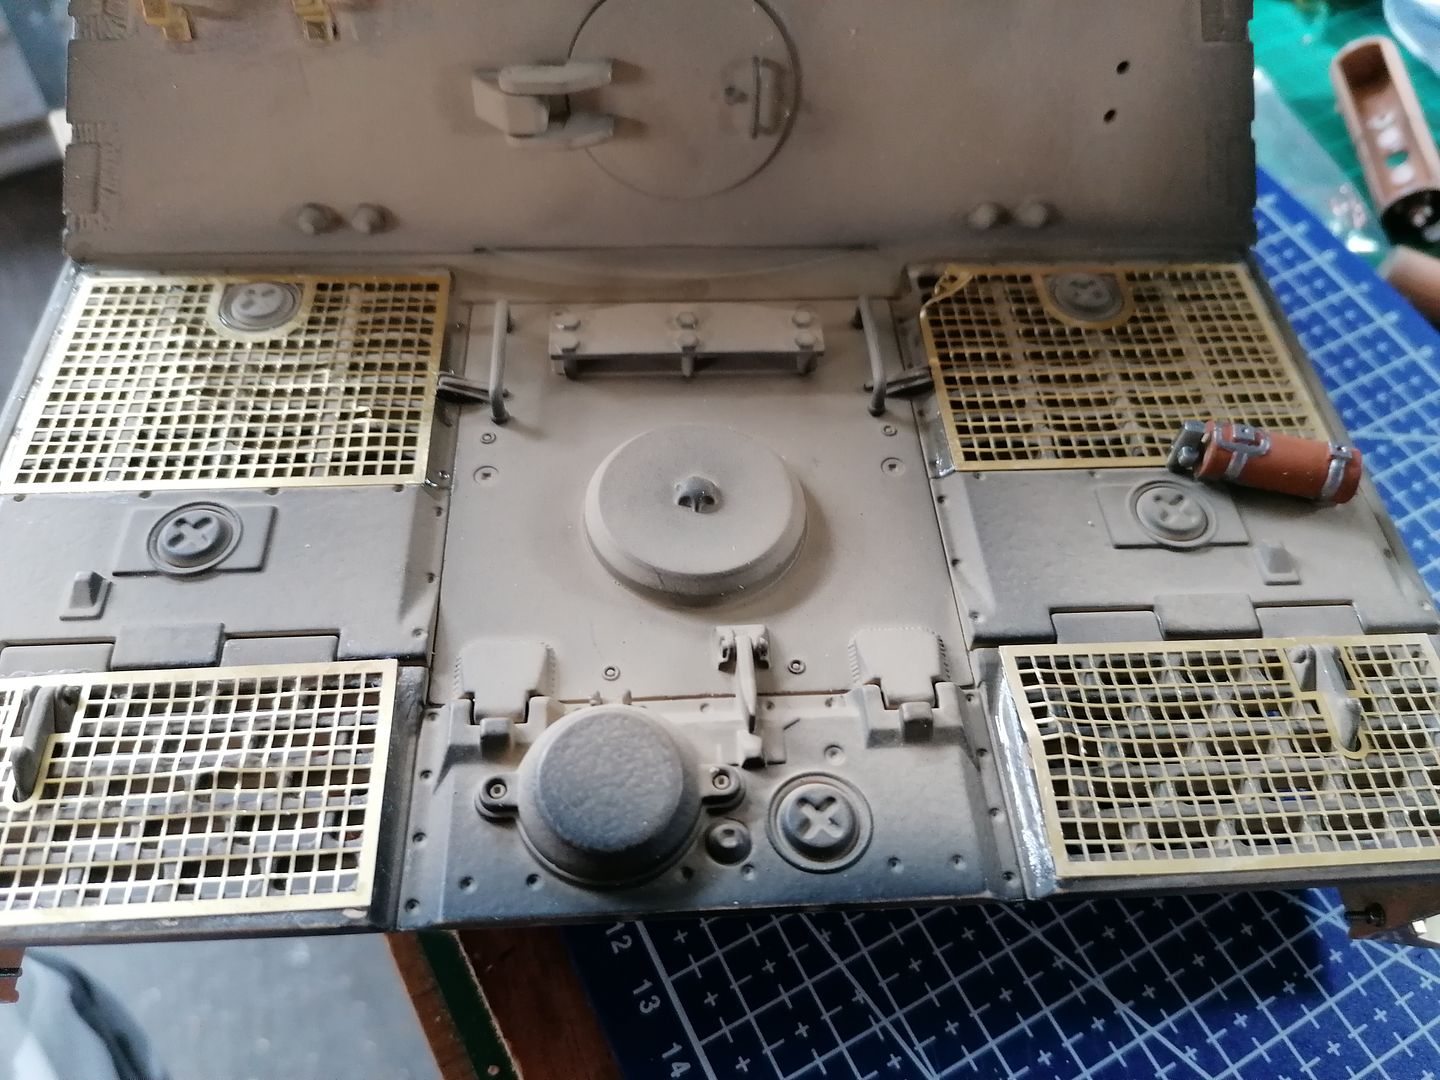
Here they are fitted with 12ba bolts and i think they look good not exactly factory fresh but thats not a bad thing I also fitted some Taigon etched grill covers as I wasn't going to file out all those holes
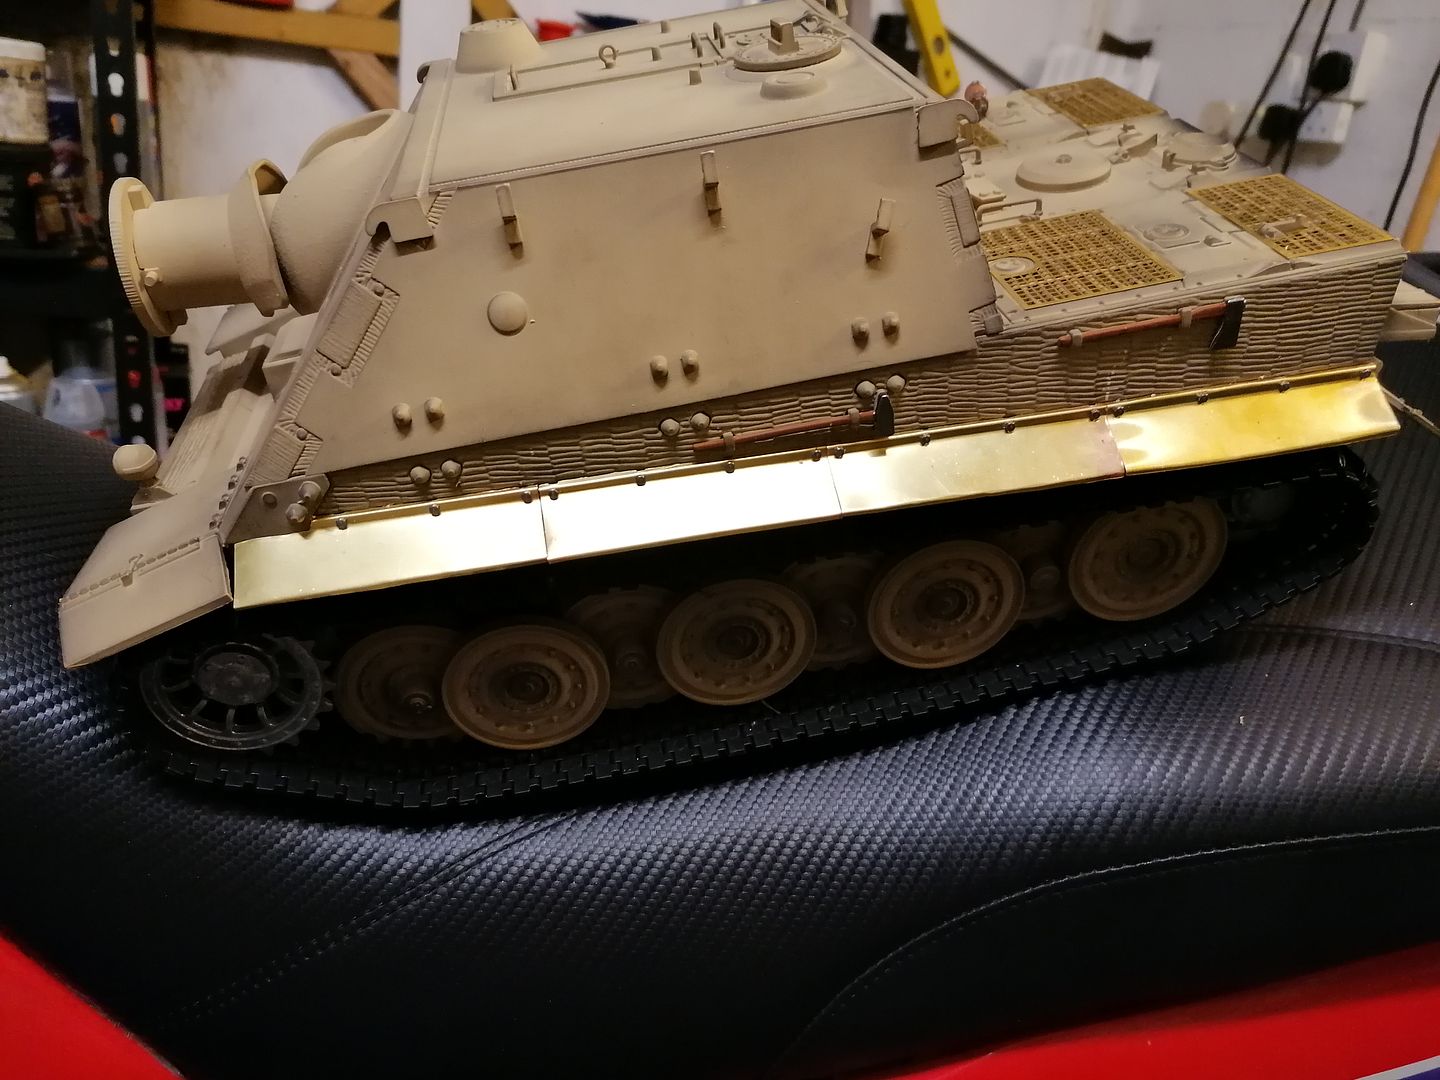
I beat the covers about a bit to look trampled on
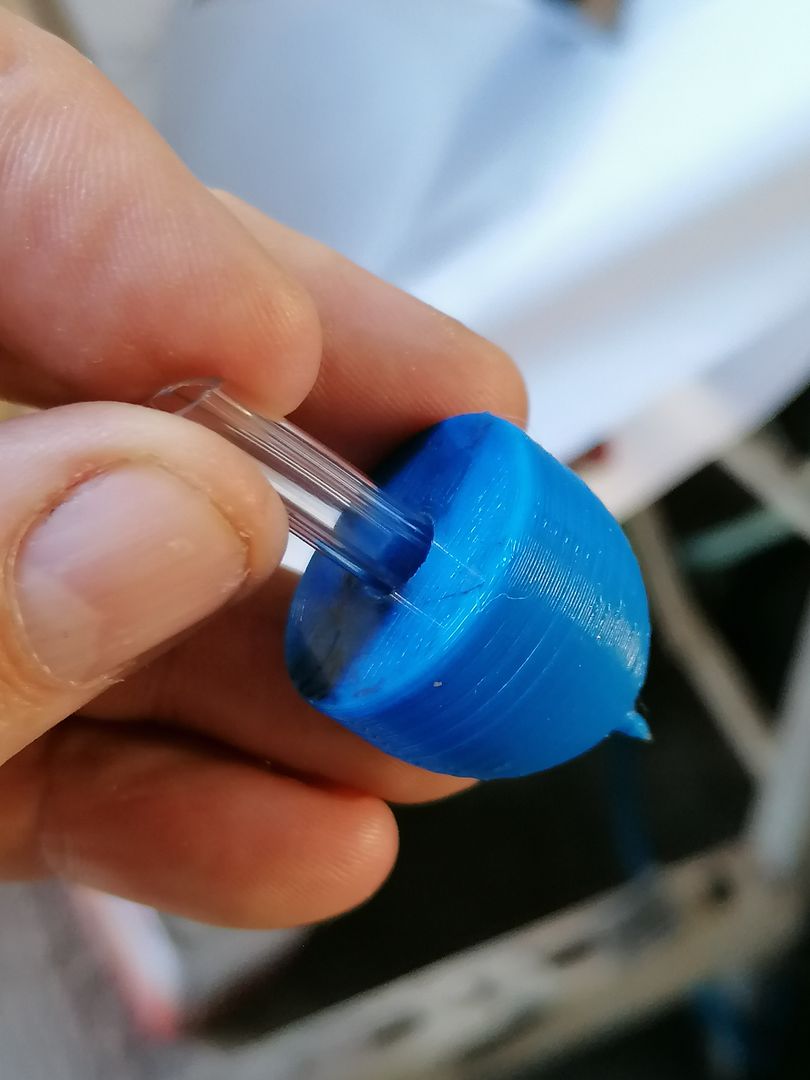
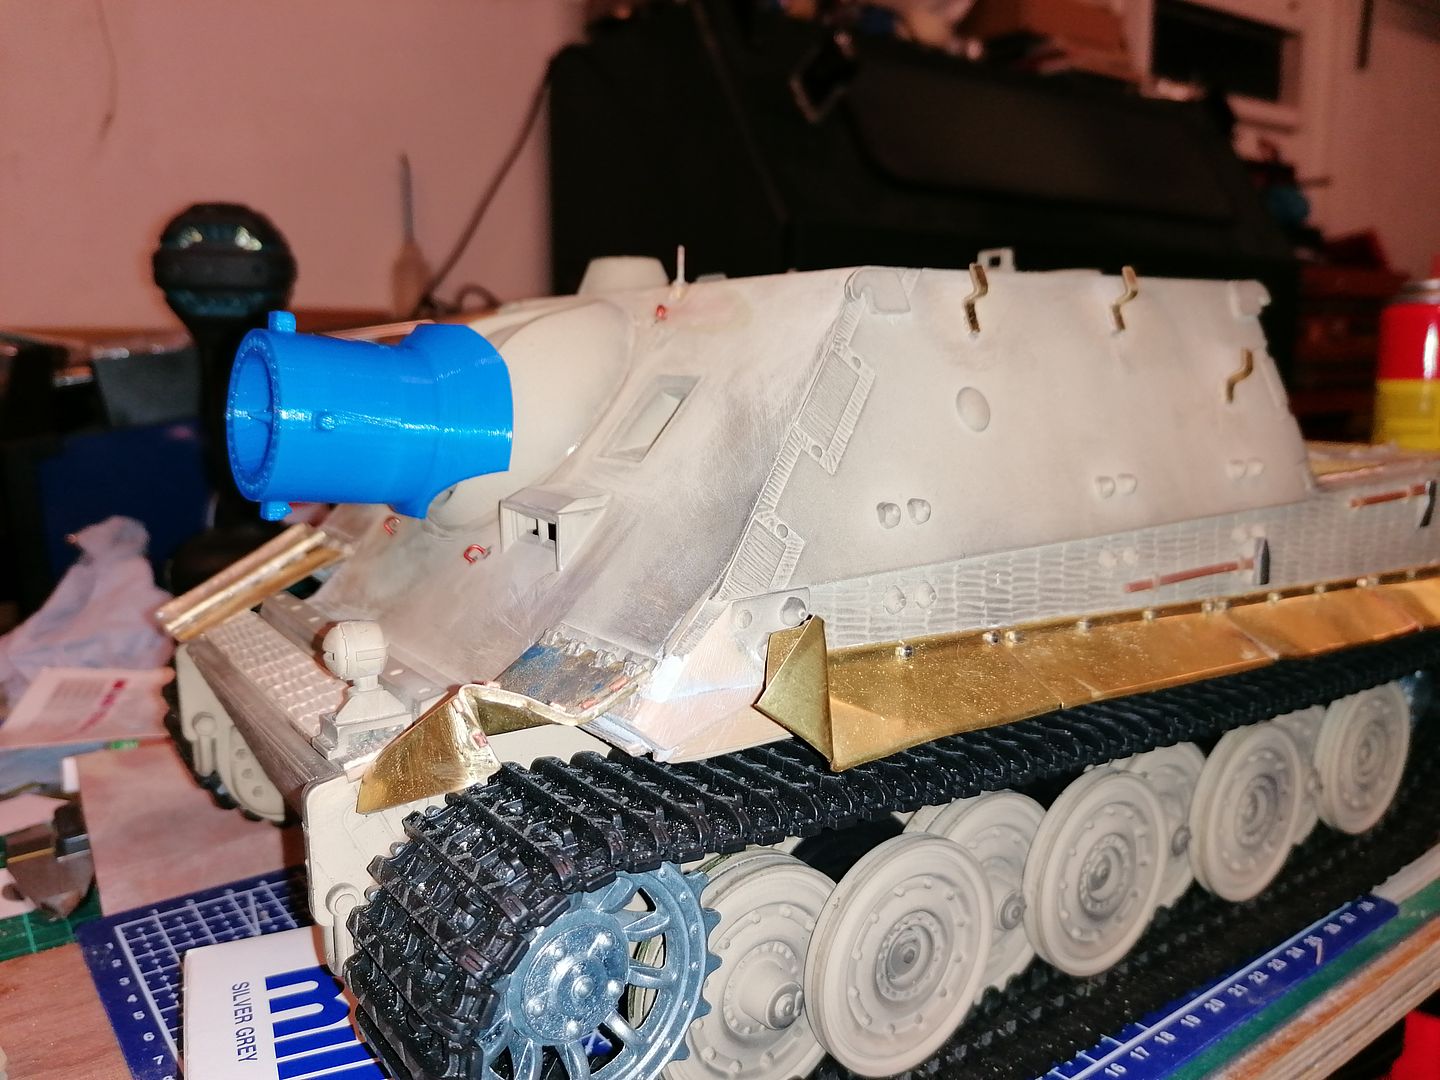
Now to do the front ones just cutting them off left a massive gap the blue parts are an attempt to put a rifled liner in the barrel with a dummy projectile in there also but it makes the barrel liner look too thick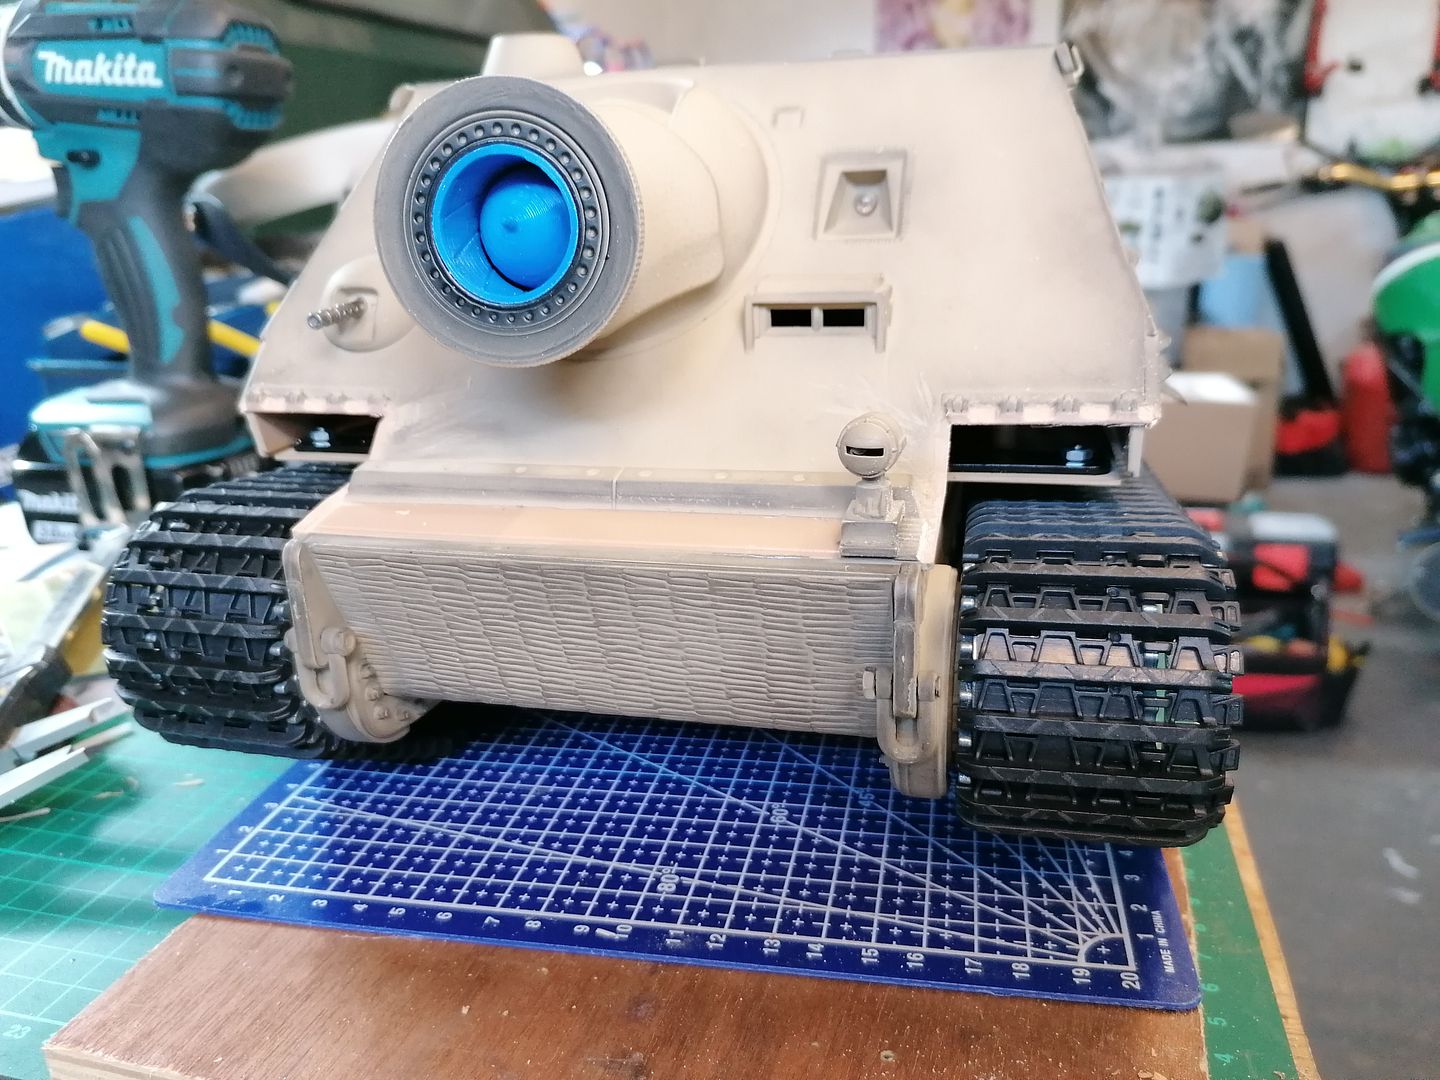
The projectile is simply held in place with a piece of tube shoved down the barrel of the BB gun
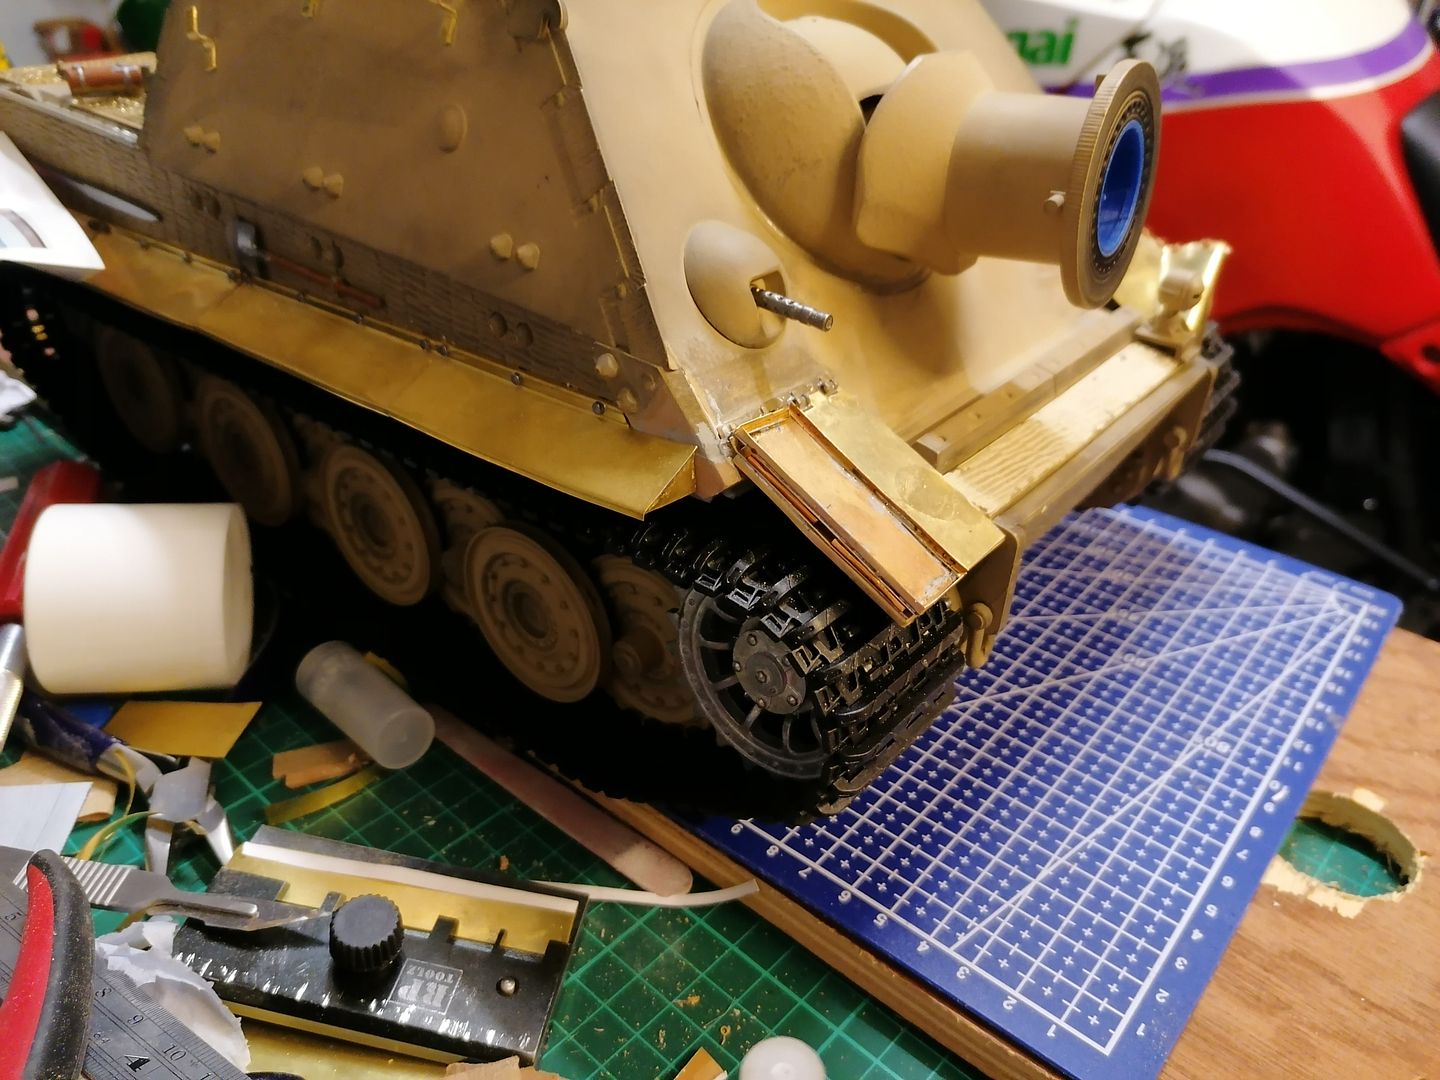
The gaps were filled in with parts of the side mudguards cut off previously to recreate the front hull shape
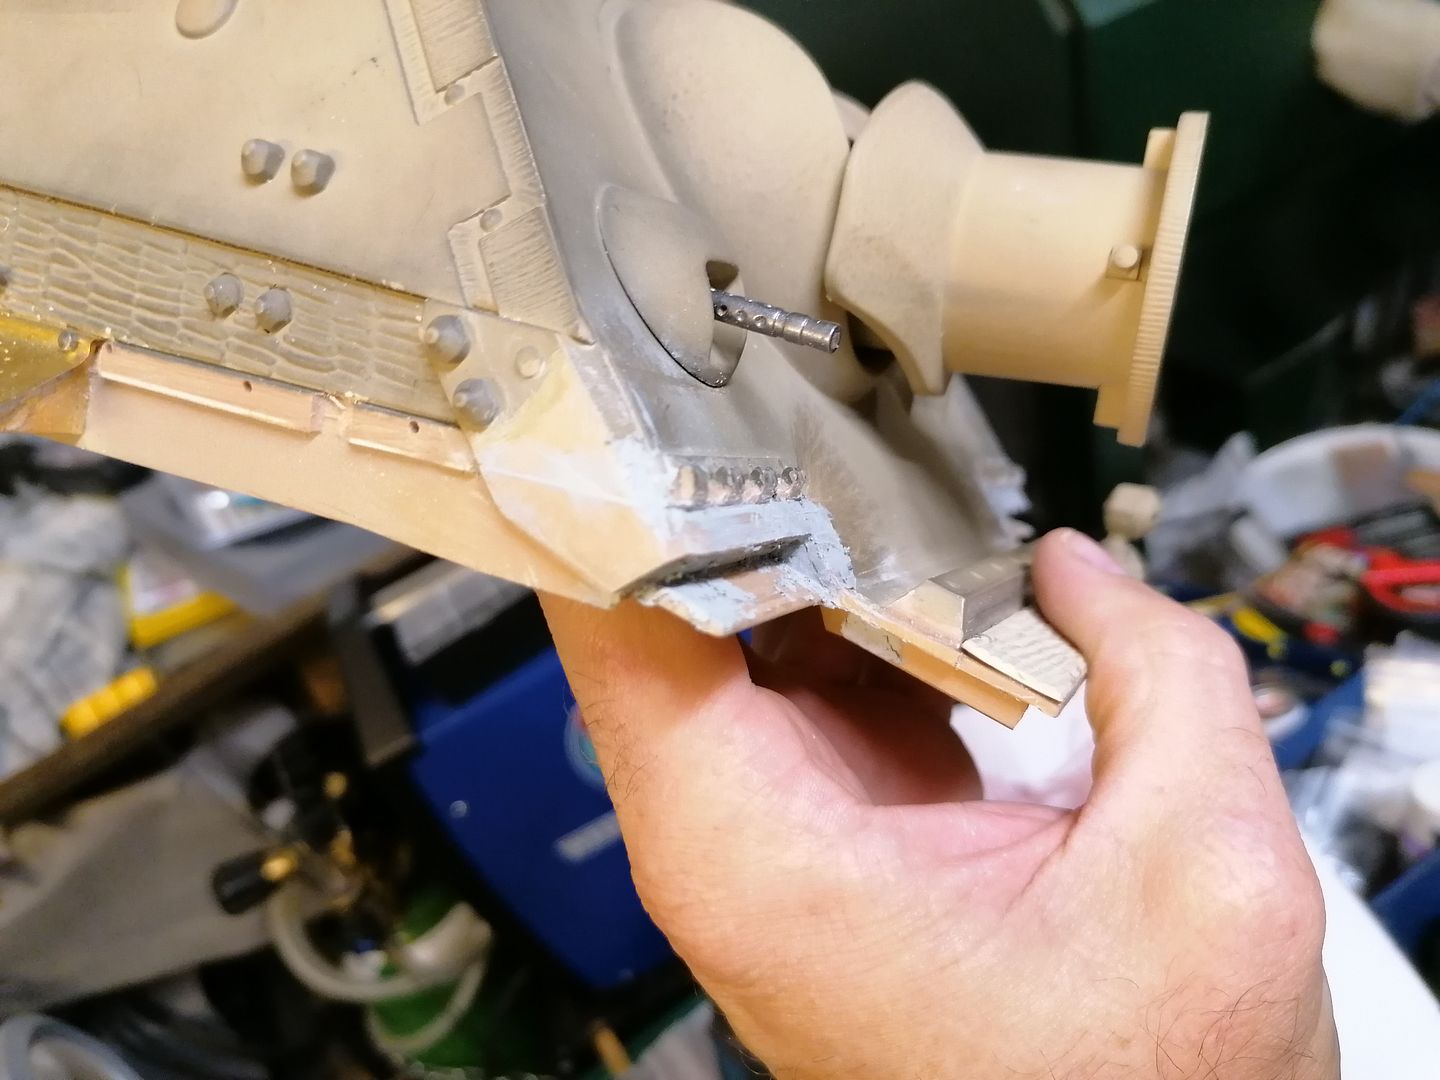
With the front mudguards removed the front section that holds the top in place was very wobbly so more parts of the side mudguards were used to stiffen it up
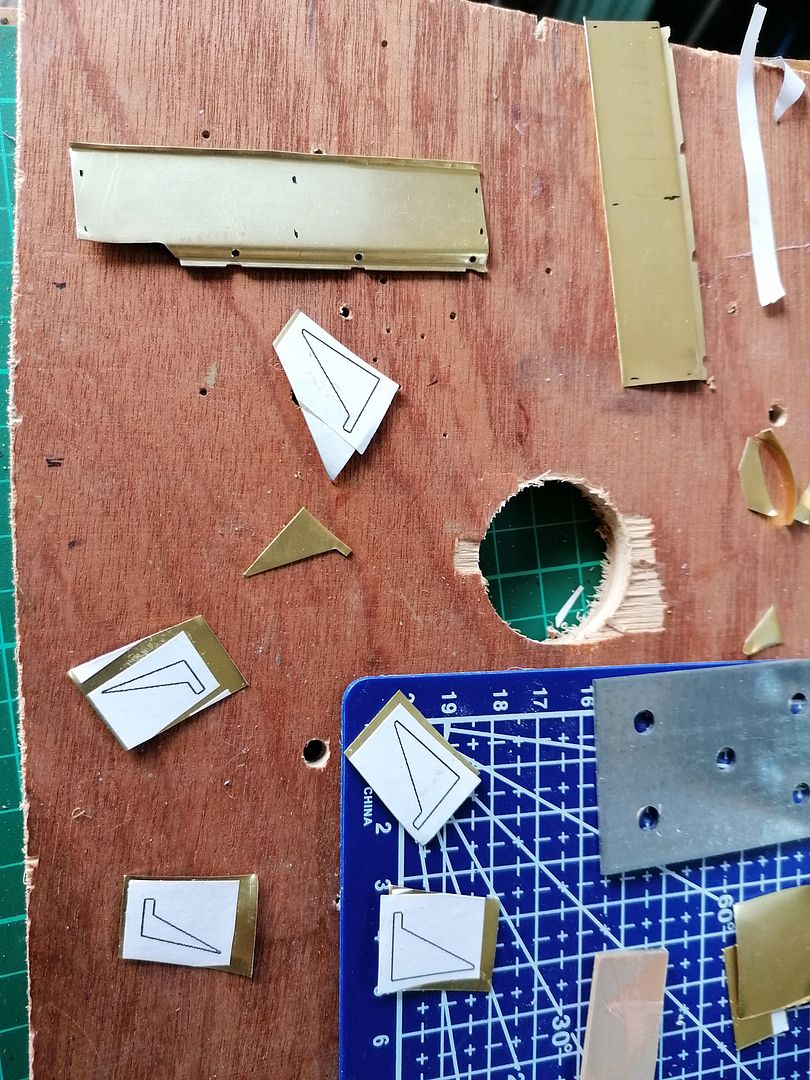
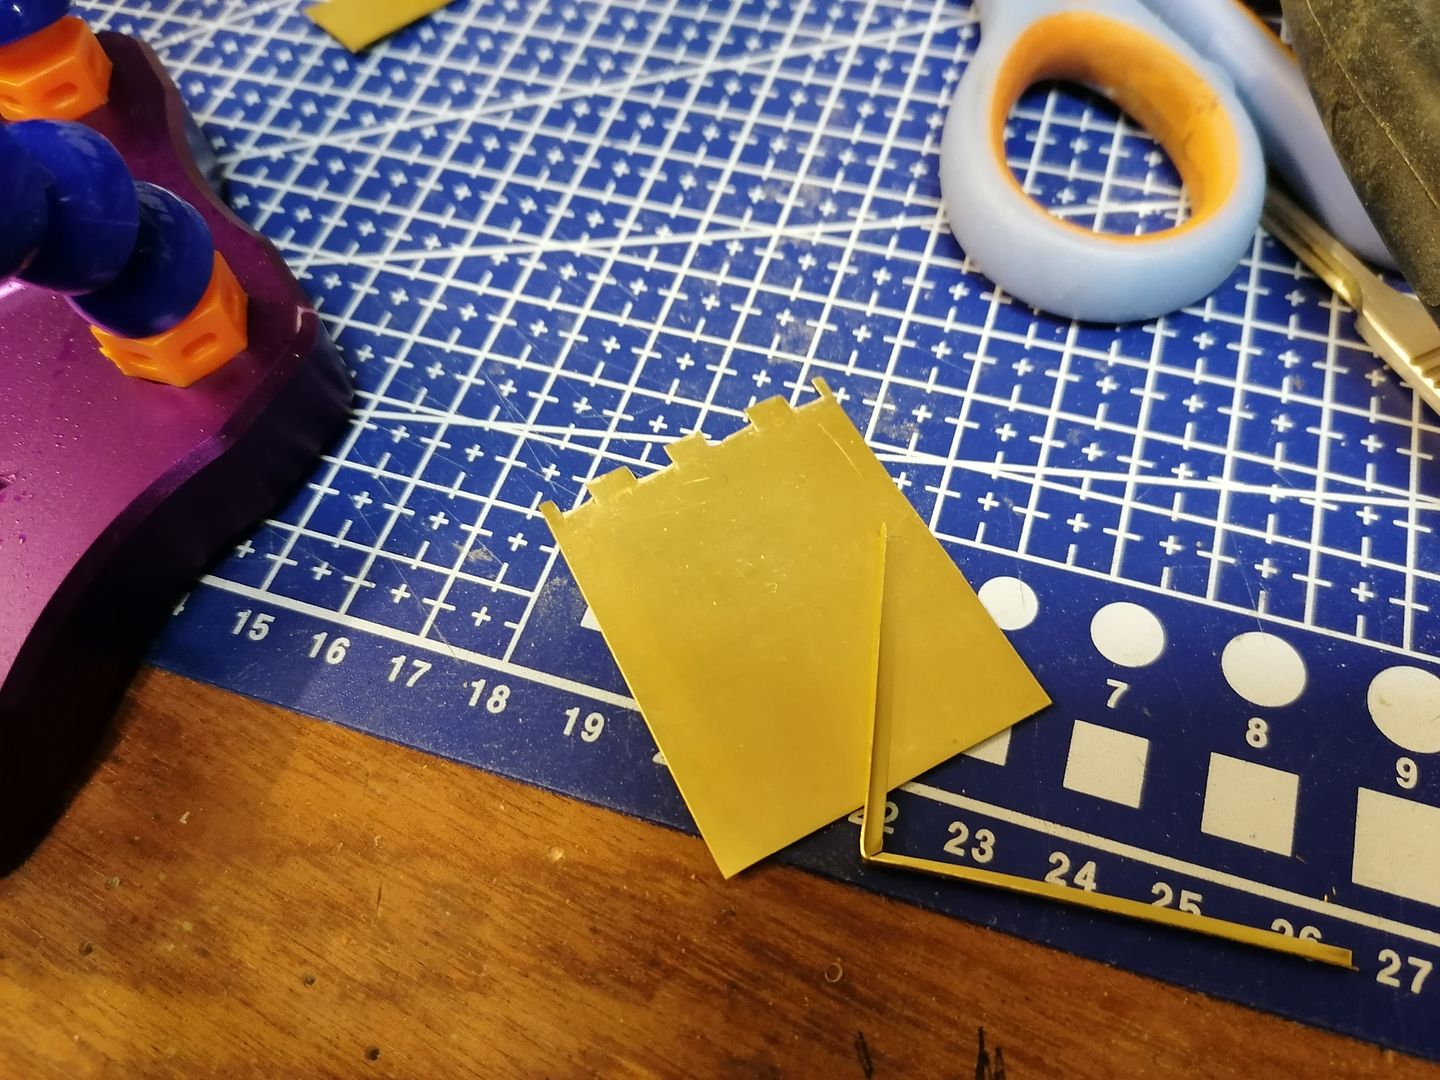
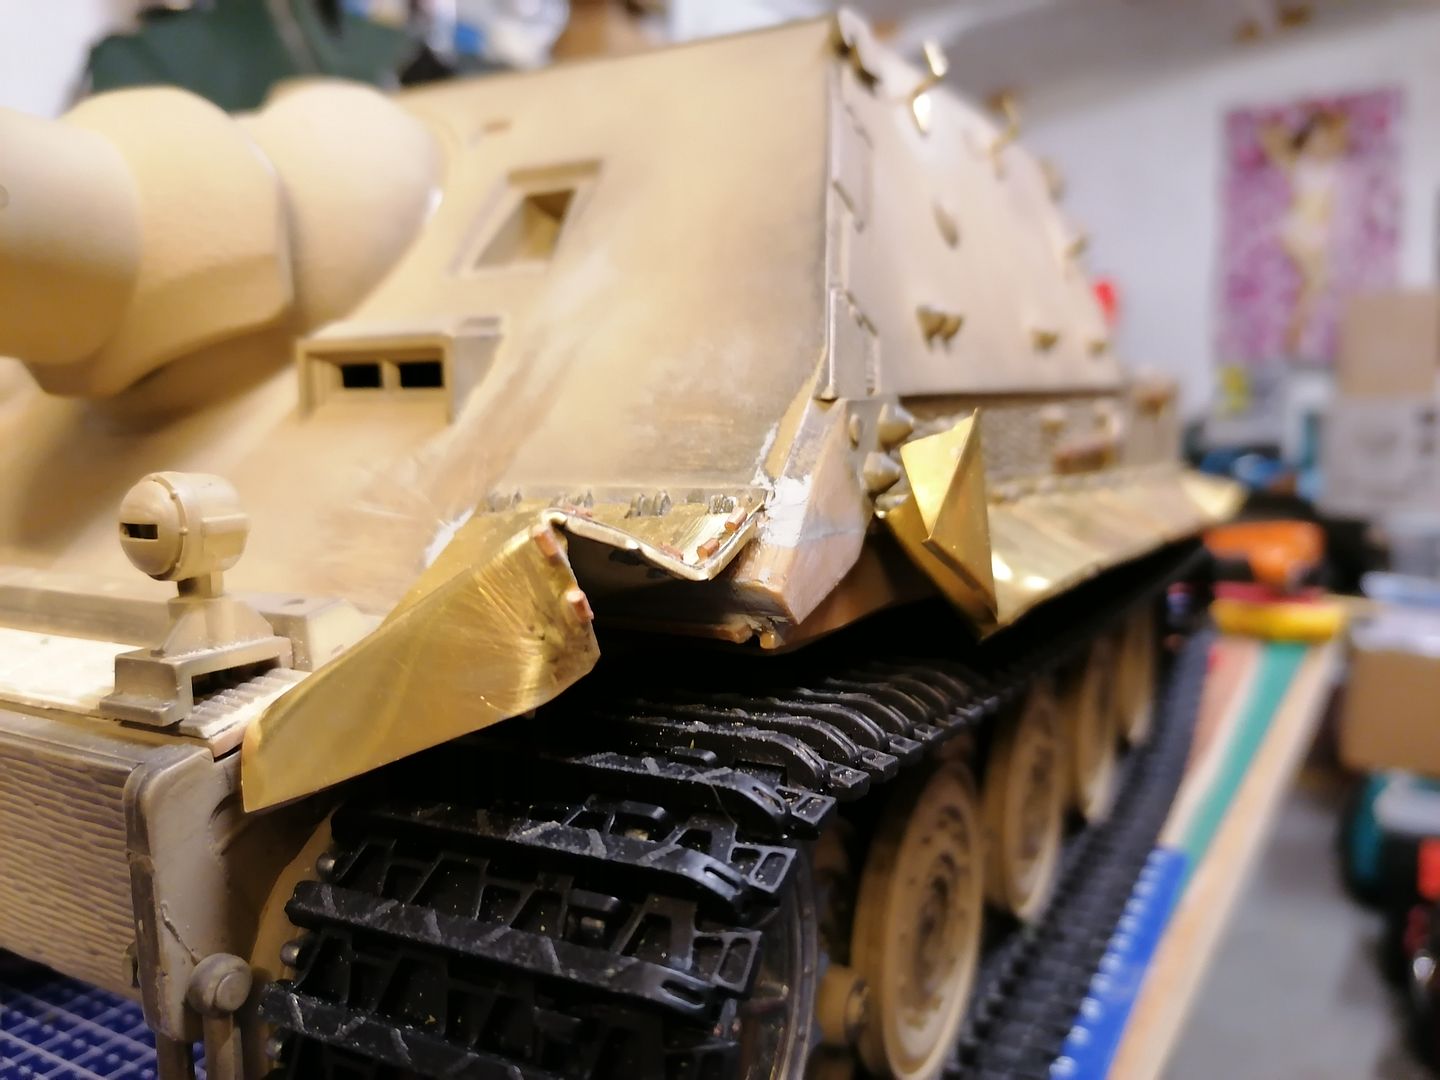
More work with the kitchen scissors and the main part of the front mudguards are offered up
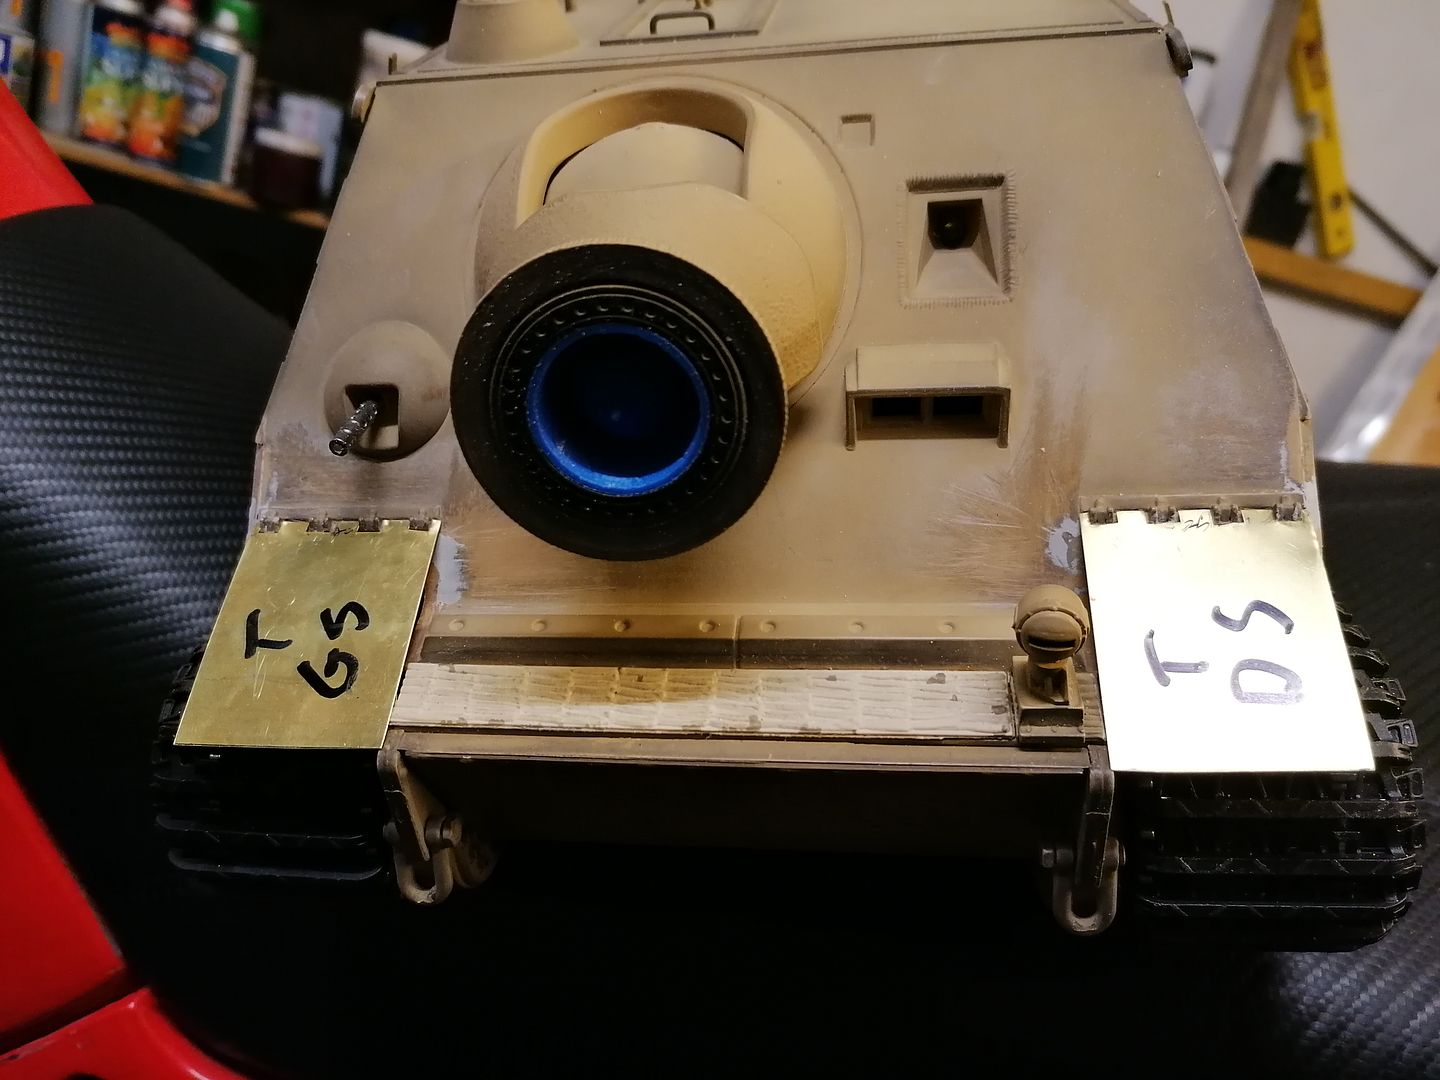
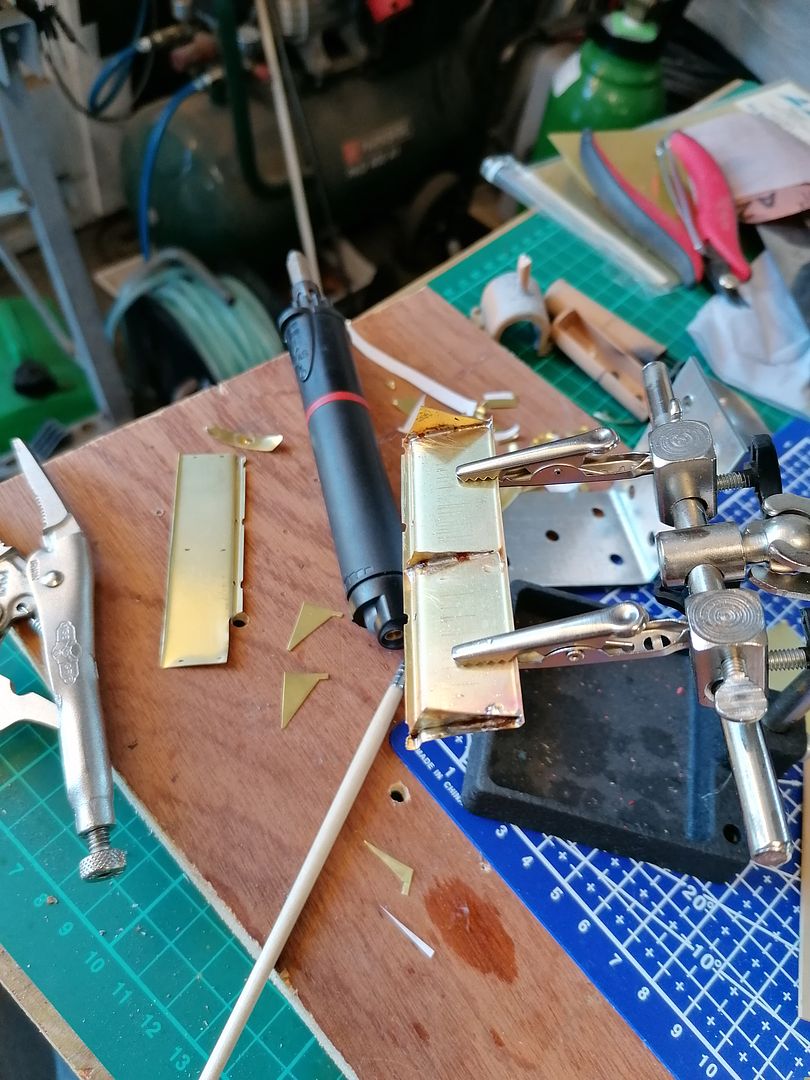
with a bit more cutting and soldering they take shape
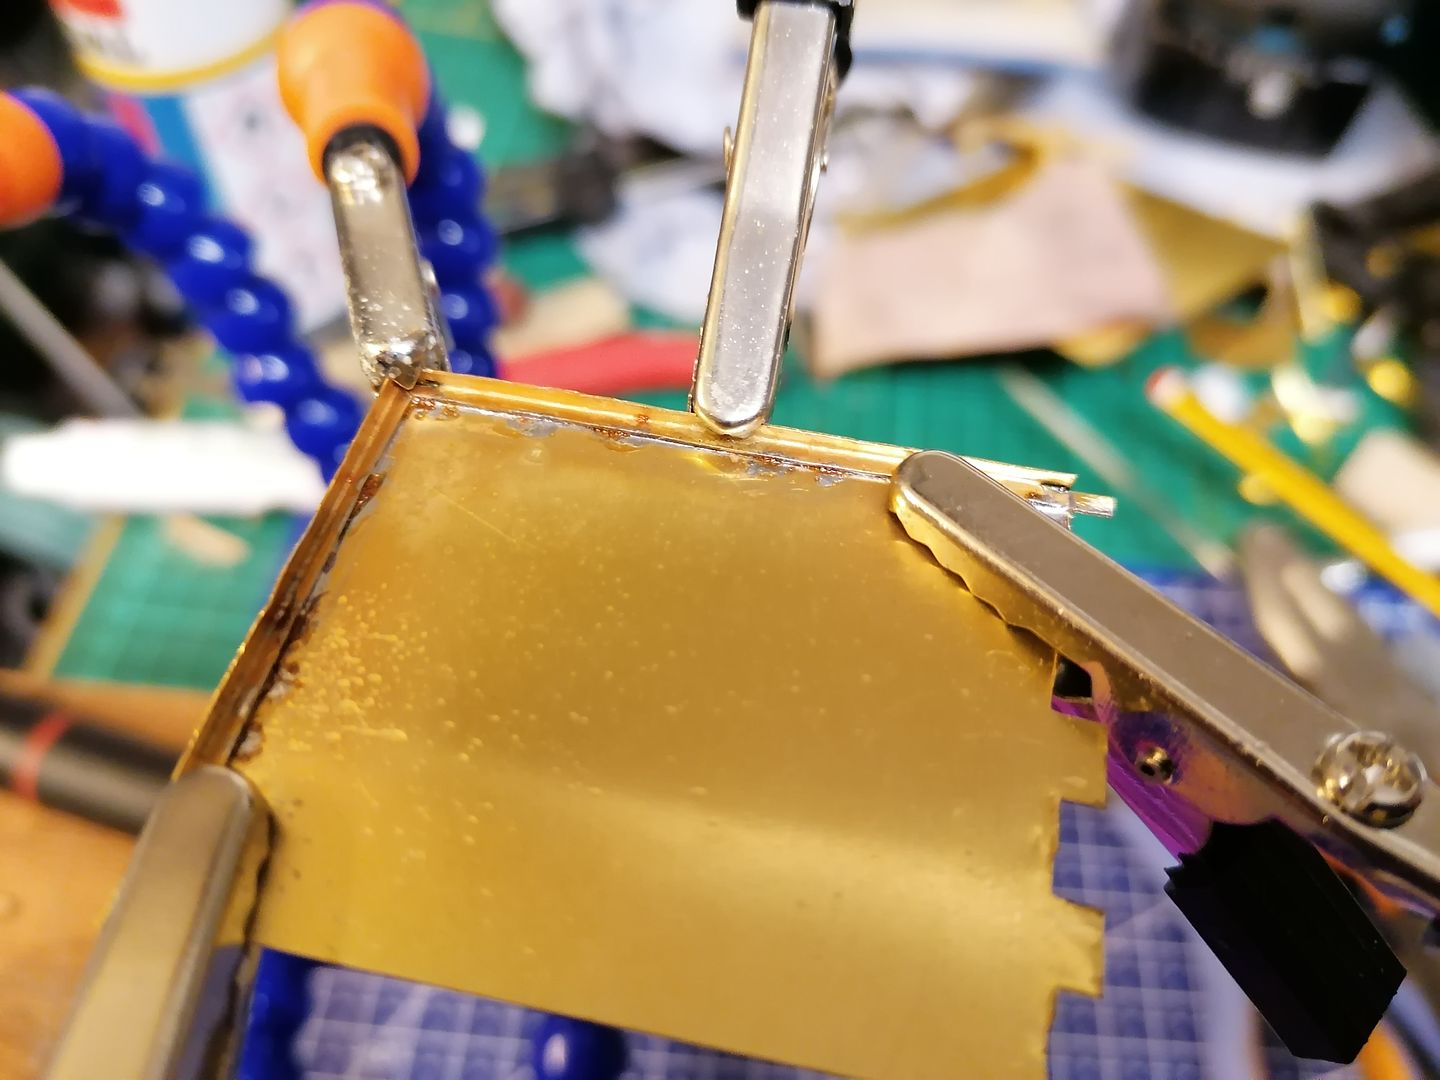
I decided to do the gunners side folded over and the drivers side crunched up a bit
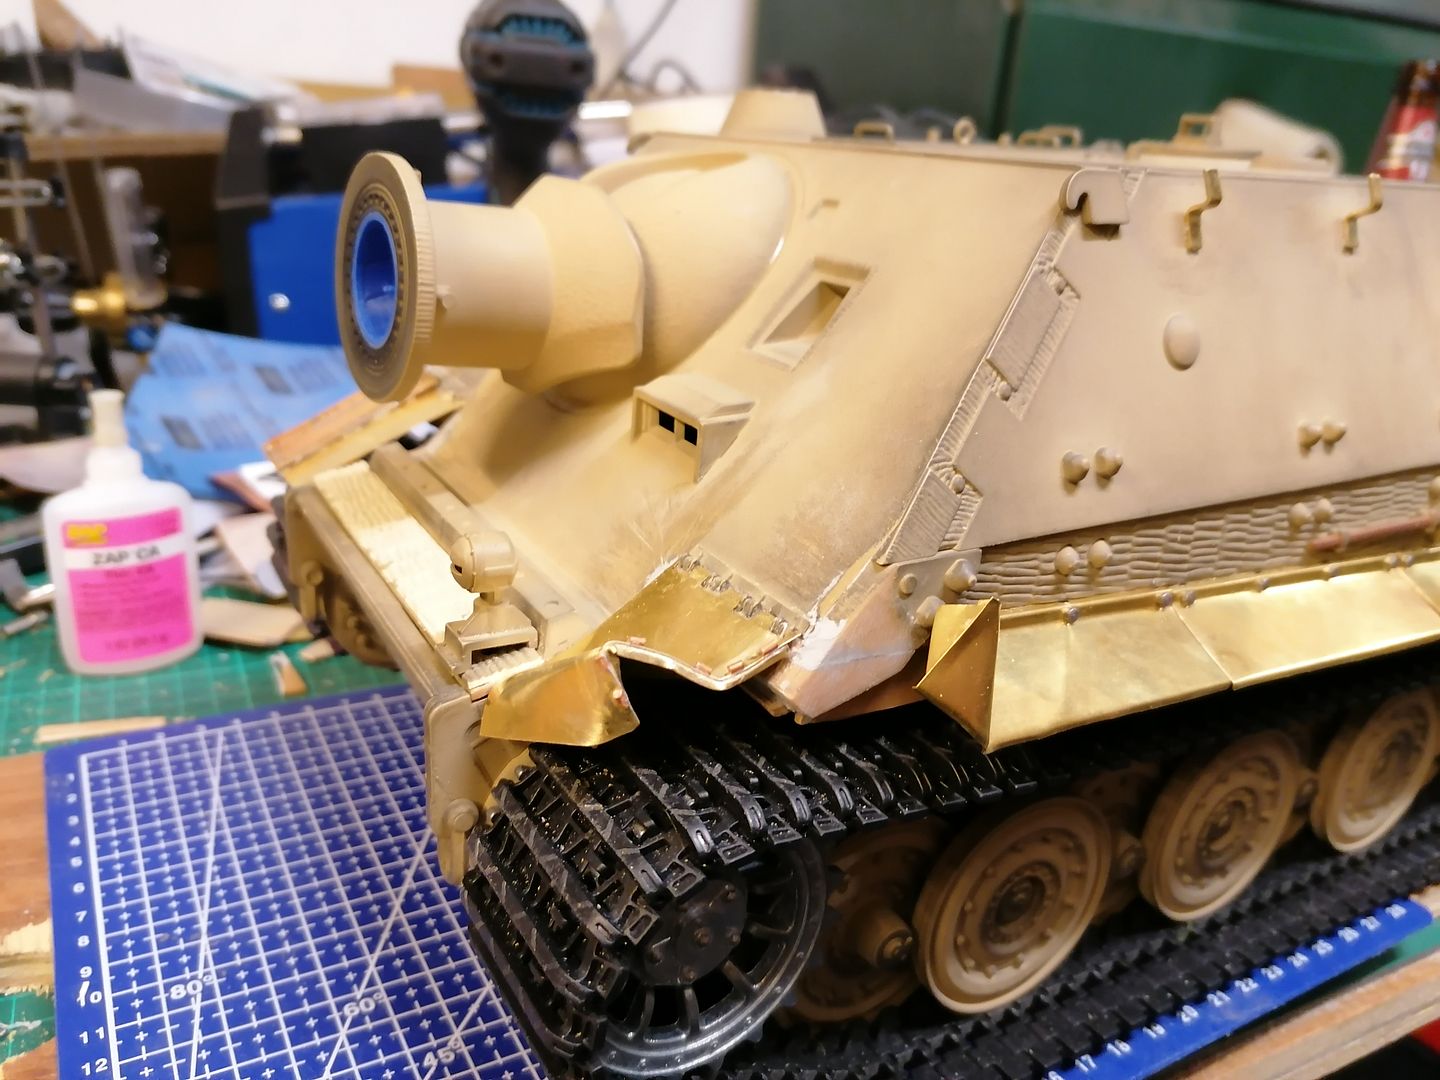
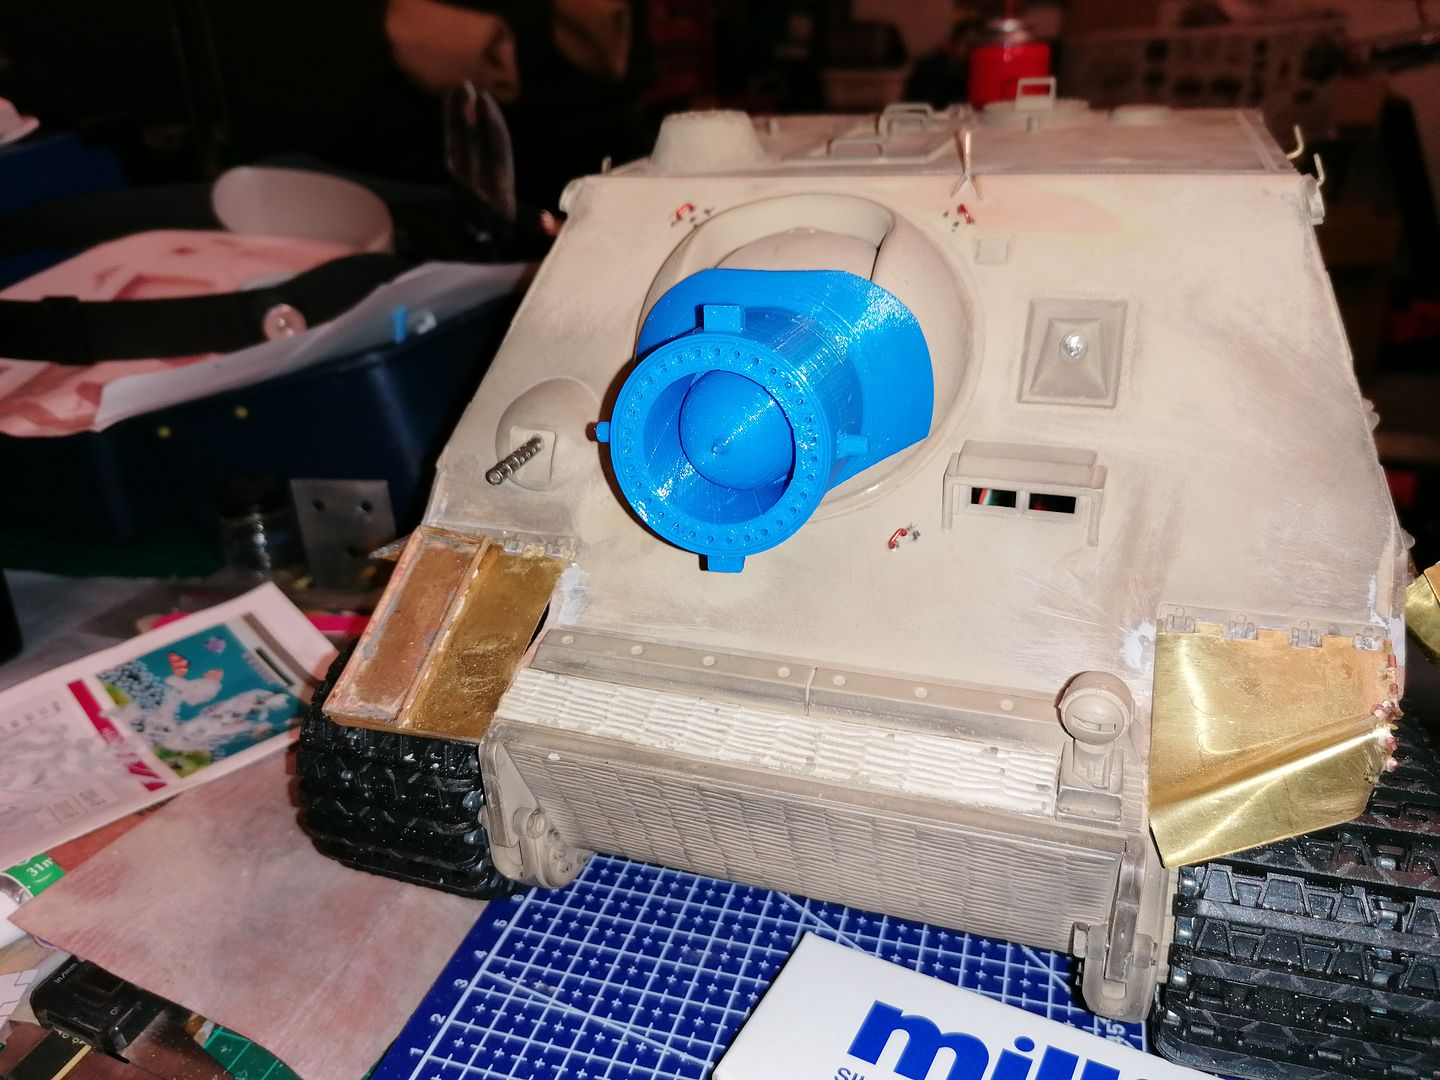
I dont realy like the look of the barrel so had a go at 3d printing the version without the counter weight on the end and it needs some alering and fine tuning but it look good for a first attempt also note i have replaced the side hook brackets with 1mm brass I had kicking about and to my amazement the kitchen scissors cut it (dont tell the wife)
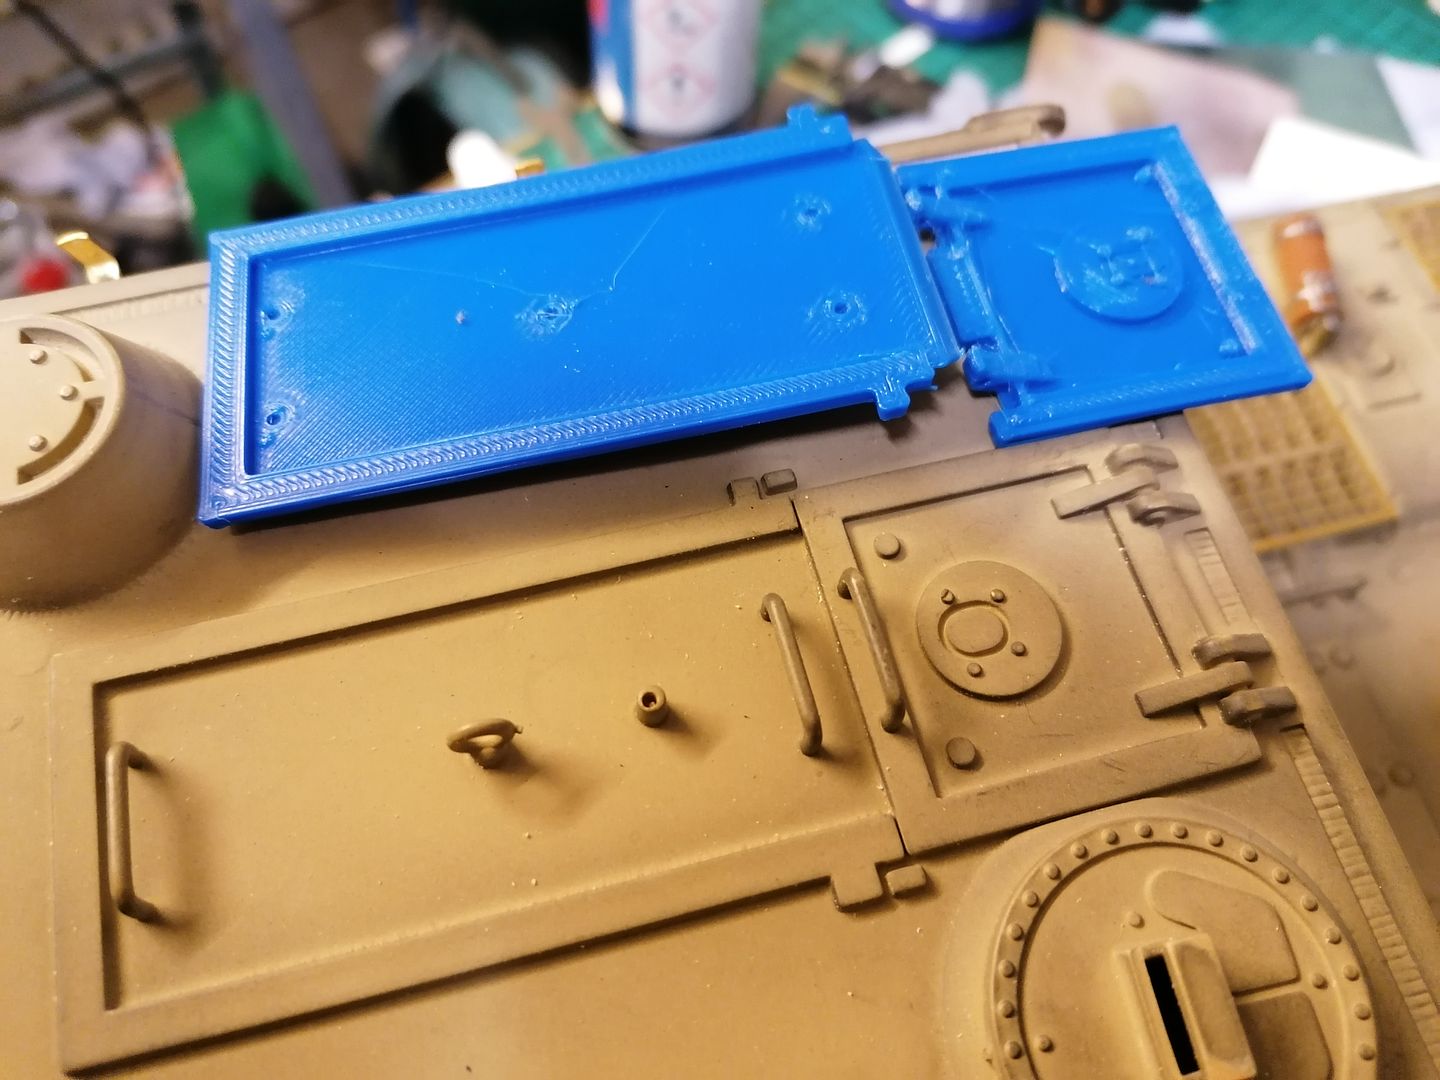
When the barrel is done I will move on to replace the hatches on top of the super structure and have them opening a preliminary set has been made but again they will need more work before i set saw against tank
Well there it is so far I hope I haven't bored you all to death with it (like the wife is when she asks me what im up to in the shed) and I have more things started to change/modify but will post about them when they get further along.
I would like to say this is not a build to please all the rivet counters out there and if i get things wrong thats the way it will stay
But if there is any advice about what i am doing I would be more than happy to take it as its a bit of a learning curve for me.
So here is my starting point.
The first things to be changed were the gearboxes and drive sprockets
I will replace the road wheels and track eventually.
The switch bracket in the tank was absolute pants so made my own on the 3d printer now the switches line up with the hatch.
Now it time to get serious with it and break out the cutting tools
Which allowed me to make some 1;1 drawings
With some .25 brass sheet and the kitchen scissors they take shape
Here they are fitted with 12ba bolts and i think they look good not exactly factory fresh but thats not a bad thing I also fitted some Taigon etched grill covers as I wasn't going to file out all those holes
I beat the covers about a bit to look trampled on
Now to do the front ones just cutting them off left a massive gap the blue parts are an attempt to put a rifled liner in the barrel with a dummy projectile in there also but it makes the barrel liner look too thick
The projectile is simply held in place with a piece of tube shoved down the barrel of the BB gun
The gaps were filled in with parts of the side mudguards cut off previously to recreate the front hull shape
With the front mudguards removed the front section that holds the top in place was very wobbly so more parts of the side mudguards were used to stiffen it up
More work with the kitchen scissors and the main part of the front mudguards are offered up
with a bit more cutting and soldering they take shape
I decided to do the gunners side folded over and the drivers side crunched up a bit
I dont realy like the look of the barrel so had a go at 3d printing the version without the counter weight on the end and it needs some alering and fine tuning but it look good for a first attempt also note i have replaced the side hook brackets with 1mm brass I had kicking about and to my amazement the kitchen scissors cut it (dont tell the wife)
When the barrel is done I will move on to replace the hatches on top of the super structure and have them opening a preliminary set has been made but again they will need more work before i set saw against tank
Well there it is so far I hope I haven't bored you all to death with it (like the wife is when she asks me what im up to in the shed) and I have more things started to change/modify but will post about them when they get further along.
