TORRO Sturmtiger build

This section is for builds that are not strictly Tamiya or Heng Long. For instance, replacing the electronics from a WSN or Matorro, or even a scratch-build.
User avatar
baldrick131
Lance Corporal
Posts: 140
Joined: Fri Oct 04, 2019 8:46 pm
Location: March cambridgeshire
Contact:

Re: TORRO Sturmtiger build

Post by baldrick131 »

Thanks its been at least 20 years since i did any kind of armour model so when i got chance to get an rc tank i was like a young kid again and am enjoying re learning stuff again having a 3D printer helps as i did make a model of an imperial fighter from star wars on it and gave it a simple paint job and some highlights with an HB pencil and was well pleased with it and finally persuaded the wife to let me have a tank lol.
Image
So this is what rekindled my interest in model again'
User avatar
midlife306
Warrant Officer 1st Class
Posts: 2238
Joined: Sun Aug 27, 2017 10:34 am

Re: TORRO Sturmtiger build

Post by midlife306 »

Thanks for sharing the files, much appreciated
Cheers
Wayne


Sent from my iPhone using Tapatalk
User avatar
baldrick131
Lance Corporal
Posts: 140
Joined: Fri Oct 04, 2019 8:46 pm
Location: March cambridgeshire
Contact:

Re: TORRO Sturmtiger build

Post by baldrick131 »

no worries i will be uploading the top hatch files when i have done them and any more that i make along the way.
User avatar
baldrick131
Lance Corporal
Posts: 140
Joined: Fri Oct 04, 2019 8:46 pm
Location: March cambridgeshire
Contact:

Re: TORRO Sturmtiger build

Post by baldrick131 »

I got a bit a bit more done this morning some more 14ba bolts turned up so to make fitting the exhaust covers easier i tinned the areas around the bolt holes
Image
and dropped a 14ba bolt in the holes and heated them to solder them to the covers allowing me to fit them only requiring to fit nuts and washers and not losing the bolts in the prosess
Image
Image
With that done I fitted them and and gave them some damage for good measure
Image
I worked on the barrel earlier this week filling and sanding until it was ready to paint
Image
Image
Image
As usual I got round to doing another part of the crane this time the top mount scratch built from the off cuts of brass I had lying around
Image
Its not that accurate but its way better than the kit one and was not that difficult to make I might fix it on with 14ba nuts if i can get them on but i may just glue it on.
Image
This is made so the crane can be removed and rotated 360 deg
Image
User avatar
baldrick131
Lance Corporal
Posts: 140
Joined: Fri Oct 04, 2019 8:46 pm
Location: March cambridgeshire
Contact:

Re: TORRO Sturmtiger build

Post by baldrick131 »

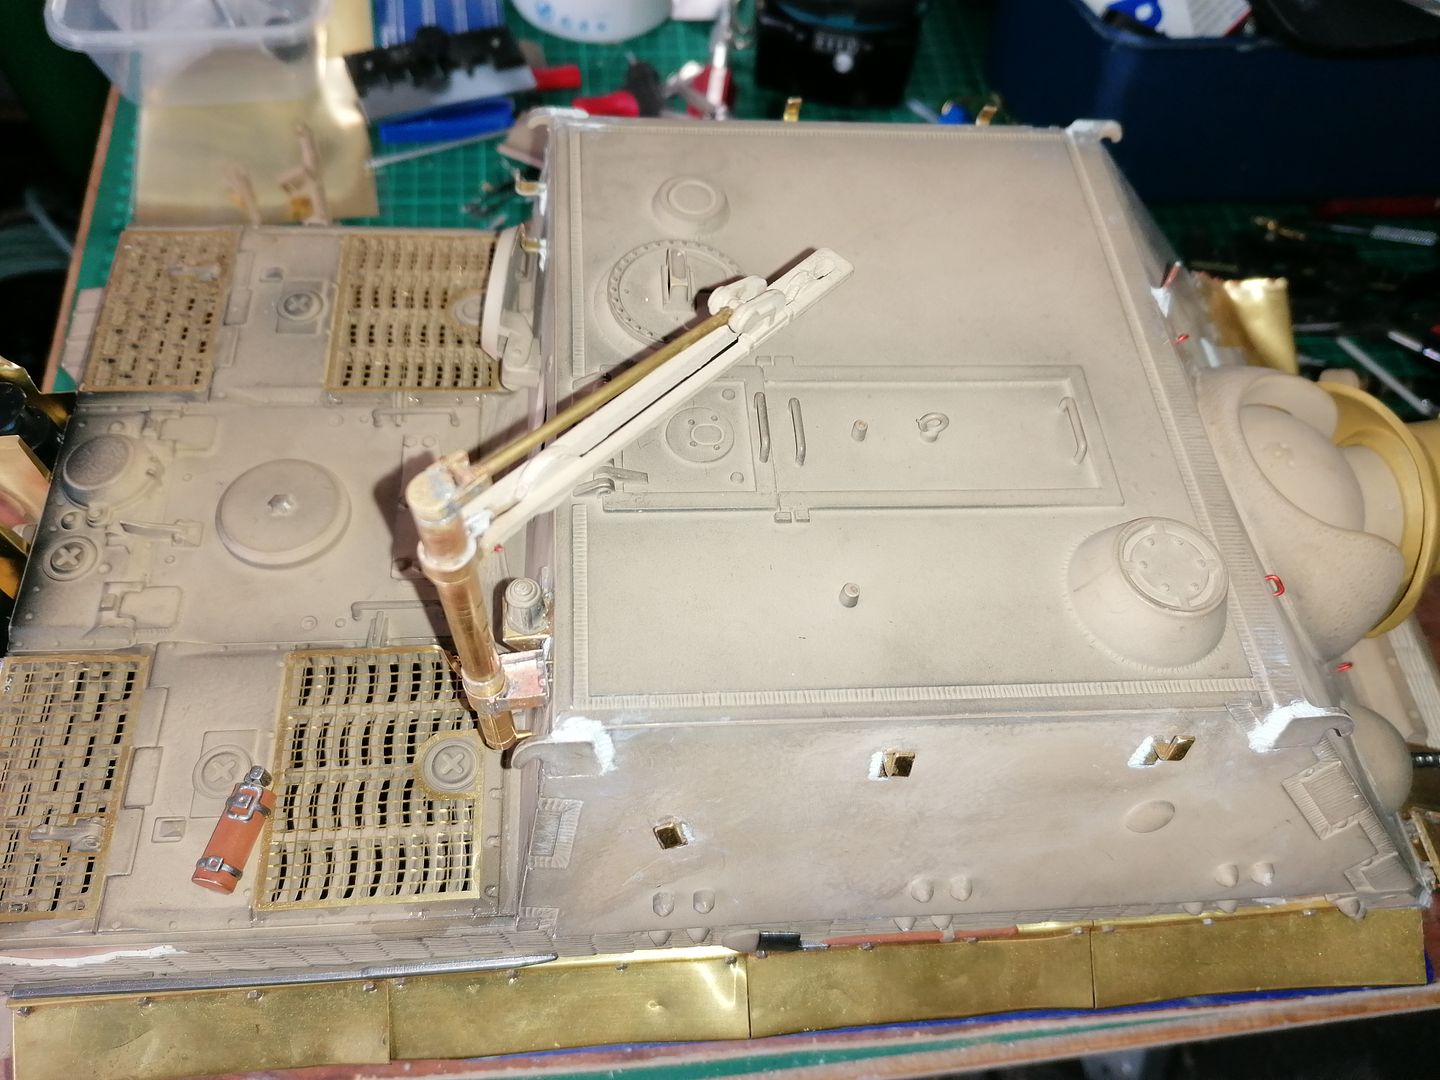
Just a short session in the shed tonight so I just did a small amount of work on the crane.
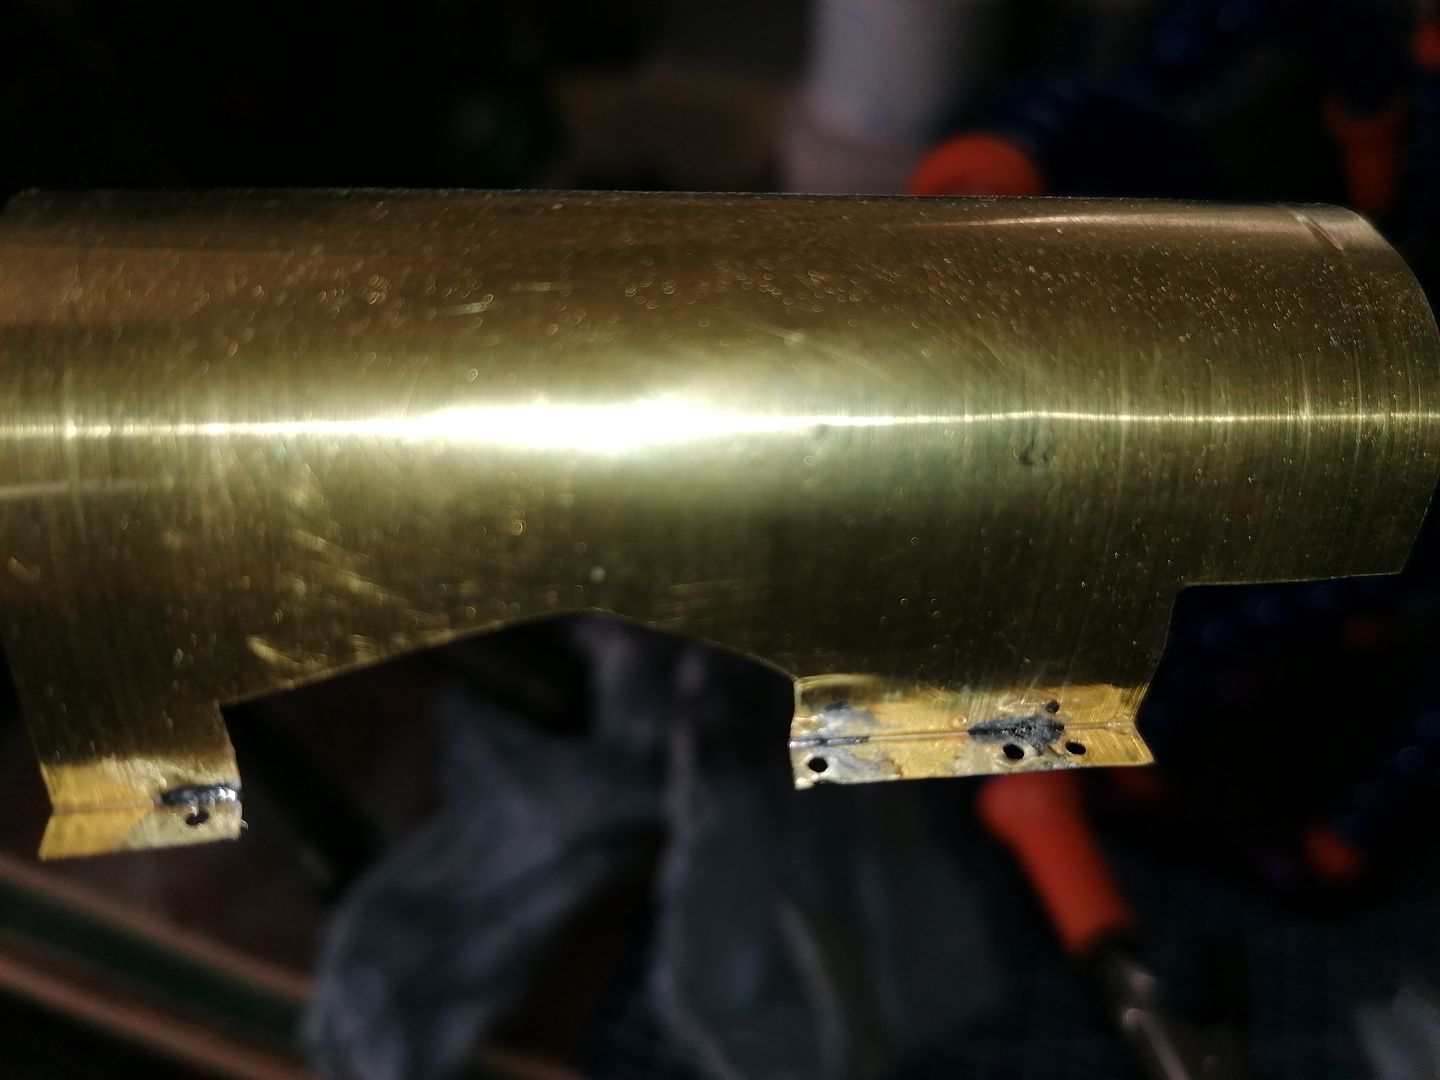
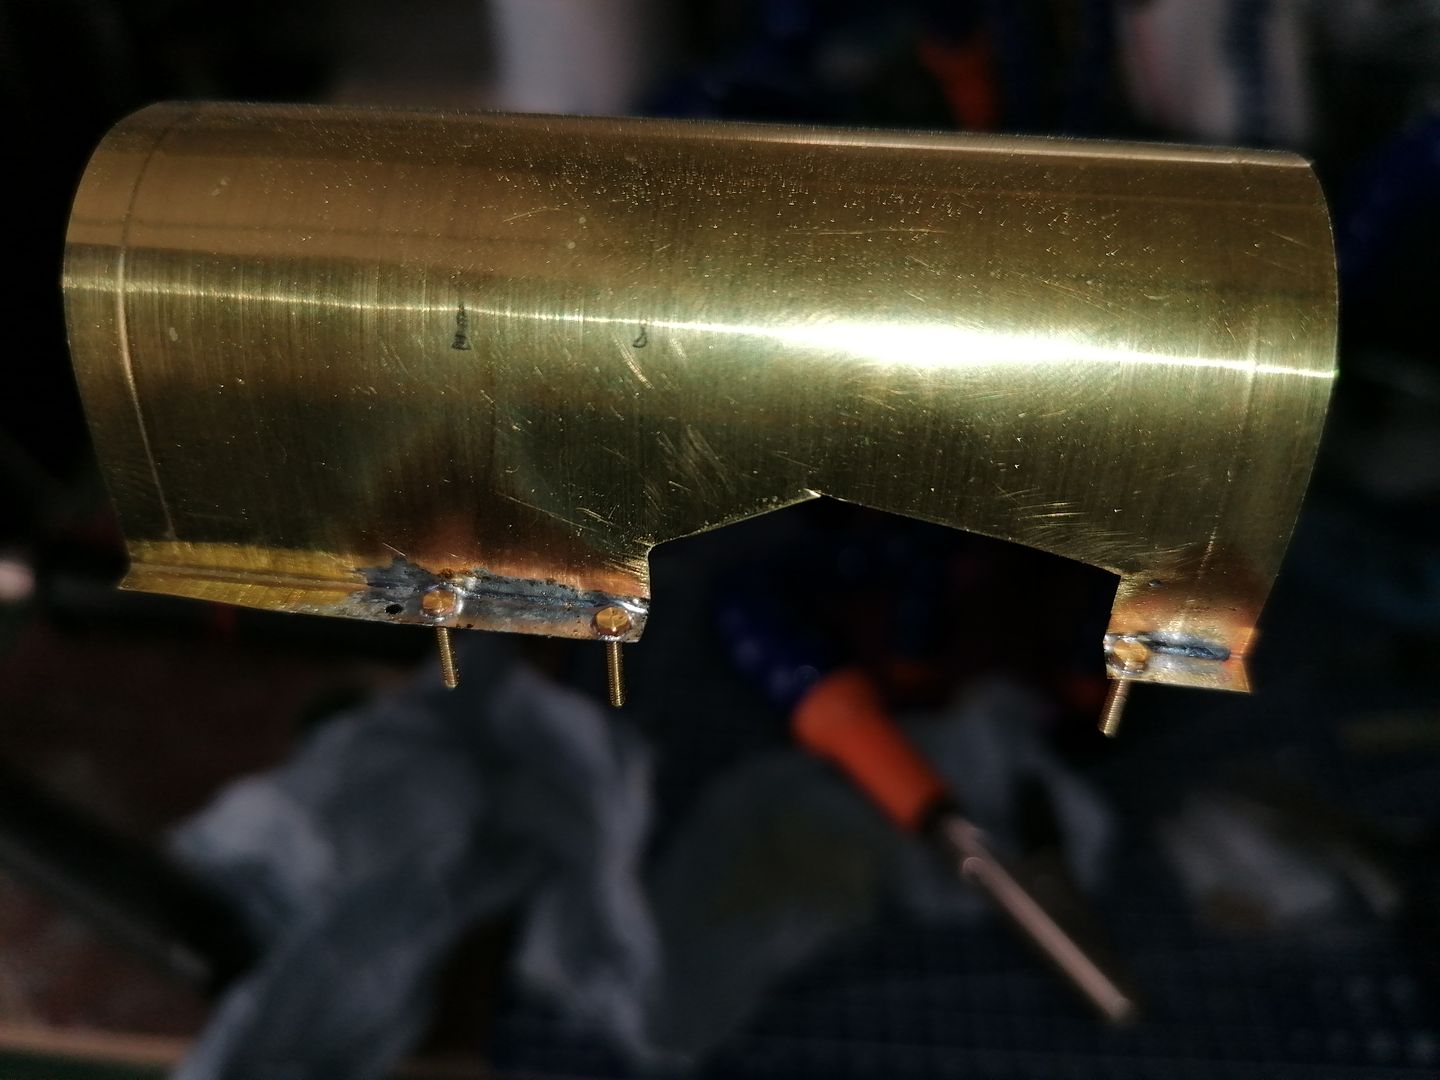
I did manage to fit 4 14ba nuts and washers on the top mounting bracket much to my amazement.
Image
I think they are tight difficult to tell using thin nosed pliers (wish I had a 2mm spanner)

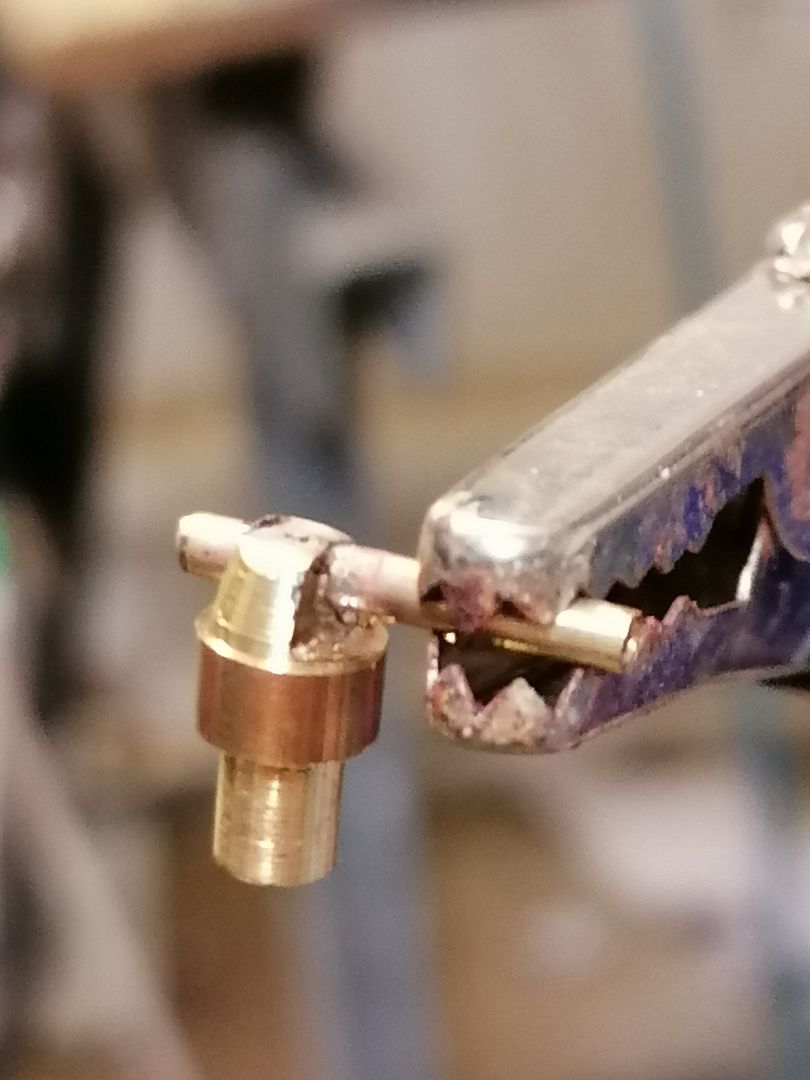
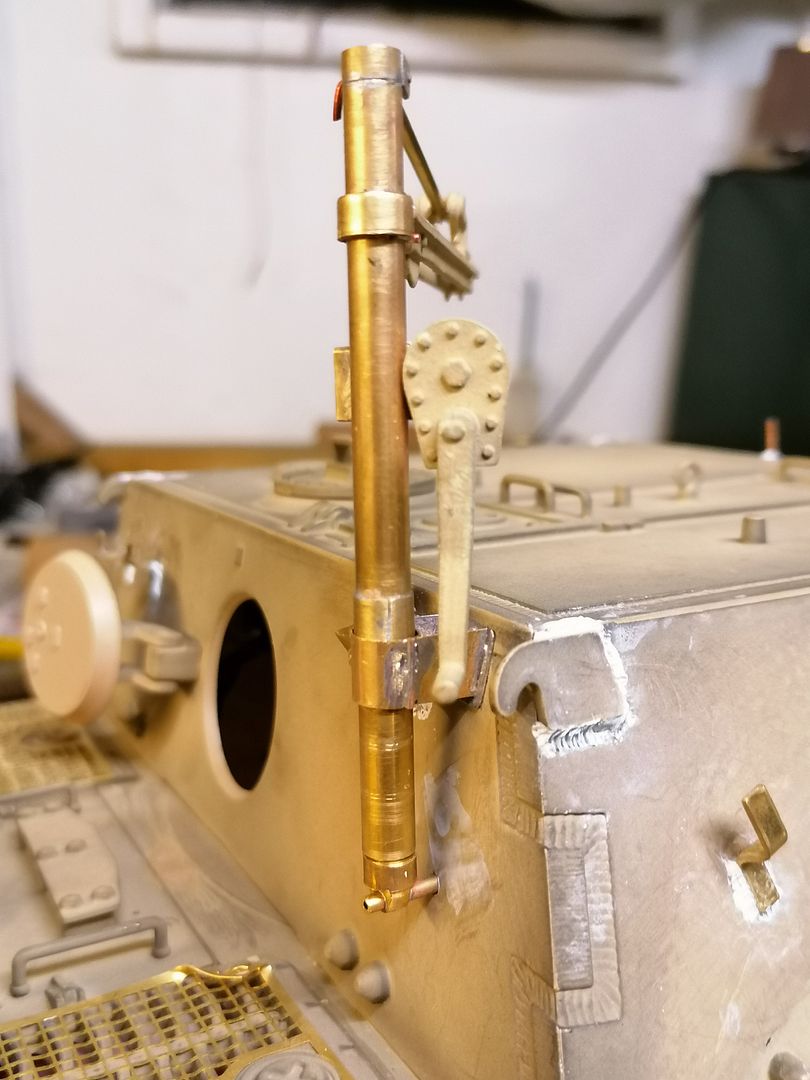
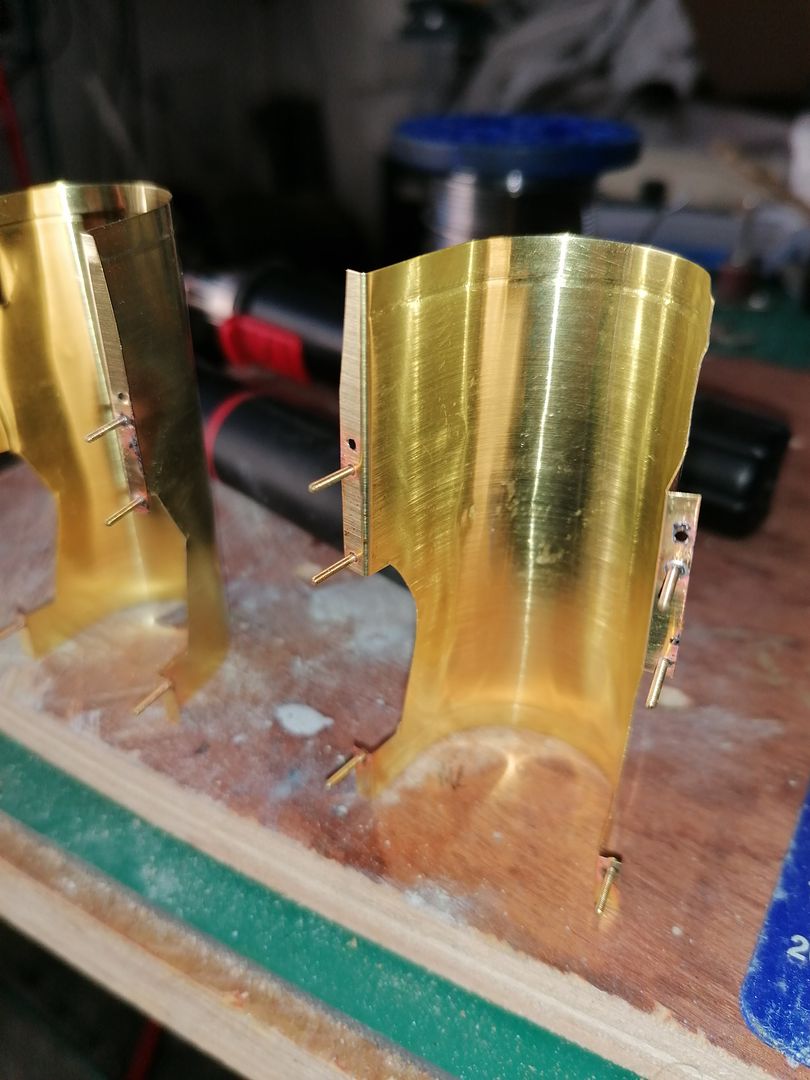
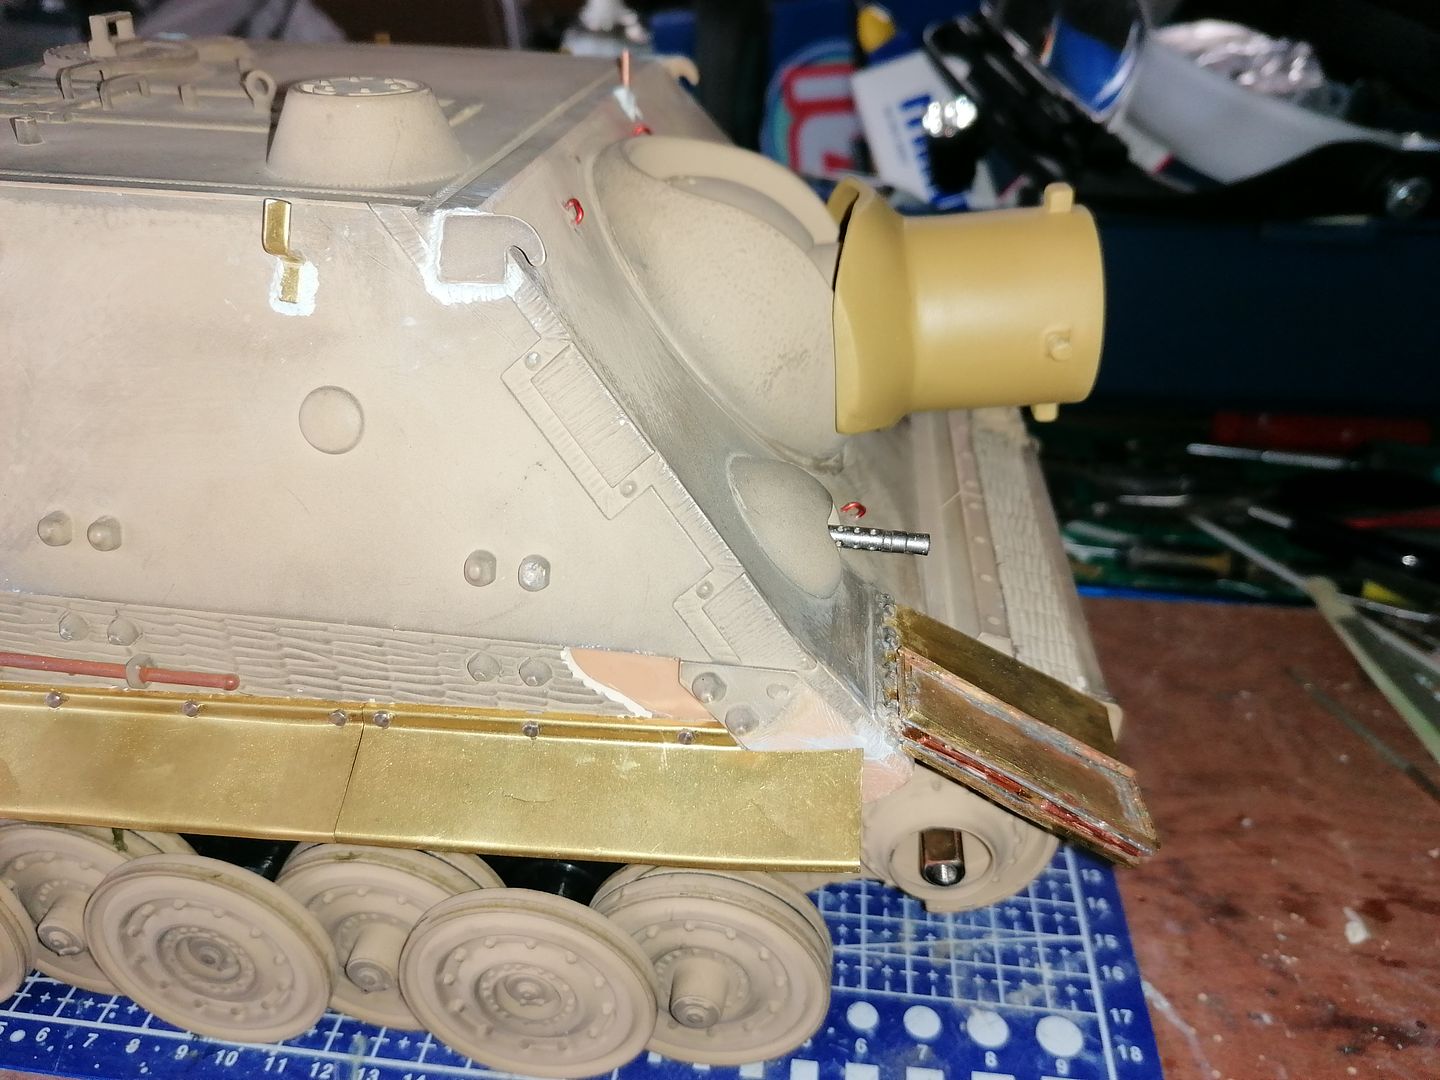
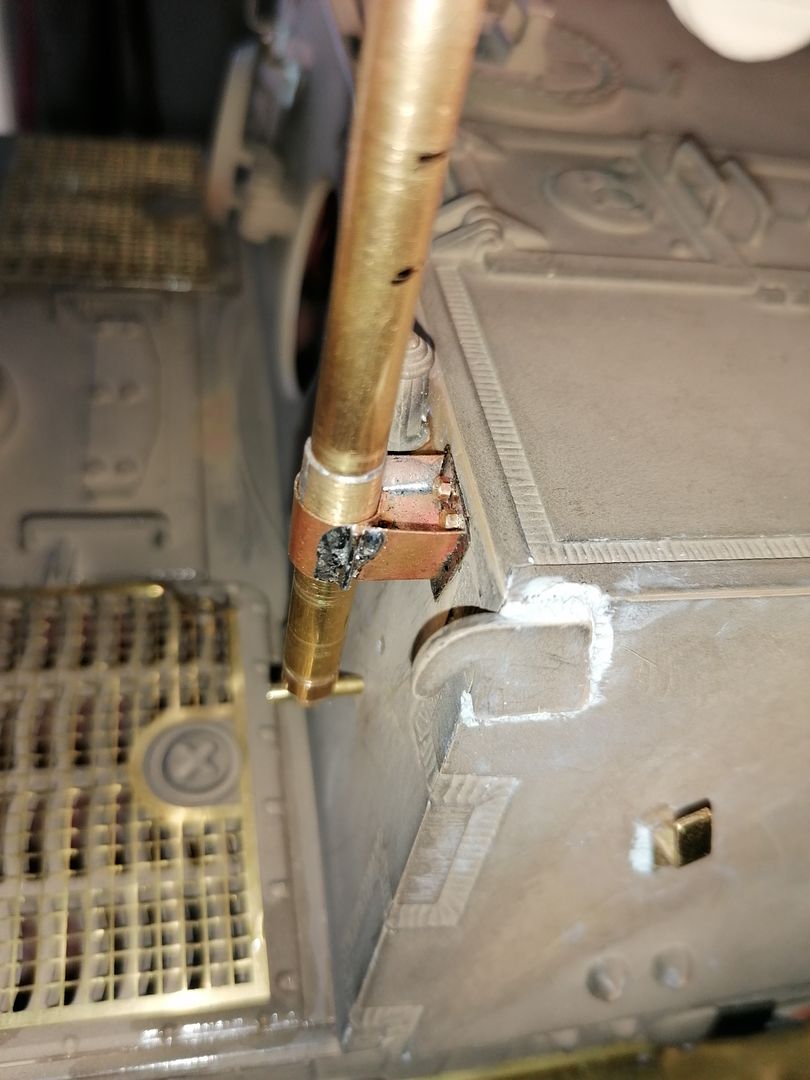
I soldered the bottom peice of the crane to the tube that attaches it to the tank the part is a peice of brass I turned down on a friend's myford lathe and filed some flat edges before drilling a hole through it
Image
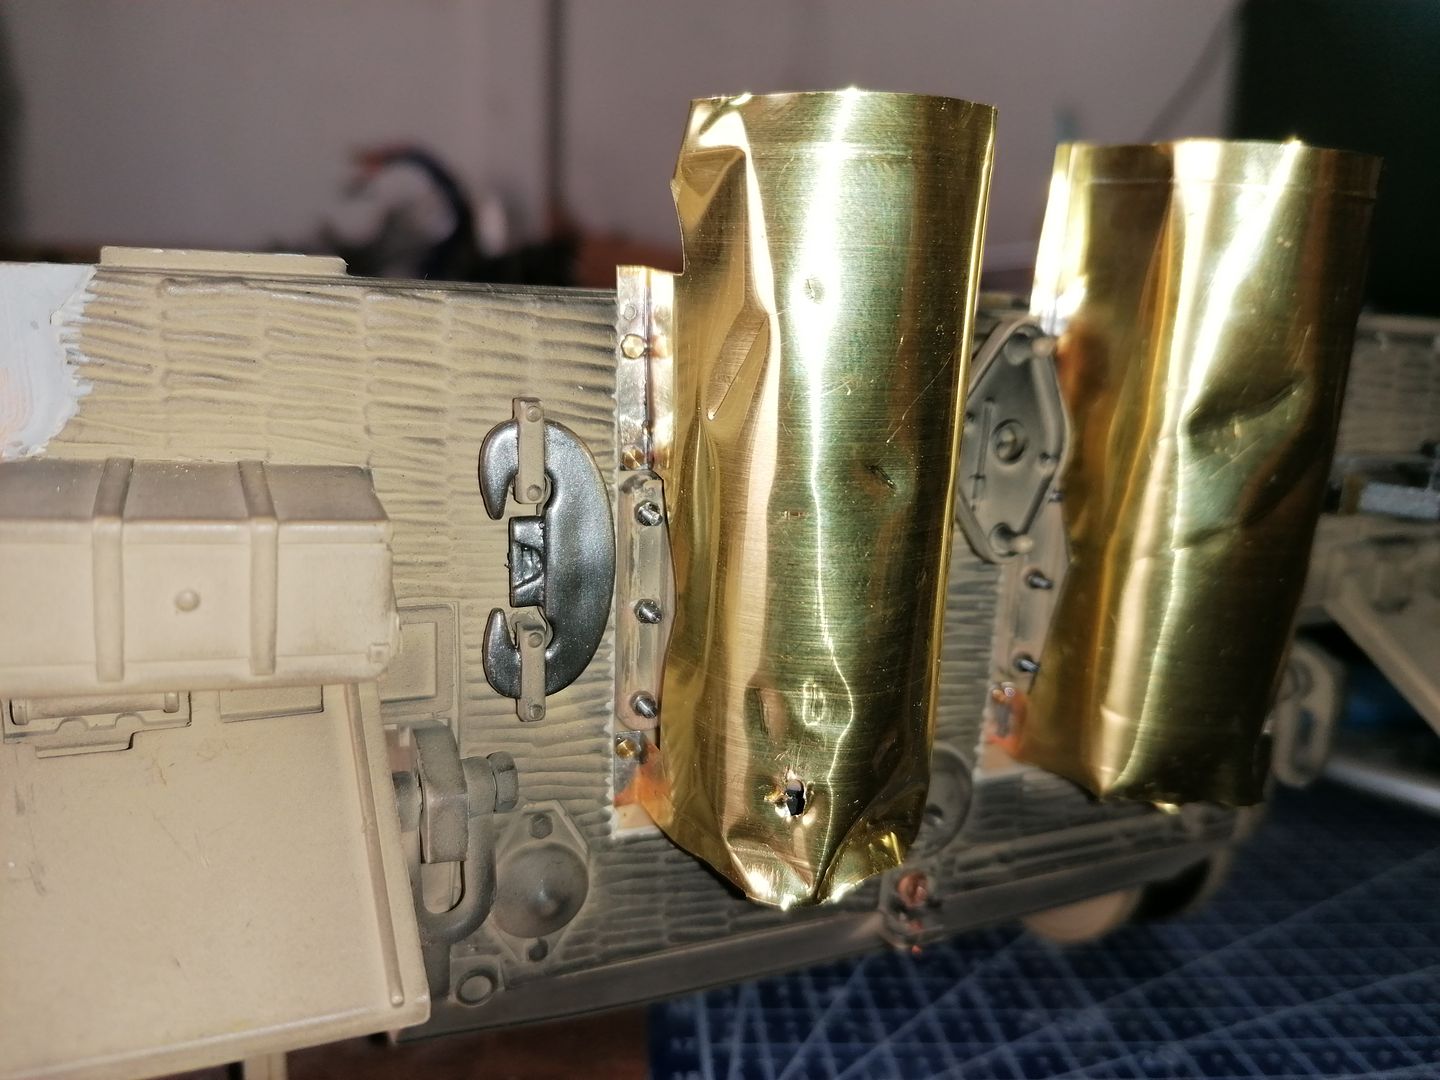
I cut a peice of brass sheet the same size as the back of winch and soldered it to the tube section then glued the winch with the remnants of the comical plastic cable removed and the handle section removed and filled where necessary and glued to the other side of the brass sheet.
Image
Image
Image
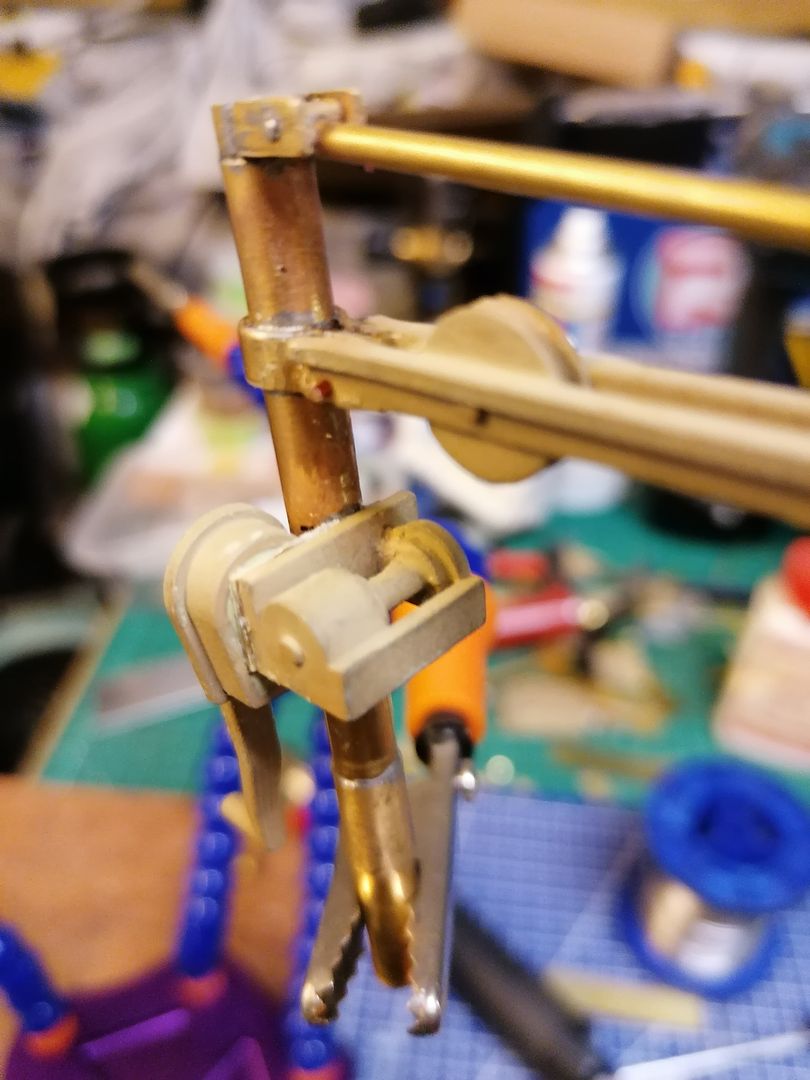
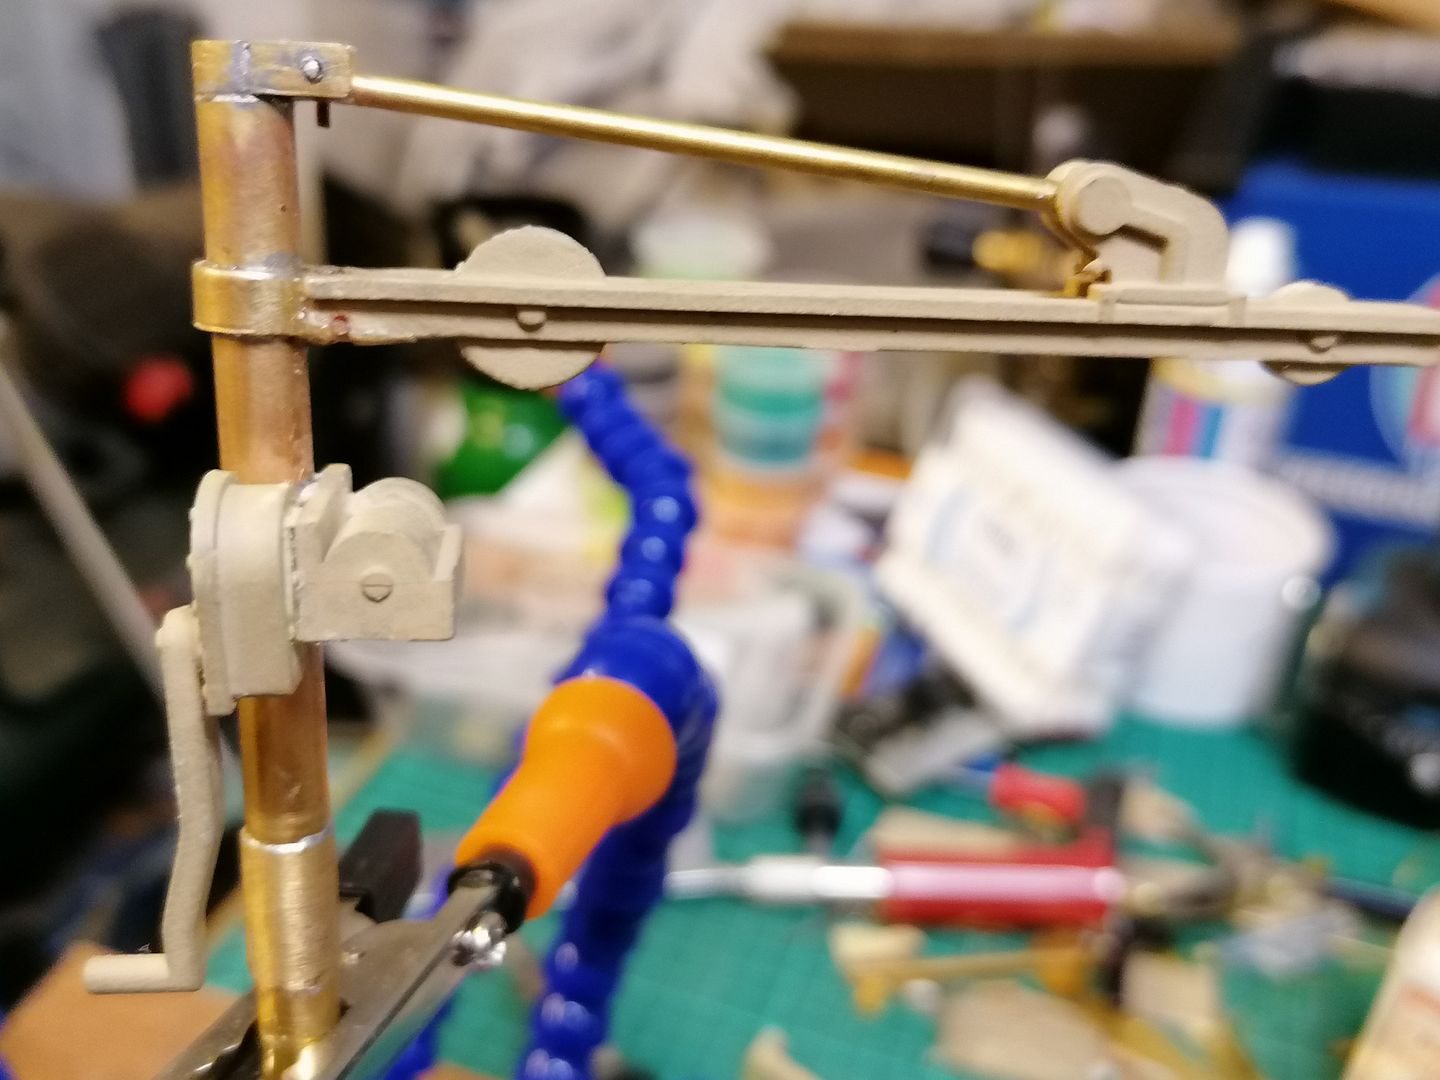
With it fitted back on the tank it will need to have the handle made shorter to miss the superstructure if its rotated.
Image
That is as far as I got before I realised how late it was I have some small wire cable I got from my friend with the lathe that is from an old rc plane part and is the perfect size for the crane so I will be fitting it to it hopefully next week.
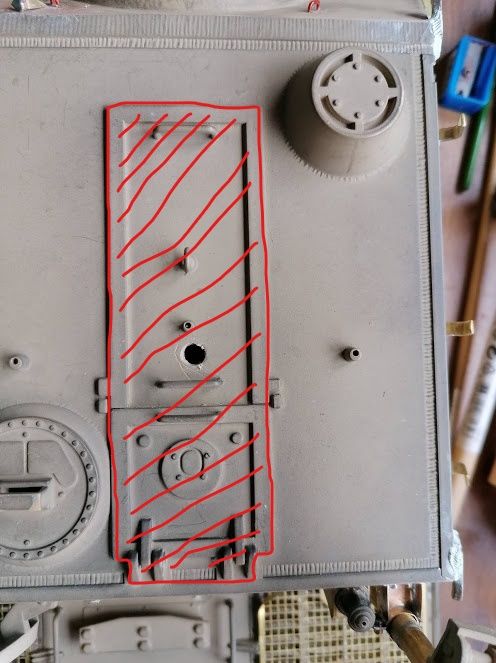
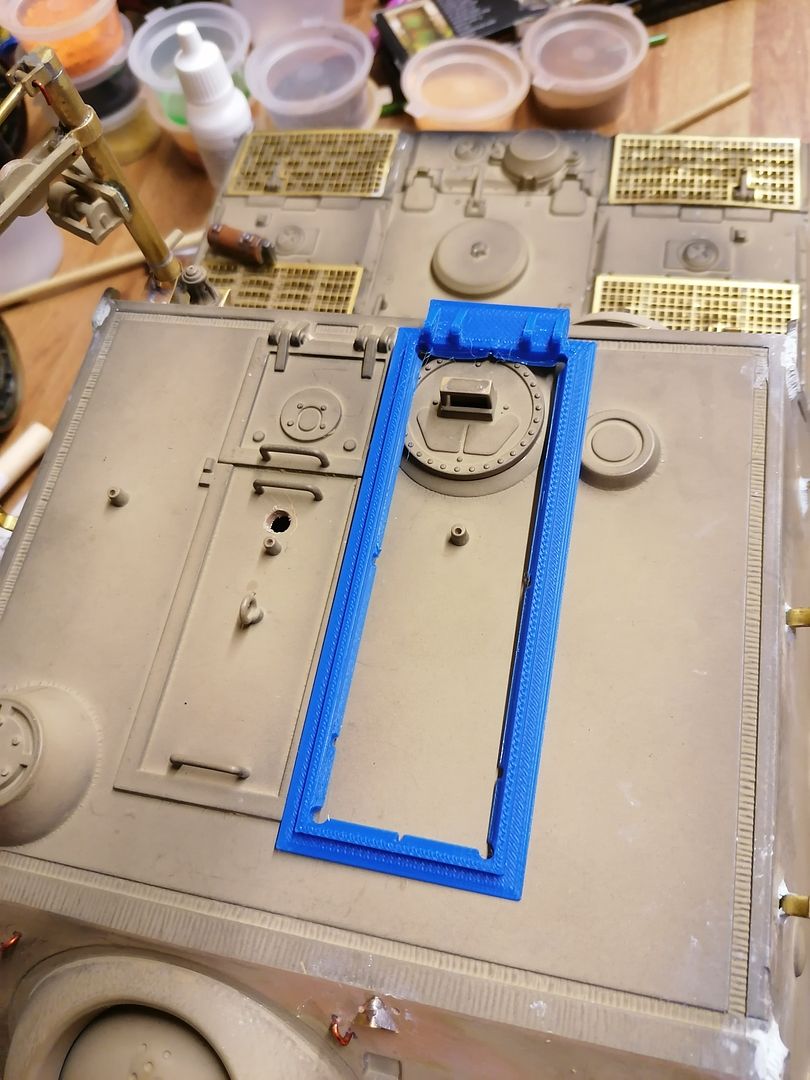
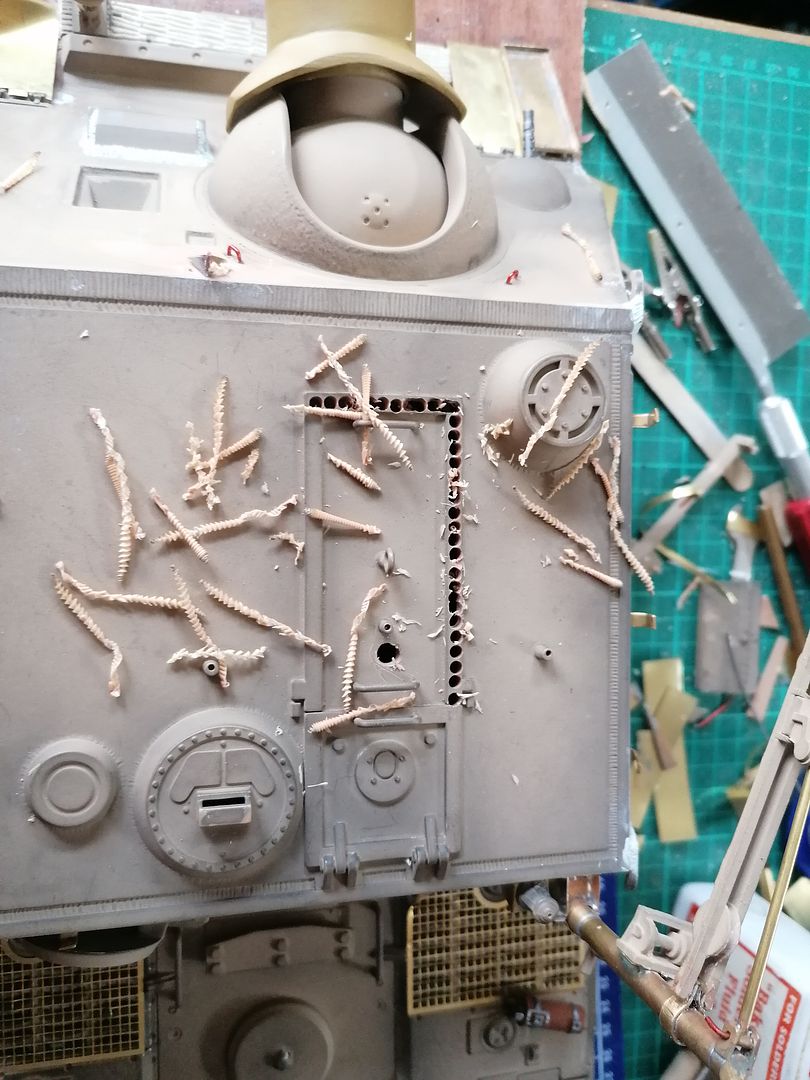
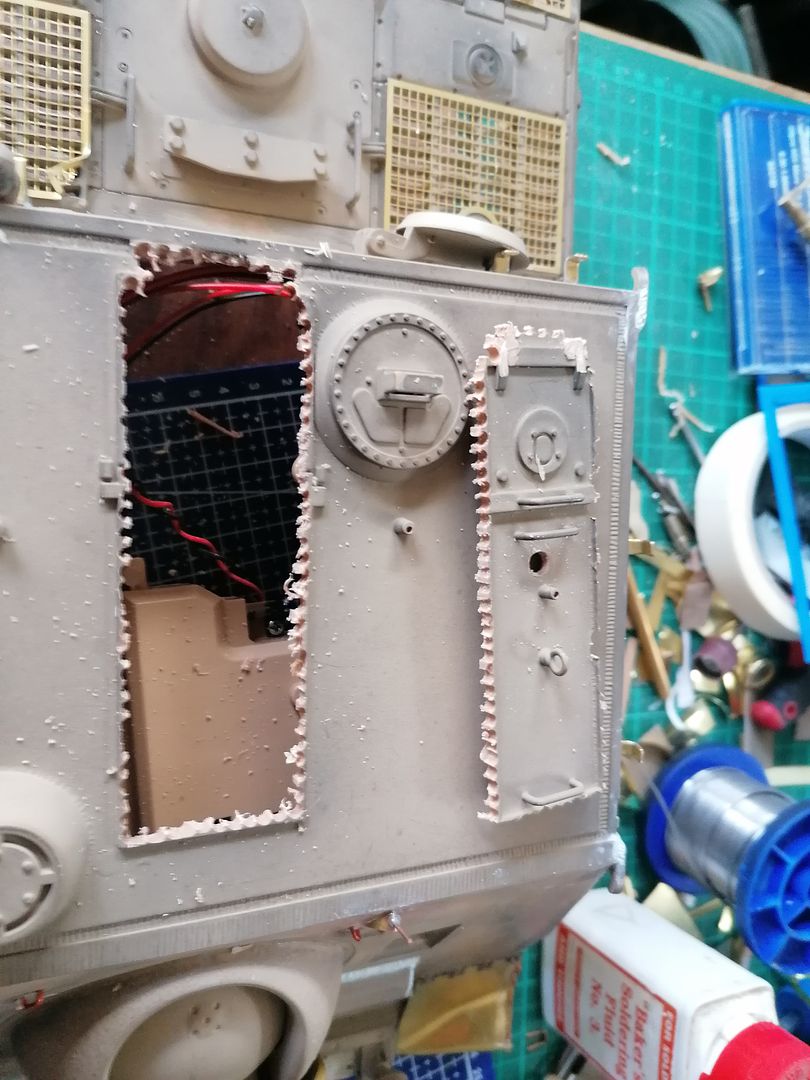
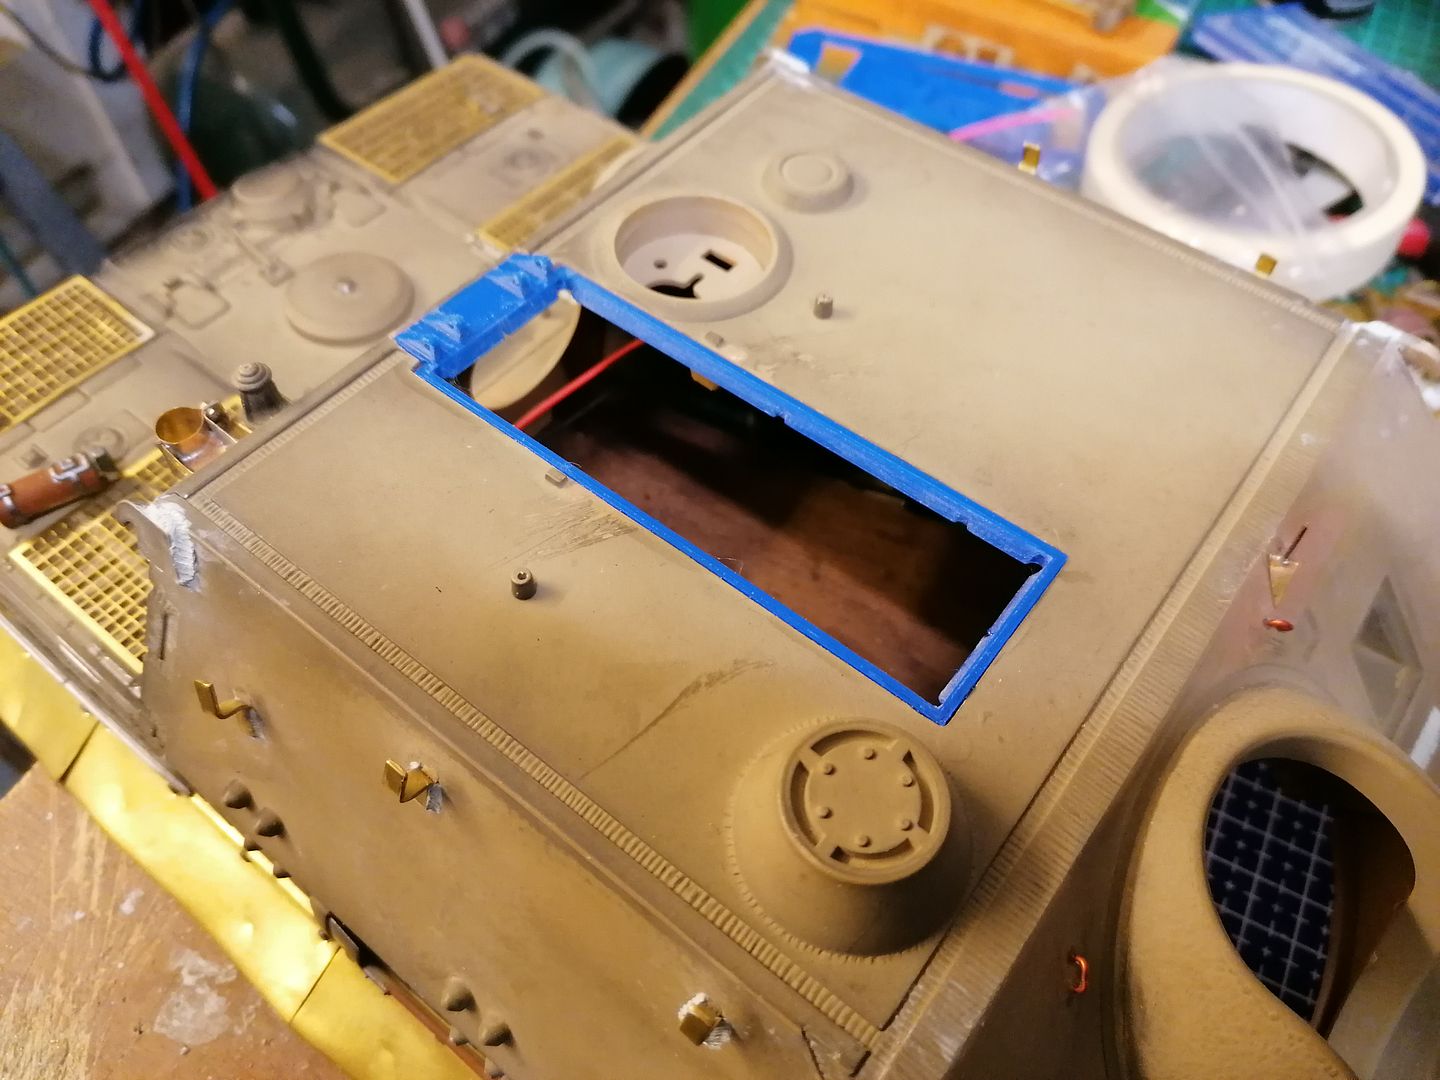
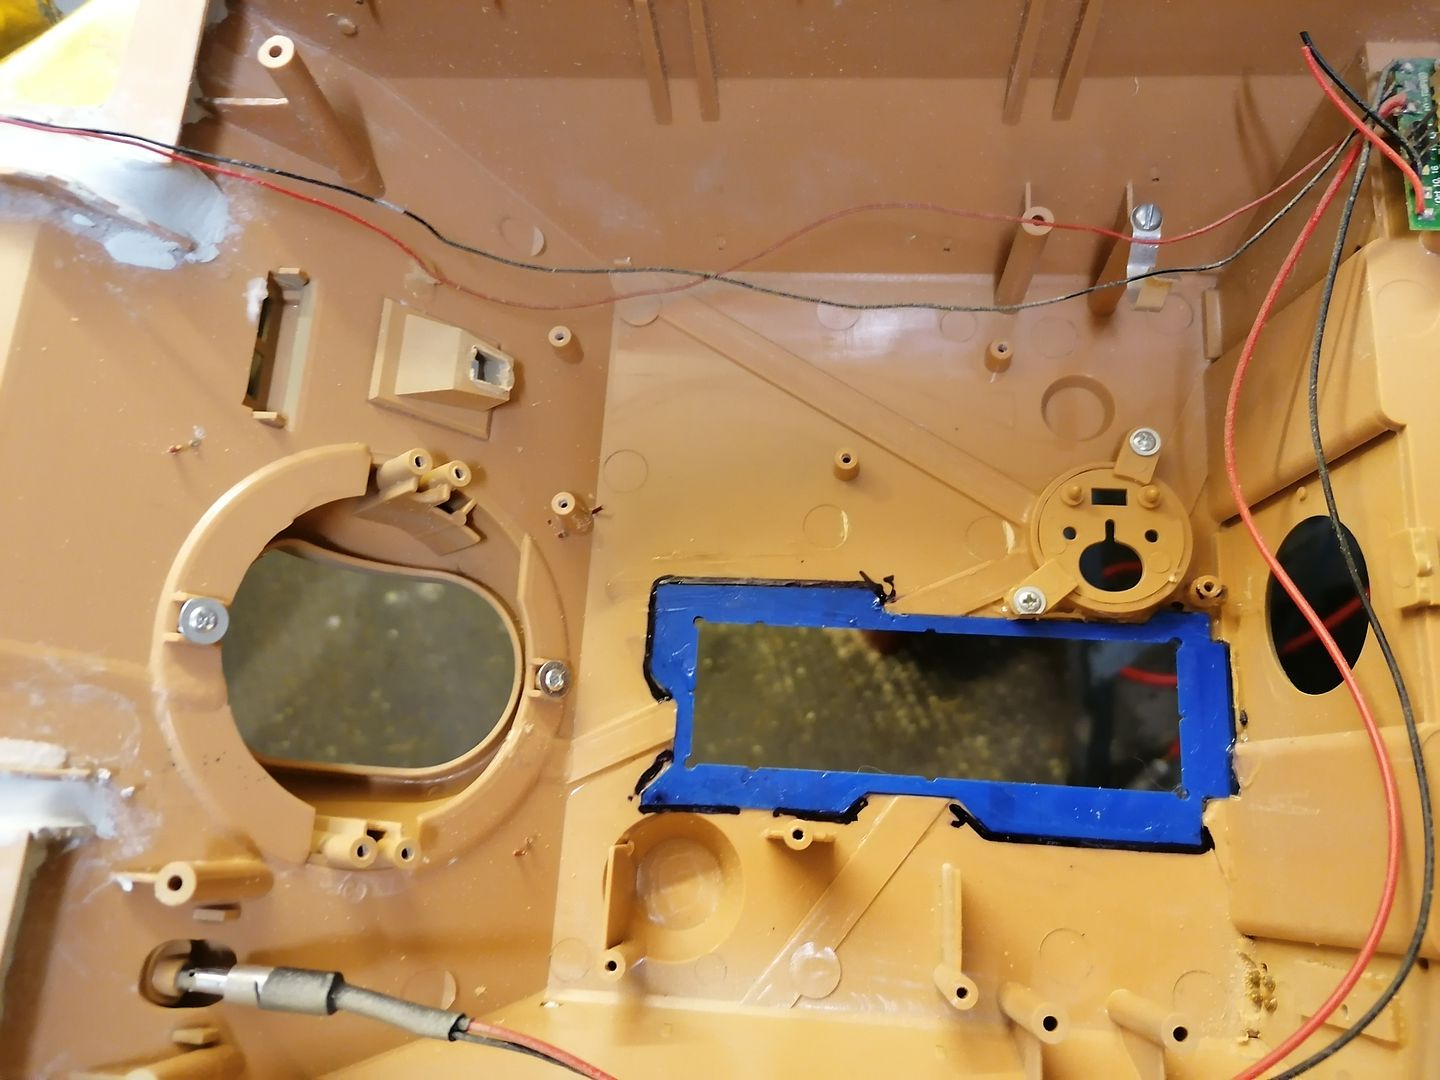
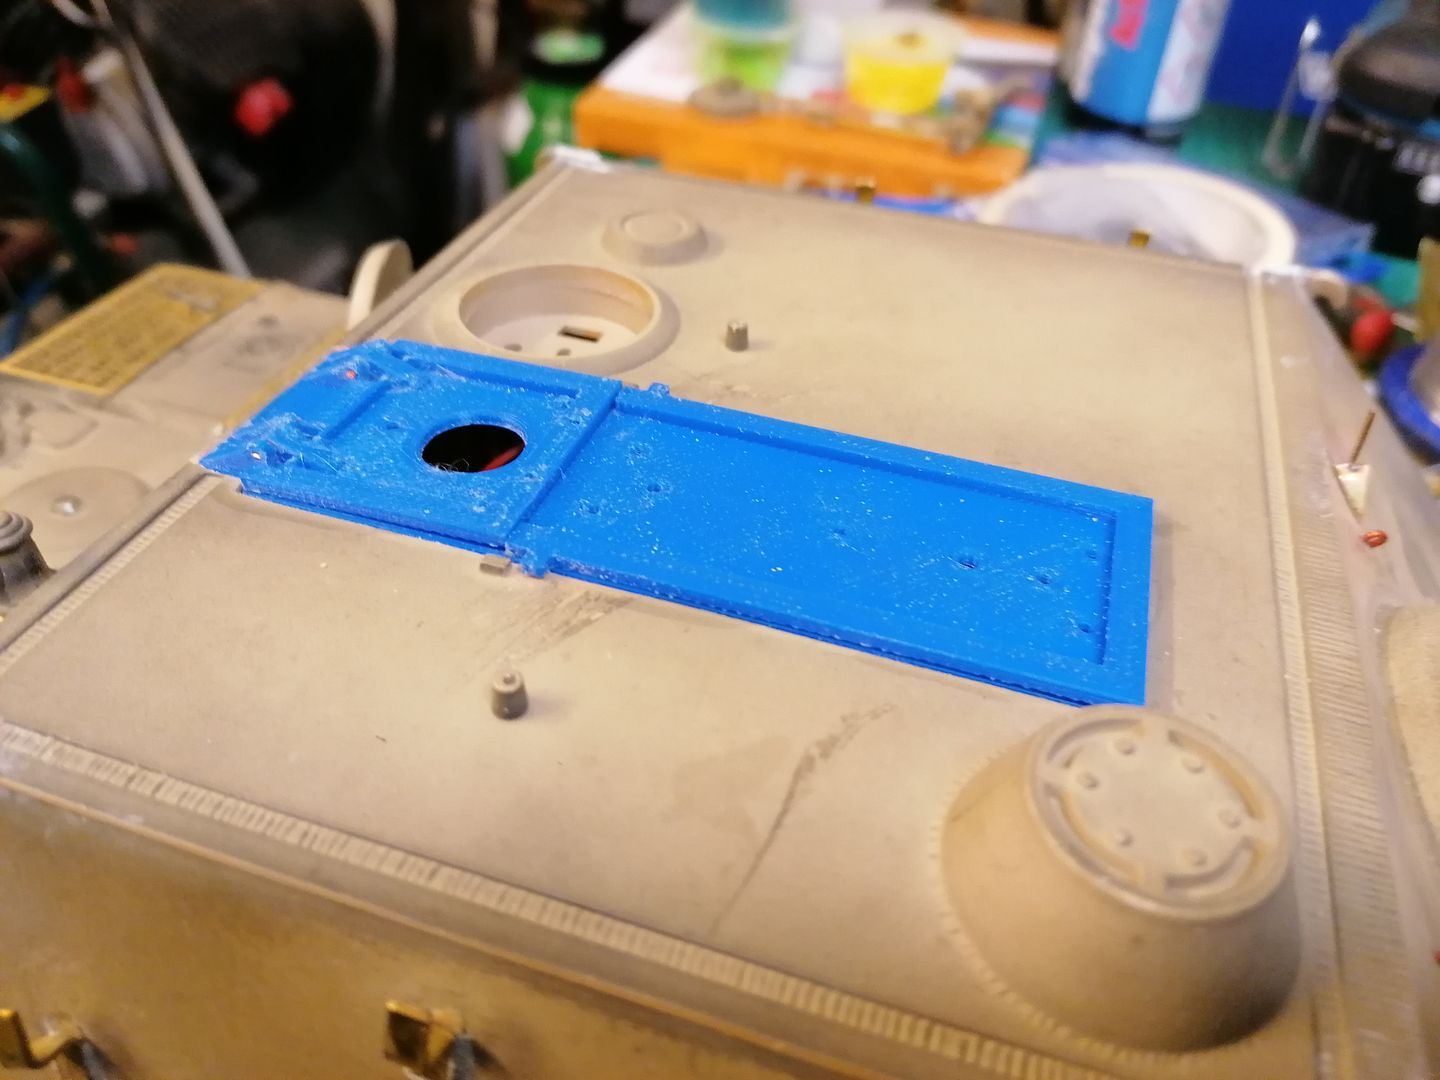
I will also do some more work on the upper hatches as its nearly time to cut the top and see what can be done with them.
User avatar
43rdRecceReg
Major
Posts: 6294
Joined: Fri Jul 31, 2015 11:38 am
Location: North West Highlands, Scotland

Re: TORRO Sturmtiger build

Post by 43rdRecceReg »

:thumbup: There are a few notables who constitute a metalworking elite on RCTW, I think, and you've just joined that august body! :clap:
"Get your facts first, and then you can distort them as much as you please"- Mark Twain.
User avatar
baldrick131
Lance Corporal
Posts: 140
Joined: Fri Oct 04, 2019 8:46 pm
Location: March cambridgeshire
Contact:

Re: TORRO Sturmtiger build

Post by baldrick131 »

43rdRecceReg wrote::thumbup: There are a few notables who constitute a metalworking elite on RCTW, I think, and you've just joined that august body! :clap:
Wow would never have expected a compliment like that thank you very much.
I wouldn't call myself an expert but I have had occasion to do things for myself as I don't always take the easy option when I do any of my projects down the shed.
User avatar
baldrick131
Lance Corporal
Posts: 140
Joined: Fri Oct 04, 2019 8:46 pm
Location: March cambridgeshire
Contact:

Re: TORRO Sturmtiger build

Post by baldrick131 »

At last some progress on the loading hatches iv'e come up wit a way of achieving it with out much hassle hopefully (famous last words :'( )
I can do it with a frame that will fit from the inside of the super structure.
The blue part in this CAD assembly I knocked up.
Image
After the moulded hatches and hinges are cut out.
Image
I eventually printed my first frame after far to much messing about with my printer (when a 20 min print turns into a 4 hour printer mending session followed with a 20 min print :crazy: )
Image
But its the right size to use when the hole is cut to see if its going to work I may need to make some changes to it if anything is going to foul the flange that will be glued to the inside of the roof or if the thickness of the roof is different to my rudimentary measurement I can make another one the right depth.
User avatar
baldrick131
Lance Corporal
Posts: 140
Joined: Fri Oct 04, 2019 8:46 pm
Location: March cambridgeshire
Contact:

Re: TORRO Sturmtiger build

Post by baldrick131 »

I have cut and filed the hole out and tried the frame in.
Image
Image
it needed to be worked on for an easier fit but it's in place.
Image
This is the mk2 frame it's not perfect on the flange area but with a bit of trimming it was glued in place.
I will make changes on the cad model and will upload it with my other files when I have got it all together.
Image
The hatches (the top halves at least they are both made in 2 pieces) were put on and hinge pins placed in the small hatch.
Image
Image
I can now fill the gaps and clean it up sort out some minor issues with the hatches and it's done then on to the next job.
User avatar
HERMAN BIX
Brigadier
Posts: 10300
Joined: Sun Jan 12, 2014 12:15 am
Location: Gold Coast,Australia

Re: TORRO Sturmtiger build

Post by HERMAN BIX »

A great innovative solution
HL JAGDPANTHER,HL TIGER 1,HL PzIII MUNITIONSCHLEPPER, HL KT OCTOPUS,HL PANTHER ZU-FUSS,HL STuG III,HL T34/85 BEDSPRING,
HL PZIV MALTA,MATORRO JAGDTIGER,HL F05 TIGER,TAMIYA KT,HL PANTHERDOZER,HL EARLY PANTHER G,TAIGEN/RAMINATOR T34/76,
HL AN-BRI-RAM SU-85
Post Reply

Return to “Other Builds”