Asiatam Stug IV Build

This section is for builds that are not strictly Tamiya or Heng Long. For instance, replacing the electronics from a WSN or Matorro, or even a scratch-build.
User avatar
KTRob
Lance Corporal
Posts: 197
Joined: Sat Jan 26, 2013 5:56 pm

Asiatam Stug IV Build

Post by KTRob »

Hi Guys,

Thought you might like to see some pics of an Asiatam Stug IV I am currently building, its not the easiest thing to work on but not so bad either. I bought it ages ago from an ad on this forum, it consists of the asiatam metal hull, stug top kit and an SLU system.

So without further ado here are the photos:
Image

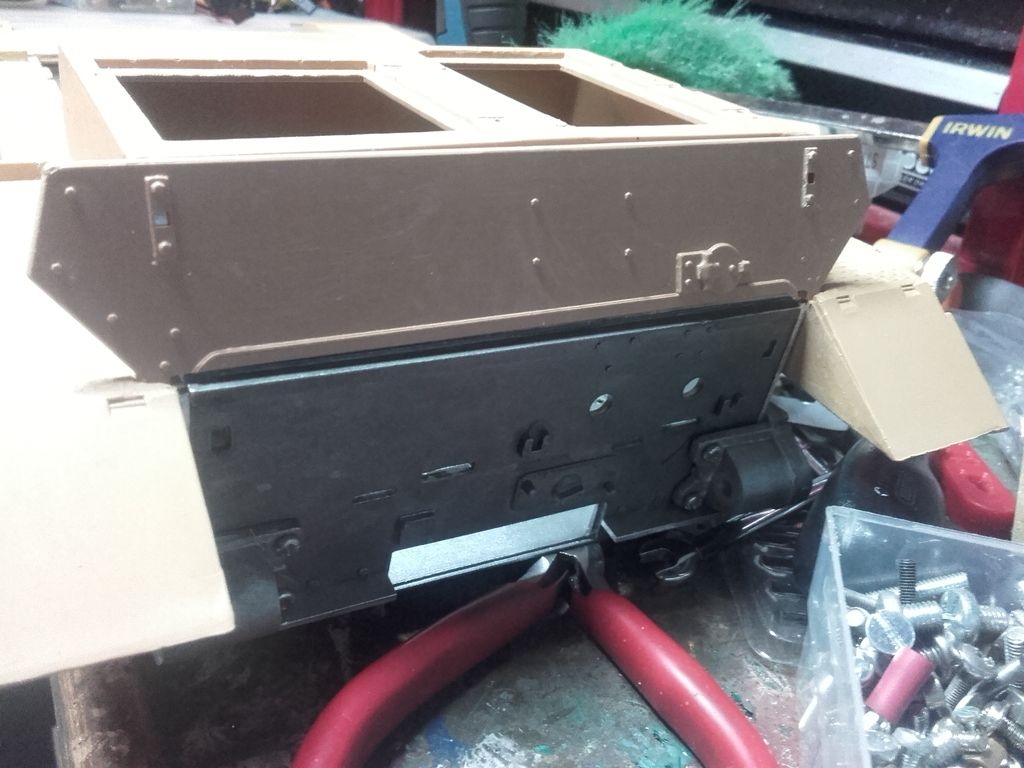
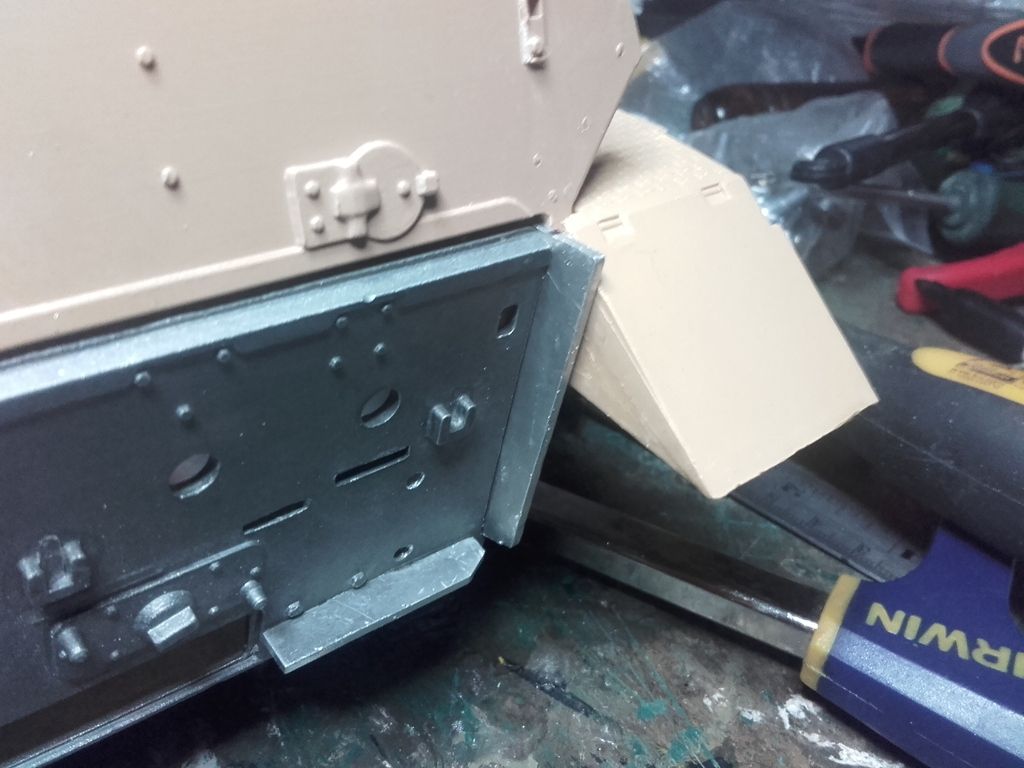
First step was finding out as others have on the forum, that the lower is a tad longer than the heng long, the irony being the Stug IV upper is the same as a heng long lengthwise, so even asiatams own upper wont fit the lower :problem:

so out came the hacksaw:

Image

Also found the rear plate was warped but managed to straighten it.

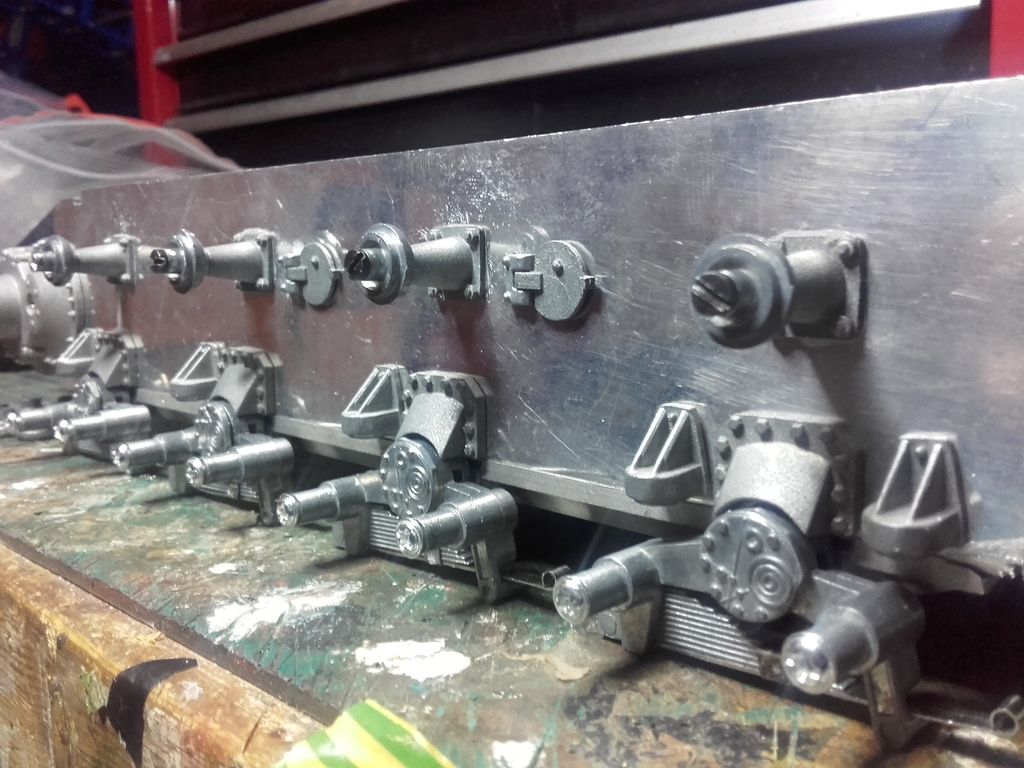
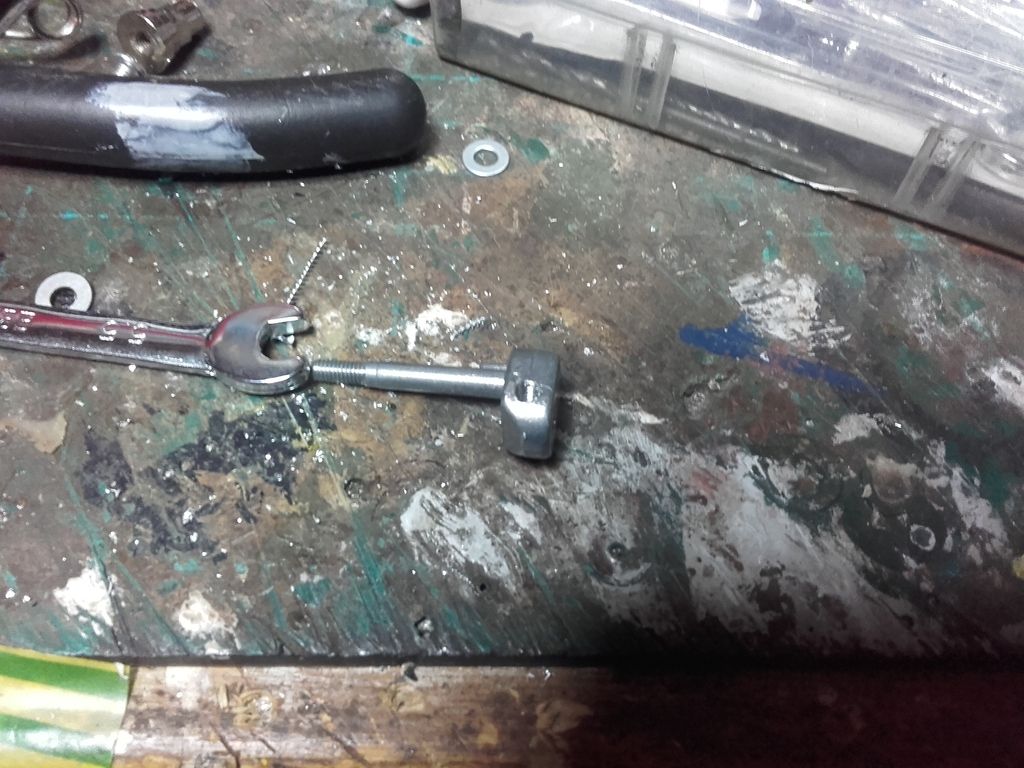
Next was to build up the suspension, its not the best as others have observed, biggest problem for me was the self tappers asiatam supply to hold the wheels on. The holes in the bogies were unthreaded so I ditched the screws supplied, drilled out and tapped each arm to an M3 thread and used a machine screw instead:
Image

The return rollers are also a problem, the axles supplied are stepped which in theory prevents the axle from binding when the nut is done up inside the hull, sadly though they dig into the metal roller mounts when tightened so I found a point where the axle is tight but still lets the rollers turn, then superglued the nut in place.

I also modified the fairly weak asiatam idler tensioners so the axle of the idler is locked in place by a grub screw, without this the idler axle tightens itself going back and loosens going forwards....
Image

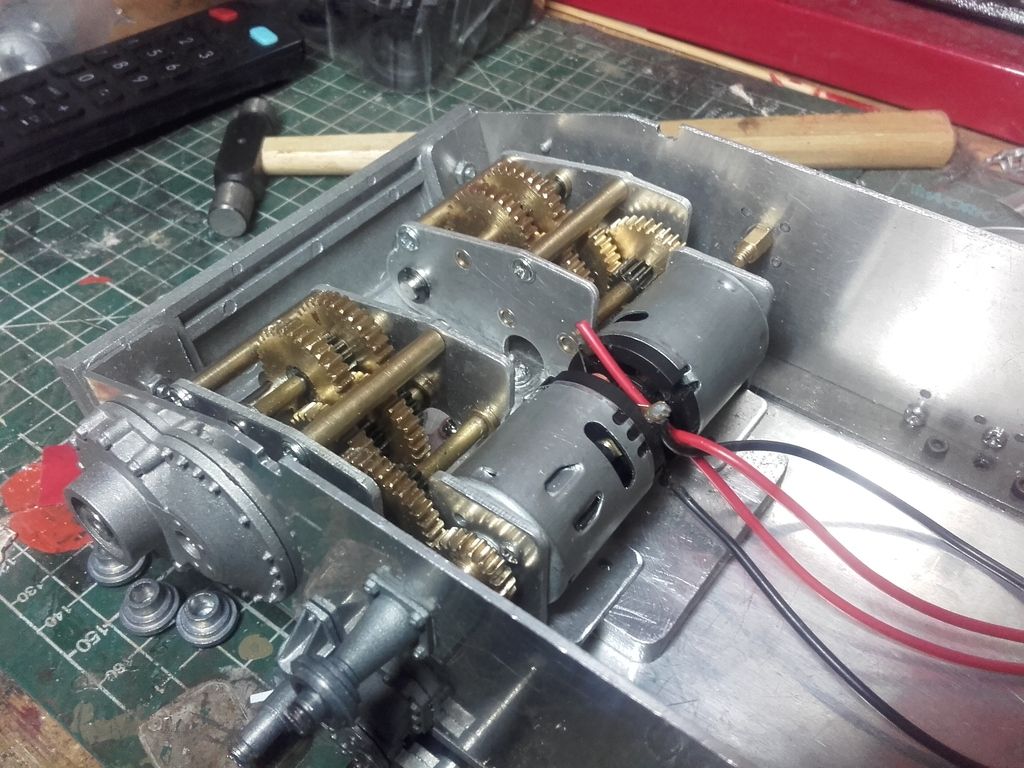
Gearboxes went in:

Image

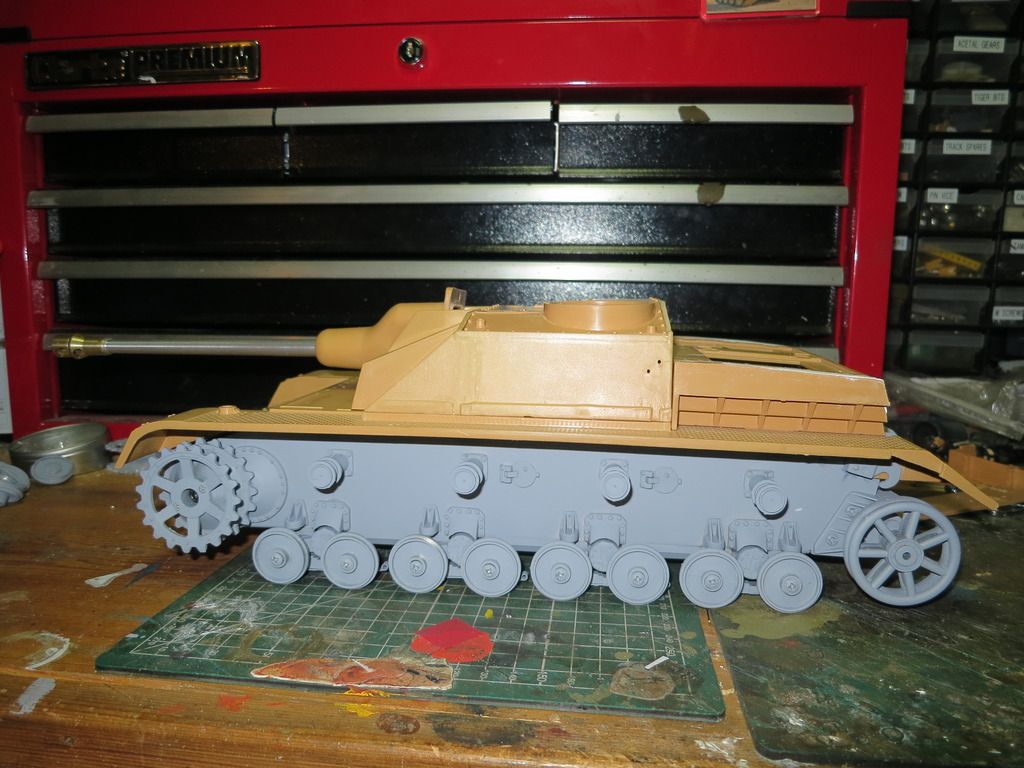
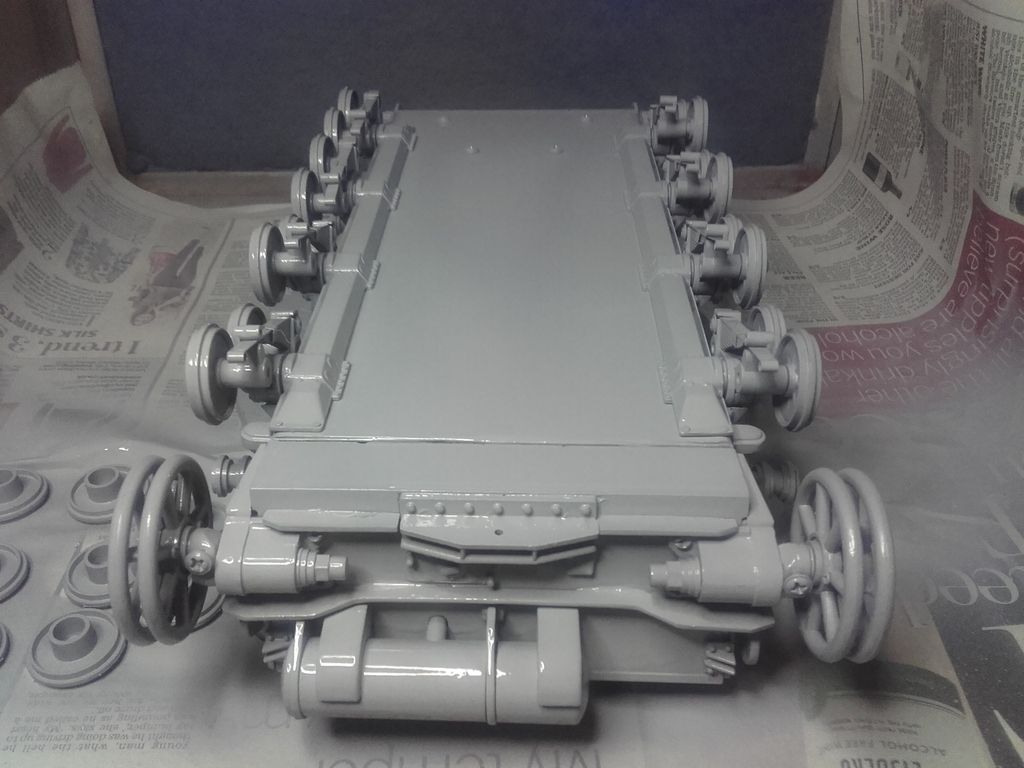
Next step was a primer coat (Wilko grey primer works well on the aluminium hull)
Image
You can never have too many tanks...... :D
User avatar
c.rainford73
Major
Posts: 6104
Joined: Thu Aug 25, 2016 7:34 pm
Location: Connecticut USA

Re: Asiatam Stug IV Build

Post by c.rainford73 »

Very nicely done
Tanks alot.... :wave:
User avatar
KTRob
Lance Corporal
Posts: 197
Joined: Sat Jan 26, 2013 5:56 pm

Re: Asiatam Stug IV Build

Post by KTRob »

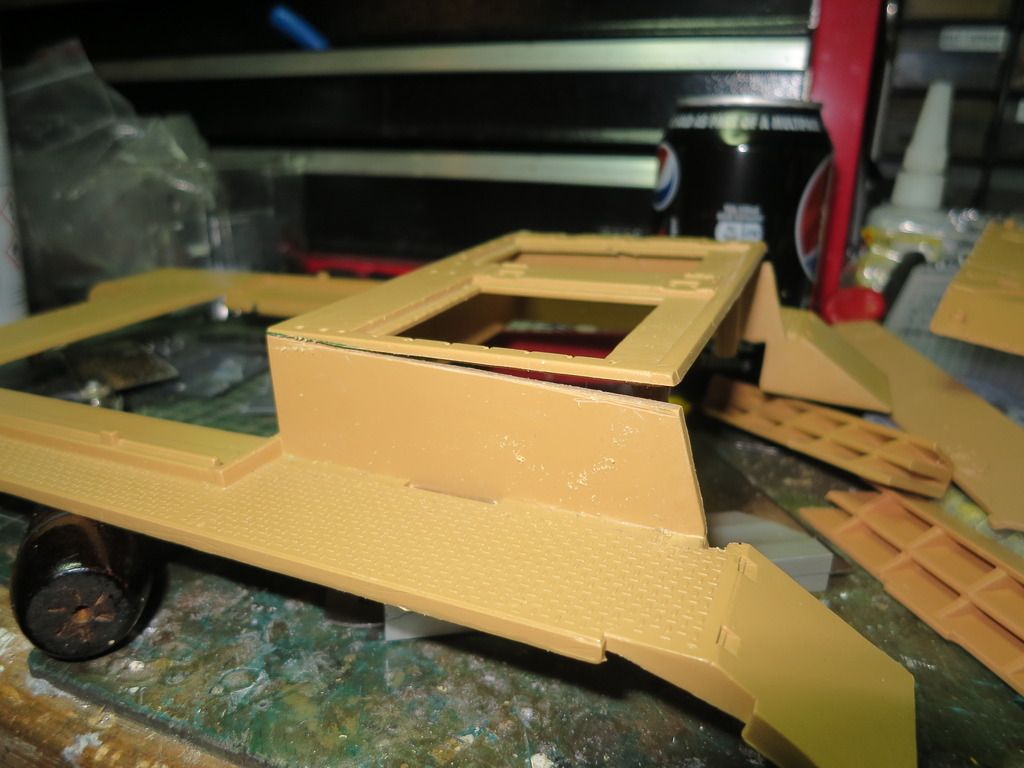
Moving onto the upper hull, the back is like the Heng Long and flat, so I cut the slope into it:

Image

Then fitted on the casemate, needs clamps to hold it in place:

Image
You can never have too many tanks...... :D
User avatar
KTRob
Lance Corporal
Posts: 197
Joined: Sat Jan 26, 2013 5:56 pm

Re: Asiatam Stug IV Build

Post by KTRob »

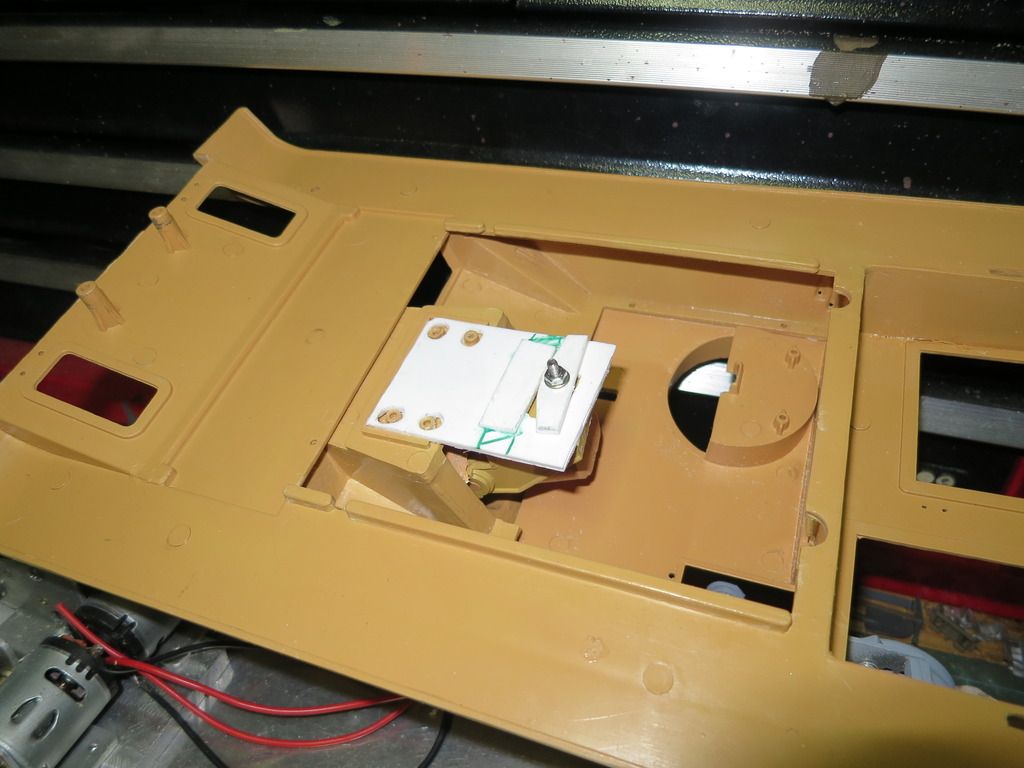
Iv'e made a start on getting the gun working, it needs a bit of tweaking but is almost there:

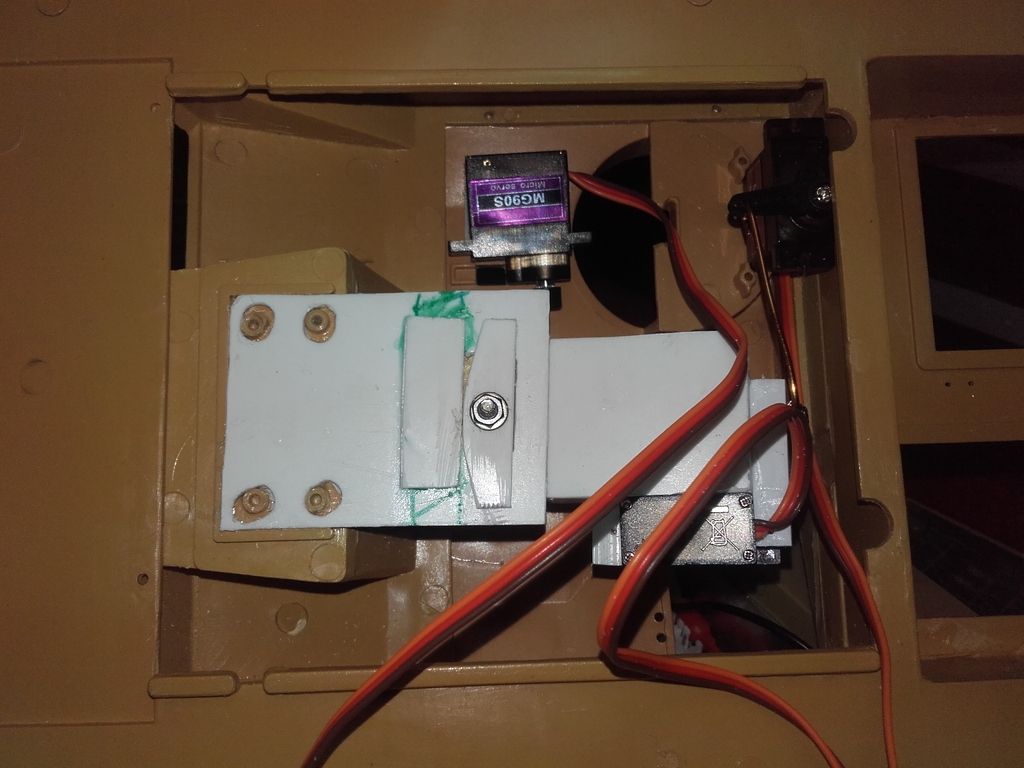
The kit mounts allow elevation but no traverse. I decided to have a go at making it traverse, so made a new plate from thick plasticard then cut a channel to allow the gun to shift sideways:

Image

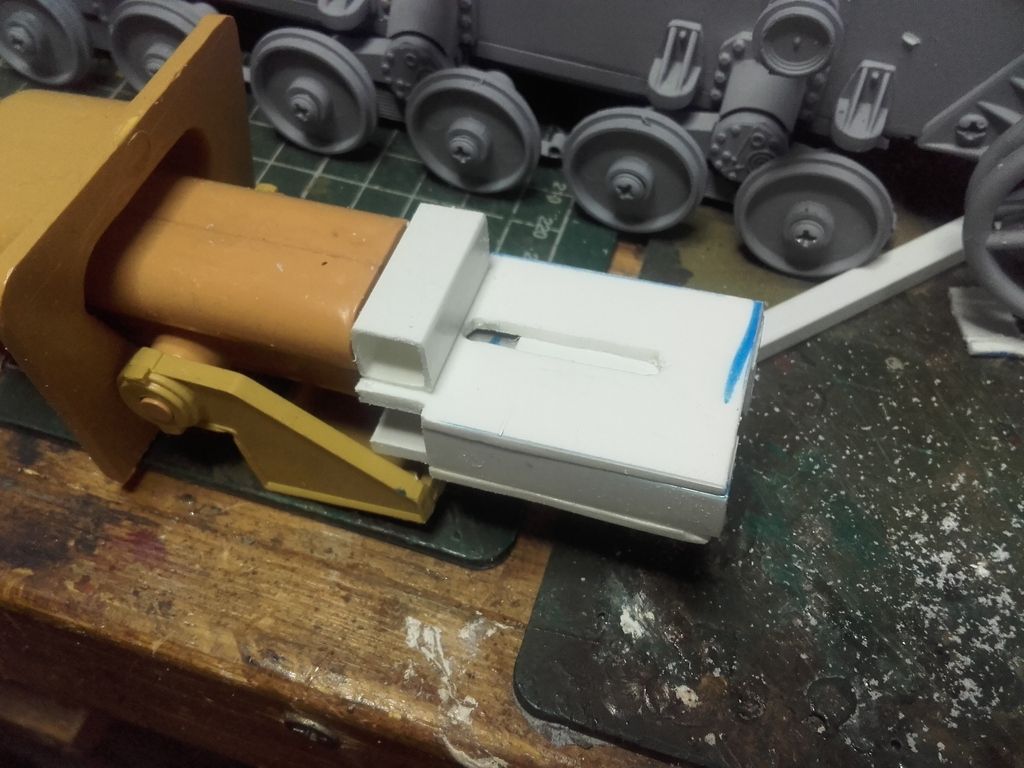
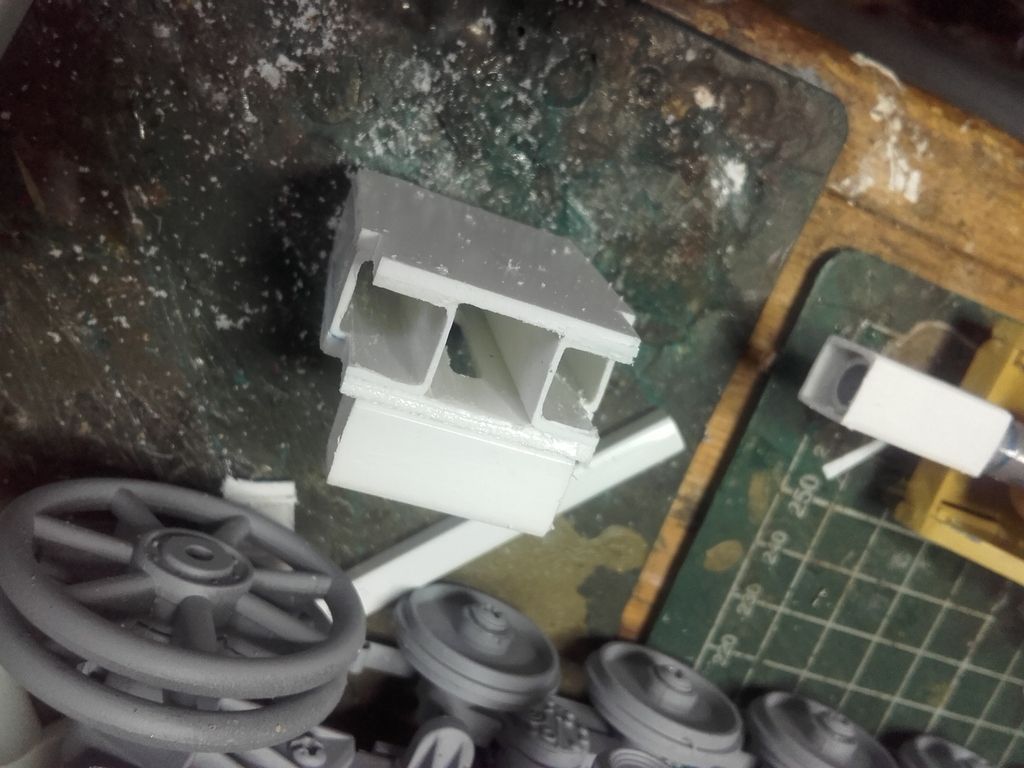
Next job was recoil. the barrel and holder as is was made too tight so had to be filed out to allow movement. The recoil unit is made out of simple plastic tubes and sheet:

Image

Image

Servo on:

Image

Tight squeeze to get it back in, should have left the roof off!

Image

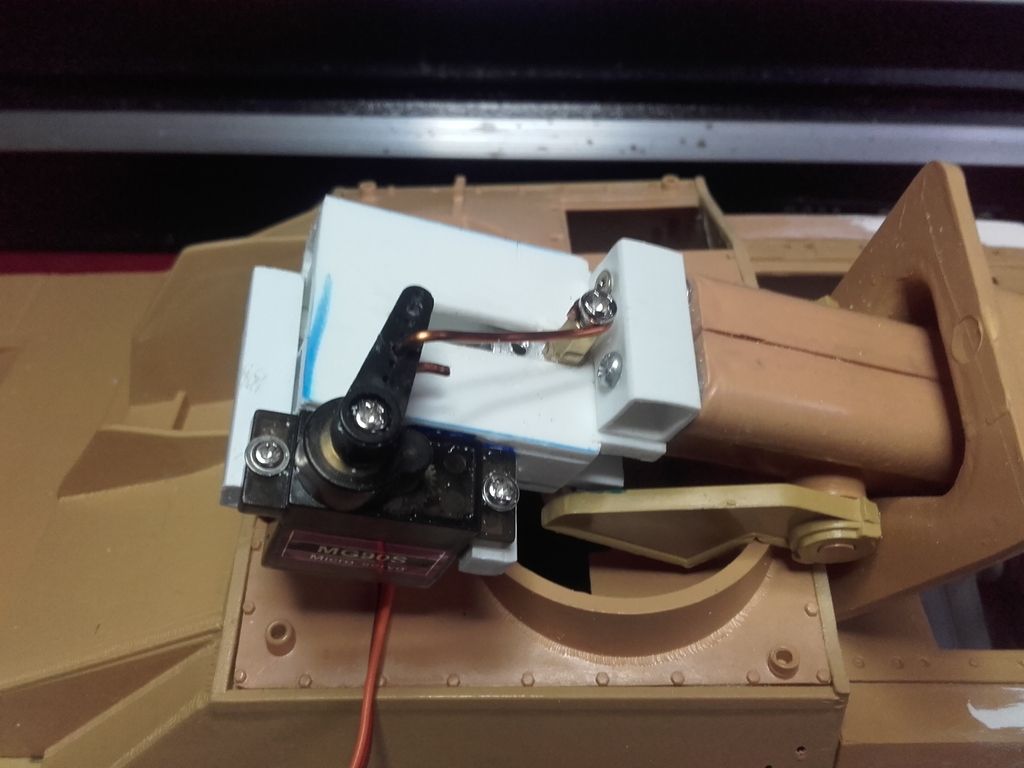
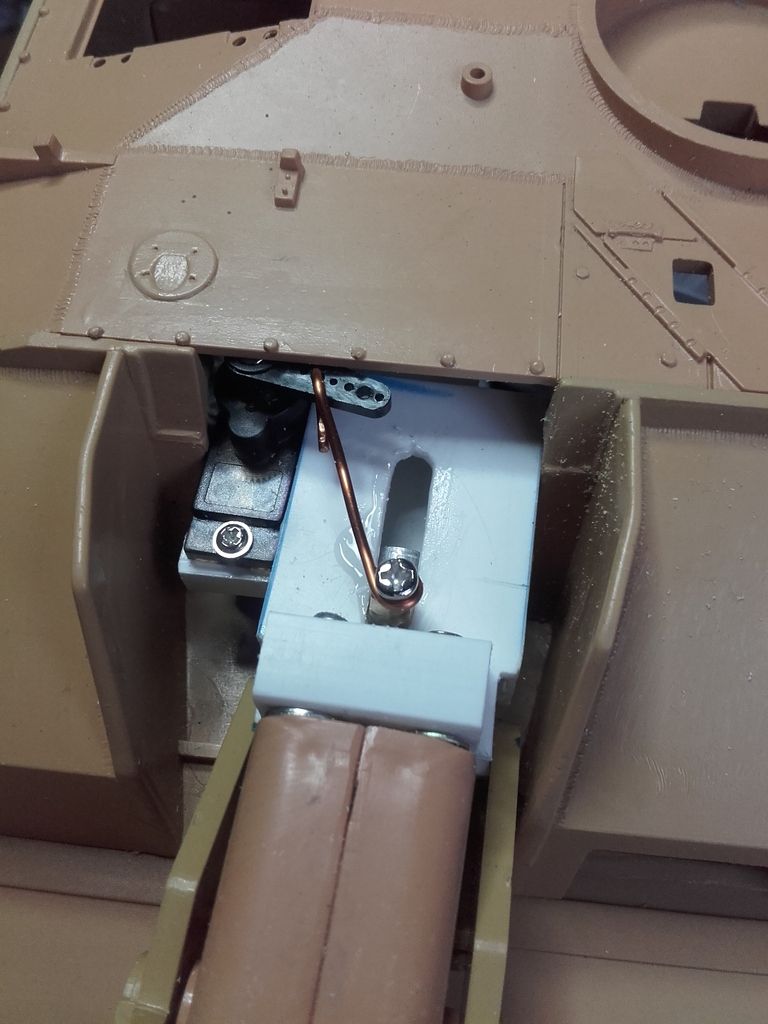
Added an elevation servo, the wire pushes on the top of the gun, and the traverse is hooked a screw in the back of the gun:

Image
You can never have too many tanks...... :D
User avatar
KTRob
Lance Corporal
Posts: 197
Joined: Sat Jan 26, 2013 5:56 pm

Re: Asiatam Stug IV Build

Post by KTRob »

Video of gun:

Image
You can never have too many tanks...... :D
User avatar
KTRob
Lance Corporal
Posts: 197
Joined: Sat Jan 26, 2013 5:56 pm

Re: Asiatam Stug IV Build

Post by KTRob »

c.rainford73 wrote:Very nicely done
Thanks :thumbup:
You can never have too many tanks...... :D
User avatar
c.rainford73
Major
Posts: 6104
Joined: Thu Aug 25, 2016 7:34 pm
Location: Connecticut USA

Re: Asiatam Stug IV Build

Post by c.rainford73 »

Very impressive Rob. Like the gun functions. This is on my list of kits to build once I figure out my current projects but your photos are tempting me to buy one.....
Tanks alot.... :wave:
User avatar
Raminator
Warrant Officer 2nd Class
Posts: 1267
Joined: Tue Aug 11, 2015 9:57 am
Location: Newcastle, Australia

Re: Asiatam Stug IV Build

Post by Raminator »

Excellent work on the traverse setup Rob, I know it's not easy but that's how you make it look.
User avatar
wibblywobbly
Major
Posts: 6398
Joined: Fri Oct 17, 2008 9:30 am
Location: South Wales Valley
Contact:

Re: Asiatam Stug IV Build

Post by wibblywobbly »

Good to see someone tackling this kit and making it all fit, it's looking good, will be looking forward to seeing it finished. :thumbup:
Tiger 1 Late
Panther G
King Tiger
M36 B1
User avatar
KTRob
Lance Corporal
Posts: 197
Joined: Sat Jan 26, 2013 5:56 pm

Re: Asiatam Stug IV Build

Post by KTRob »

c.rainford73 wrote:Very impressive Rob. Like the gun functions. This is on my list of kits to build once I figure out my current projects but your photos are tempting me to buy one.....
Thanks its not the easiest kit but with a bit of work looks good :thumbup:
Raminator wrote:Excellent work on the traverse setup Rob, I know it's not easy but that's how you make it look.
Thanks, its not too bad, it took me a few hours of trying servo's in different places connected to the IBU2 in my KT to get it right. The only problem now is occasionally the gun gets hung up when the traverse servo rod gets caught up on the screw in the back of the gun. The other advice I can offer, make sure your gunflash is in before you install the gun, otherwise it has to come out again to get it in (guess how I know :haha: )
wibblywobbly wrote:Good to see someone tackling this kit and making it all fit, it's looking good, will be looking forward to seeing it finished. :thumbup:
Thanks, I'm almost finished now, I have this habit of building the things and forgetting to update the build log :{

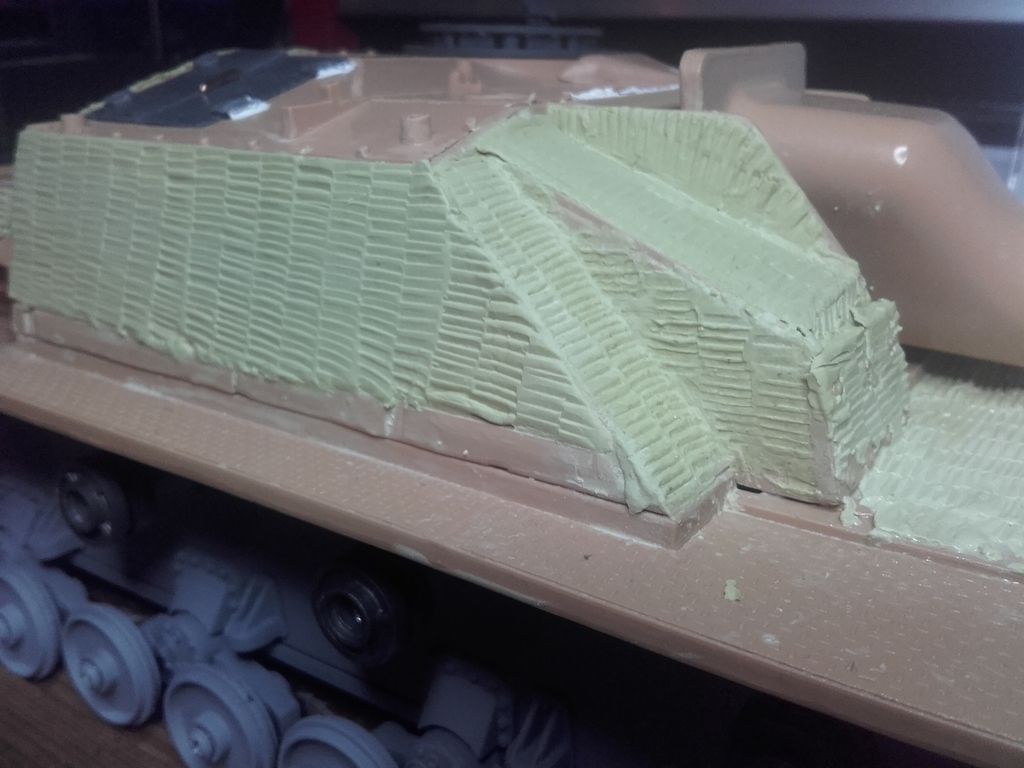
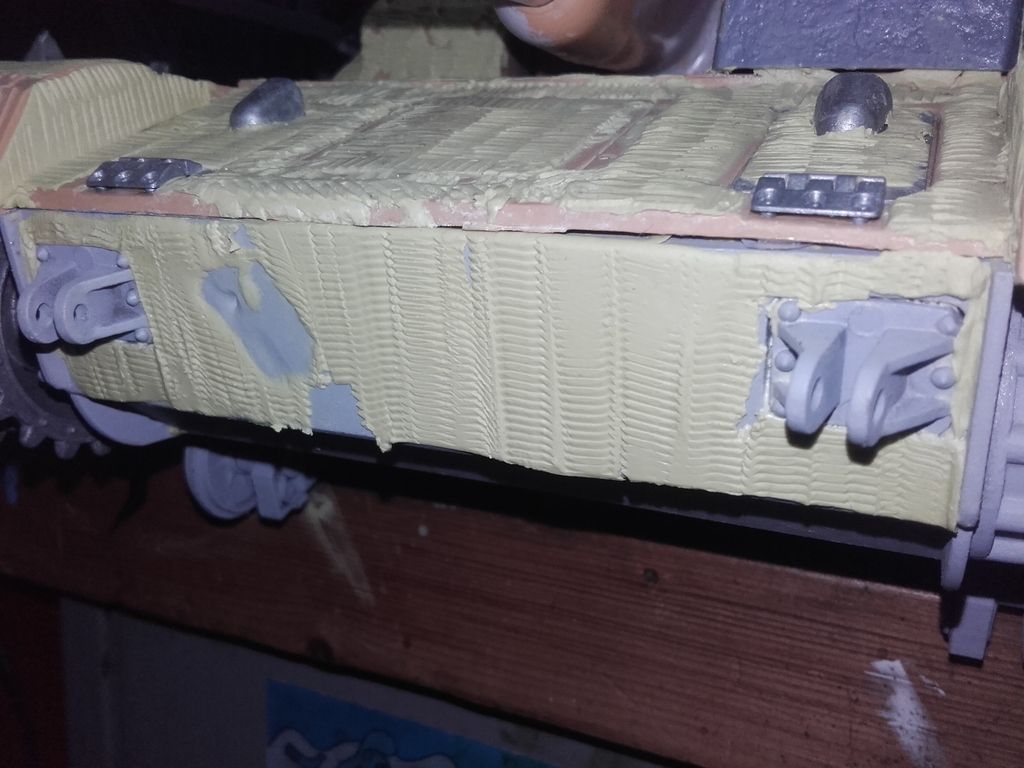
Anyhow, the next step was finding out that an early Stug IV would have had zimmerit @) . I swore after the last tank I wouldn't do another, but on this kit it does hide the gaps :thumbup:

So I got the milliput out and:

Image

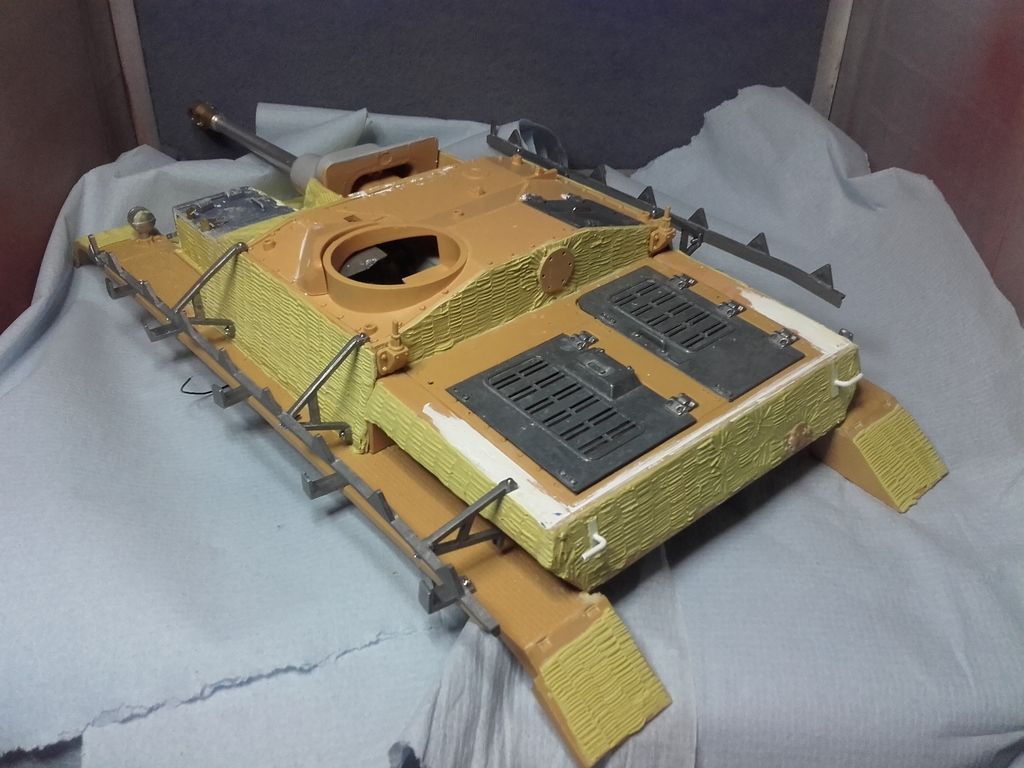
Also fitted up the asiatam schurzen. These are pot metal and break easily. Free battle damage :crazy:

Image

Also tried a new method of making the zimmerit, by using an exacto saw blade to make the ridges. I like it :thumbup:

Image

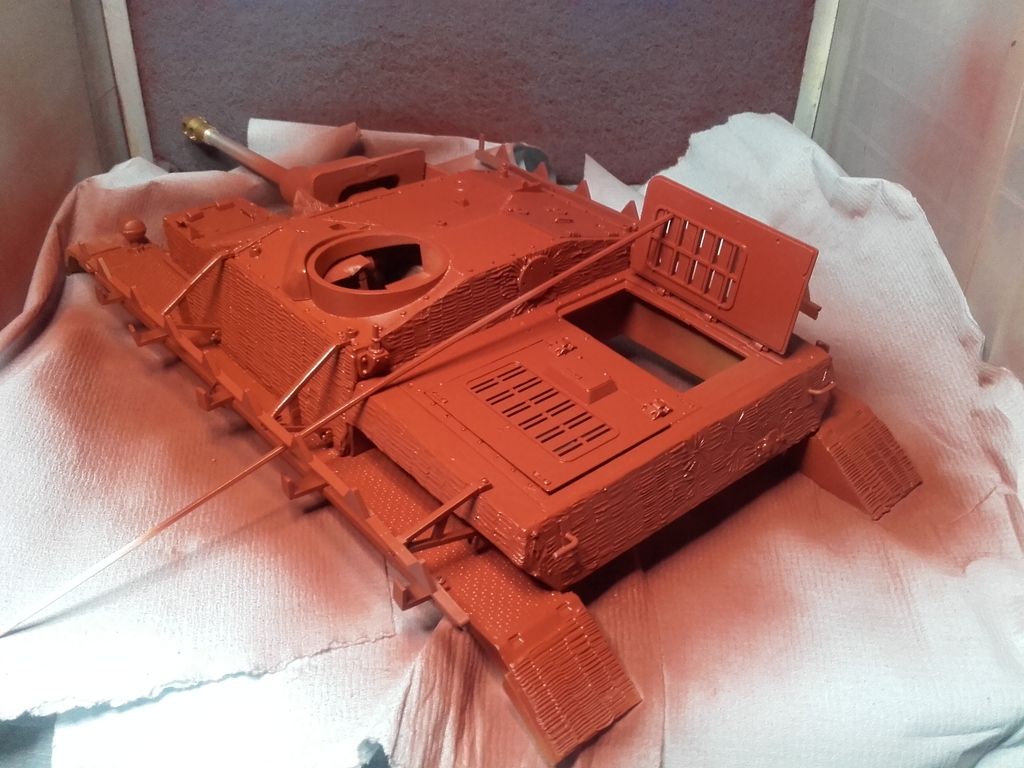
Next job was to spray the primer, as usual using halfords plastic primer...

Image
You can never have too many tanks...... :D
Post Reply

Return to “Other Builds”