Another Torro Pro-Metal King Tiger

This section is for builds that are not strictly Tamiya or Heng Long. For instance, replacing the electronics from a WSN or Matorro, or even a scratch-build.
User avatar
Dr Phibes
Corporal
Posts: 300
Joined: Wed Sep 23, 2015 9:38 pm
Location: Southampton, England, UK

Another Torro Pro-Metal King Tiger

Post by Dr Phibes »

Well it was a while ago now that I got my first tank, a Torro Pro-Metal Edition King Tiger and I have been meaning to start this thread for a while but always seemed to be too busy to get around to it. Anyway I have been documenting my newbie progress and experiences as a first time RC tank re-builder and commander and here it is. I will try and get it up to date starting from first arrival to present state of progress. I hope perhaps it will eventually be helpful a little for others new to the hobby.
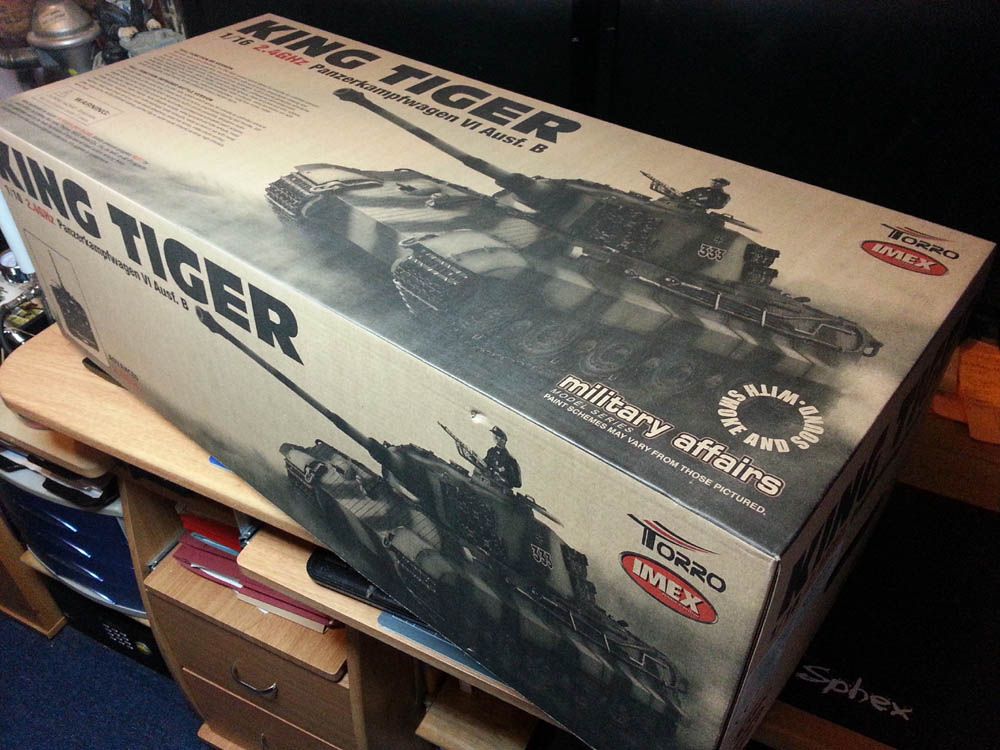
To begin, as I say, this is what I received from those nice people at the Torro store. I bought direct from them for the simple reason they had the best price at the time.
Image

A nice box! I opted for the version without the wooden box and unpainted because I new I would be rebuilding and modifying and I had no use for the box (nice though it is). What is odd/confusing (for me at least) is that this is a Torro branded tank but is also, on the box, an 'Imex' version which, so I understand is an exclusive branding for the American market? (do feel free to correct me, I will be consistently wrong about much :D ).
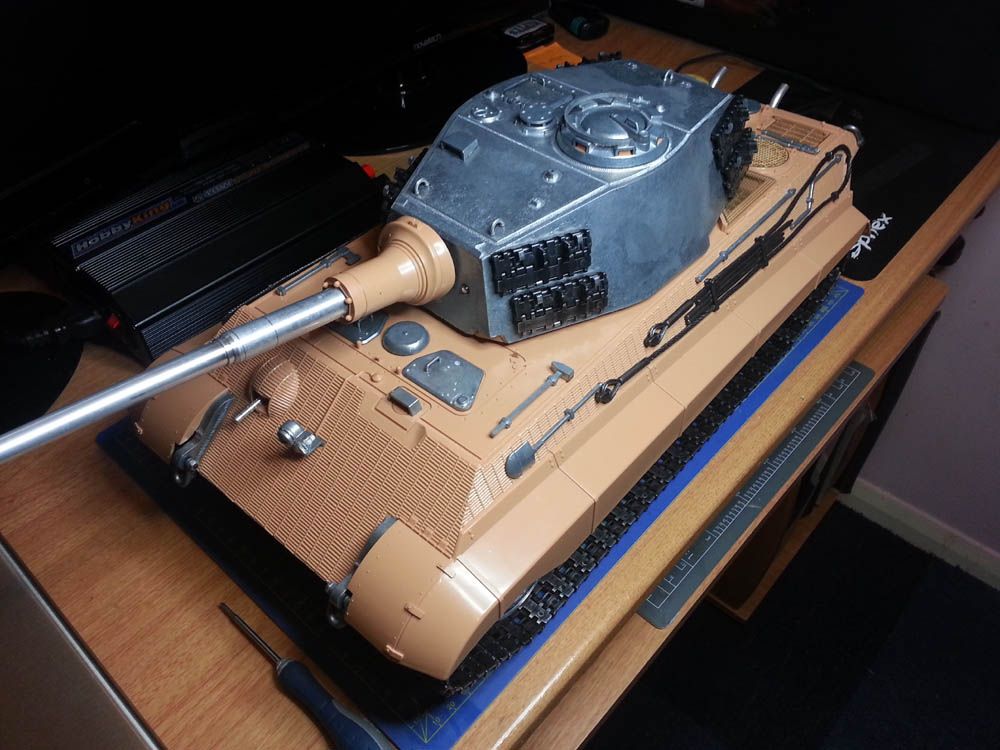
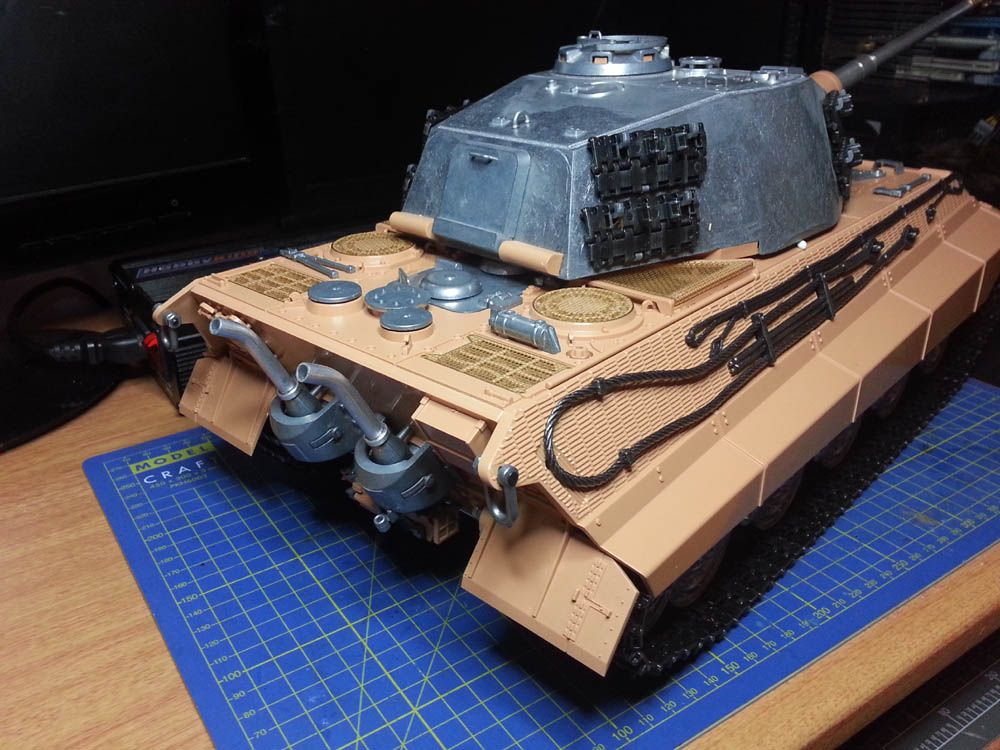
Anyway, regardless, here is what is the important bit, the tank itself (I'm not doing a step by step unboxing, there are plenty of them already, I just want to show what you will get if you buy this version) bog standard and as it comes out of the box,
Image

Image

Image

The Torro Pro-Metal Edition King Tiger, as presented here, is apparently more than 90% metal though, to me, at first glance there looked to be a whole lot of the plastic thing going on here. Still I take their word for it and feel better about the many hundreds of pounds it just cost me :)
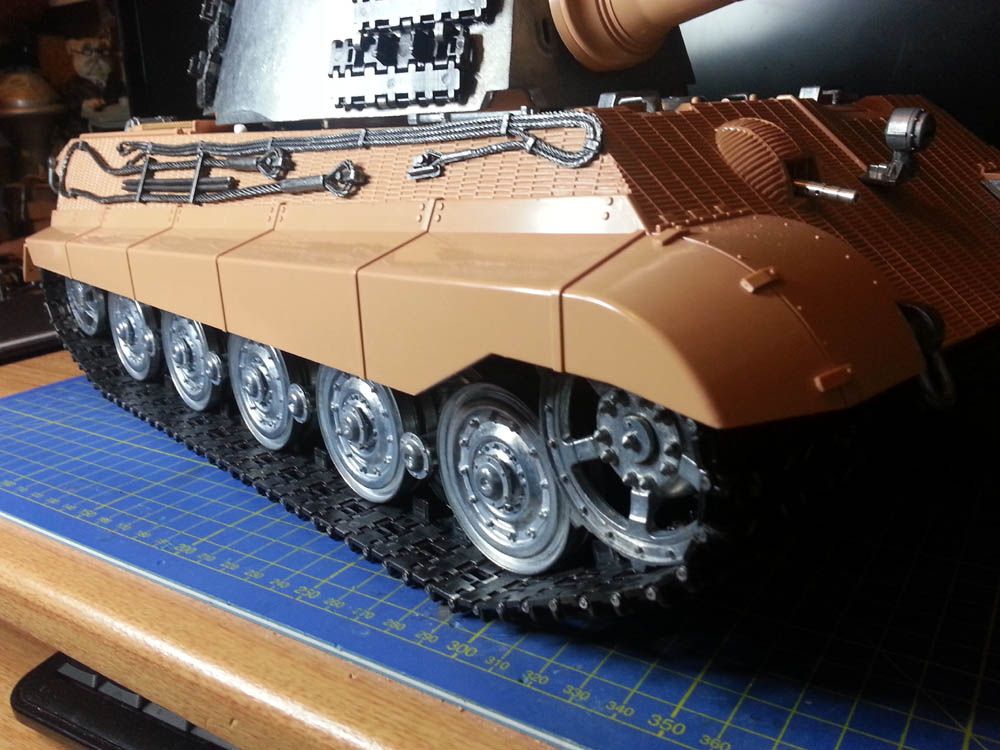
Image

The Turret and barrel are all metal, as is the lower hull and all its components, the wheels, sprockets, idlers, and tracks (seen here) as well as the suspension arms, all hatches and tools (so perhaps it is 90 % after all),
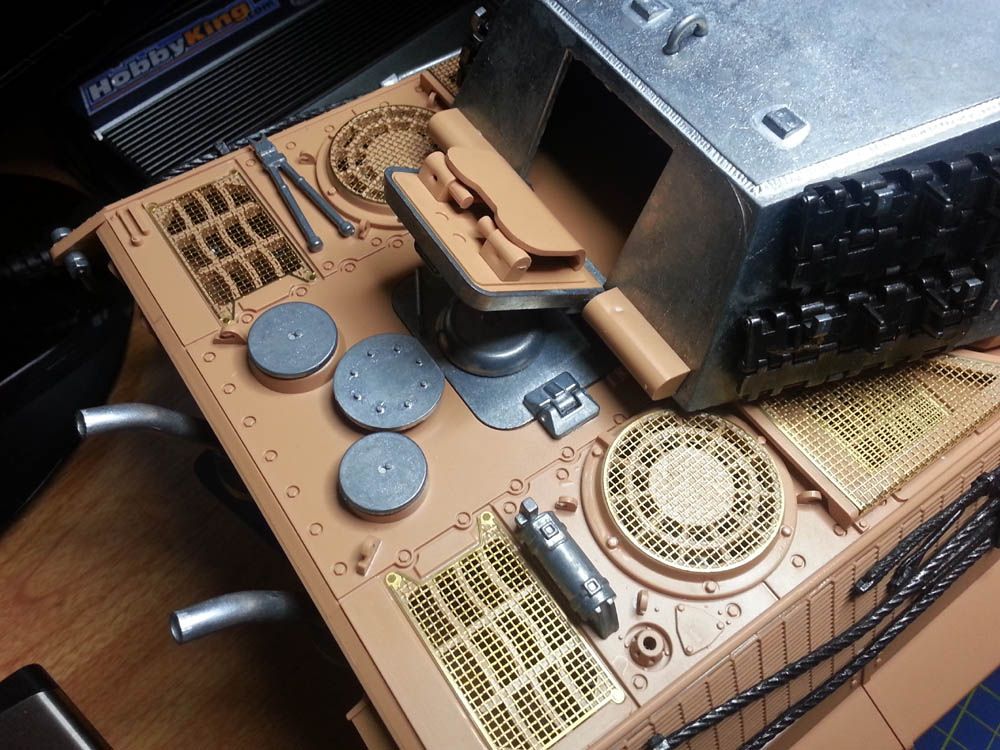
Image

Some nice photo etched parts as standard but cables, barrel cleaning rods, and mounting brackets are all plastic.
Image

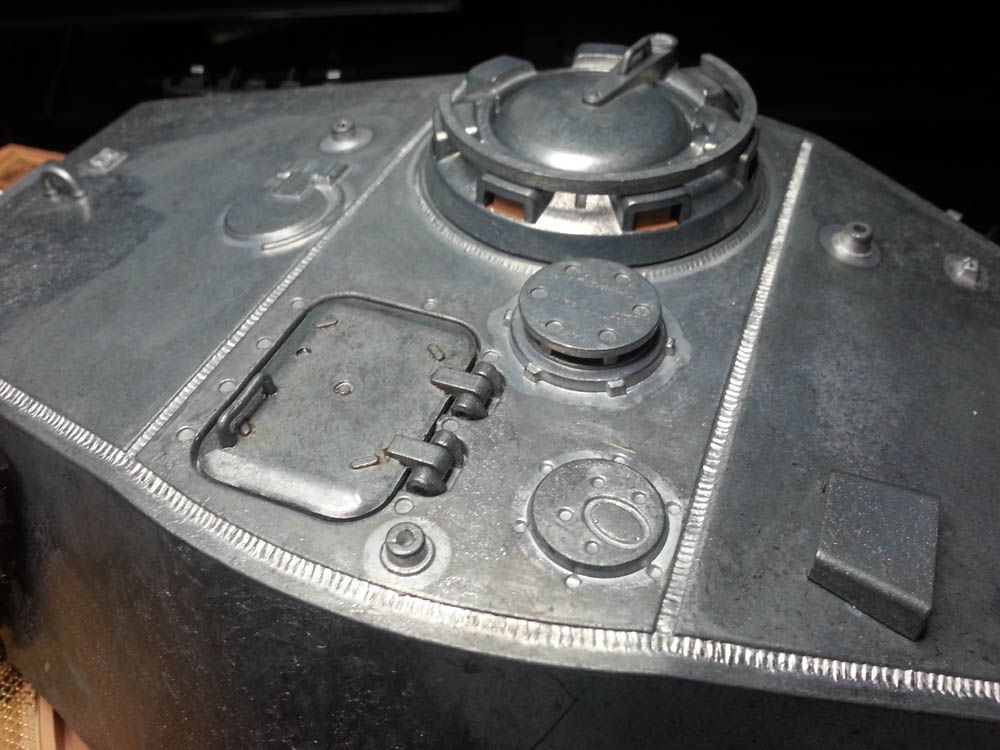
Turret detail seems to me quite reasonable, but what do I know, work to be done too I think.
Image

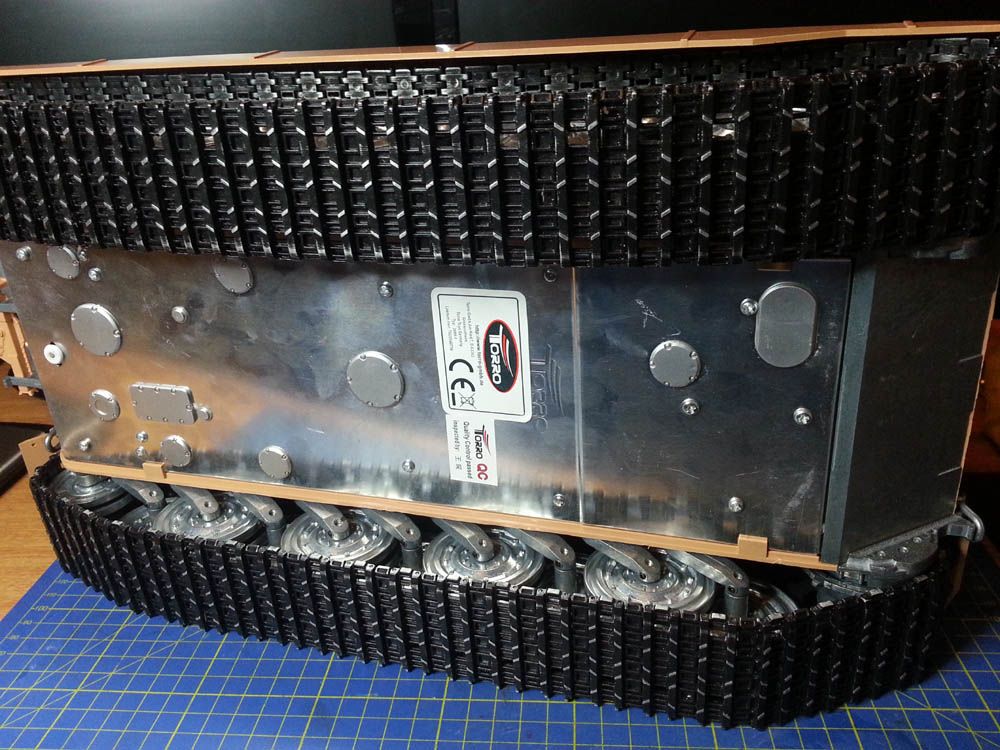
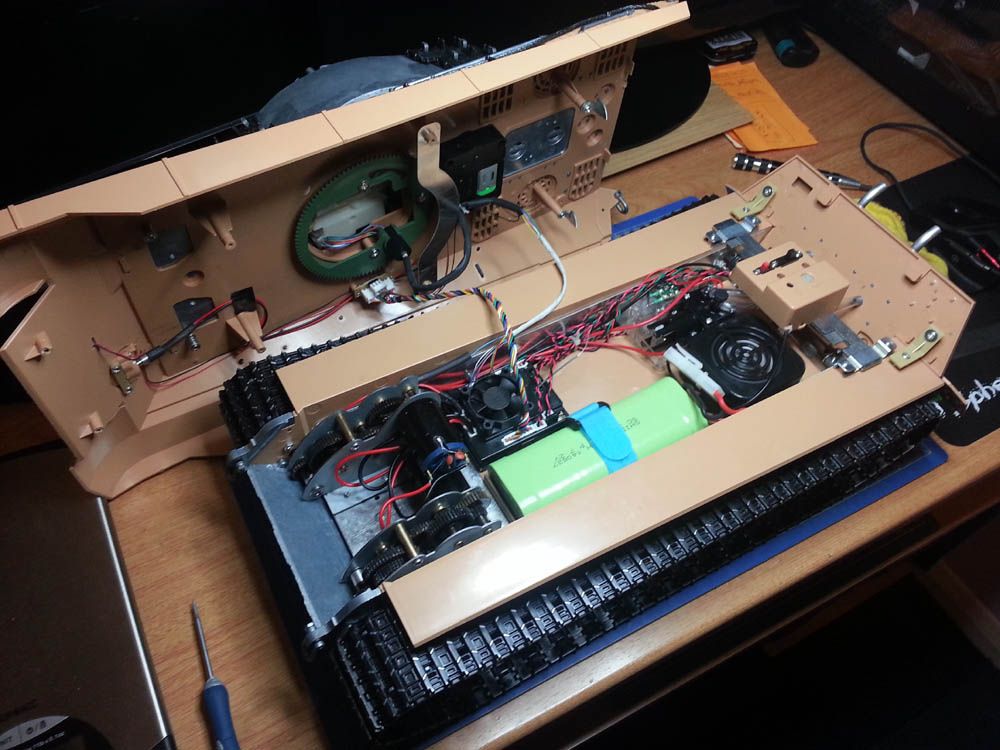
A look (above) at the underside of the metal hull - all covers in place and correct (or so I am told). A word for other newbies: brace yourself! this is one very heavy lump of tank. It took me by surprise coming, as I have mentioned, from the super light, weight-saving RC Heli and multirotor side of the hobby. Below, a quick look at the layout and components 'under the hood',
Image

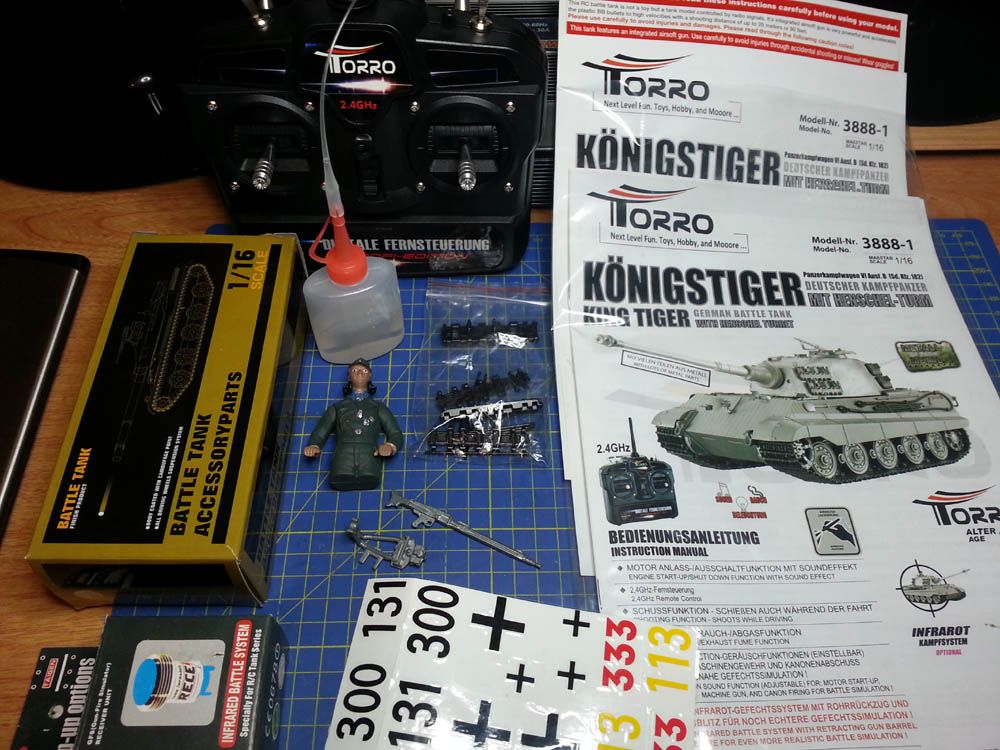
And lastly (below) just for those interested, the rest of the package as received in the box - Accessories, a surprisingly useful owner/operator manual, decals, some pretty rubbish smoke fluid, spare track links. and little tank commander figure with the strangest eyes I have ever seen.
Image

And that's it for now folks. Next I will post the start of my journey in learning, and attempting to copy and re[roduce (badly a lot) the modifying and rebuilding techniques I learn, copy, and steal from the real experts - that's you guys!
Zeffer
Recruit
Posts: 30
Joined: Sat Mar 19, 2016 11:07 am

Re: Another Torro Pro-Metal King Tiger

Post by Zeffer »

Extremely interesting and useful for a beginner like me! Thank you for taking the time to do this. When my tank arrives I'll do the same. I have gone for the Tiger 1 but very similar spec. From what I see here, the extra pounds are well worth it.
User avatar
43rdRecceReg
Major
Posts: 6294
Joined: Fri Jul 31, 2015 11:38 am
Location: North West Highlands, Scotland

Re: Another Torro Pro-Metal King Tiger

Post by 43rdRecceReg »

Excellent choice. I ignored the '90% metal claim, assuming it was just the usual marketing wheeze...when I bought mine from rctank.de. Mine was nicely painted and came in an alluring ammo box style sarcophagus, and I'll admit that the box was factor in the purchase, but it takes up quite a bit of space I'm rapidly running out of....because of this hobby. Thus I won't be lured by one of those again :think: The expertly applied daub on the tank saved me a spot of work, and also covered
those inconsistently large areas of plastic you've noted. Anyway, I'm sure you'll enjoy yours as much as I enjoy mine. The build quality is good, but the weight factor strains the battery a bit...and its not recommended
for those with hernias! Hope you don't mind the observation, but having seen the film you've chosen your handle from, I can't help chuckling at the thought of Vincent Price,(with those electrodes in his neck) and his beloved 'Vulnavia' playing with a Torro rc tank!
"Get your facts first, and then you can distort them as much as you please"- Mark Twain.
User avatar
Dr Phibes
Corporal
Posts: 300
Joined: Wed Sep 23, 2015 9:38 pm
Location: Southampton, England, UK

Re: Another Torro Pro-Metal King Tiger

Post by Dr Phibes »

Thanks for the interest guys, I'll post some of the progress I have made on the build as soon as I get time.

Regarding my handle, I have had it a long time and use on most forums I join. I'm a life-long horror fan and loved Hammer horror in particular ever since I was a youngster. And I think the point about Vincent Price playing with an RC tank would be quite fitting too. Think about it, it's just the very kind of thing Phibes would use, in some sophisticated and devilish fashion, to bring about the nasty demise of those he was out to reek vengeance upon!
User avatar
43rdRecceReg
Major
Posts: 6294
Joined: Fri Jul 31, 2015 11:38 am
Location: North West Highlands, Scotland

Re: Another Torro Pro-Metal King Tiger

Post by 43rdRecceReg »

Dr Phibes wrote:Thanks for the interest guys, I'll post some of the progress I have made on the build as soon as I get time.

Regarding my handle, I have had it a long time and use on most forums I join. I'm a life-long horror fan and loved Hammer horror in particular ever since I was a youngster. And I think the point about Vincent Price playing with an RC tank would be quite fitting too. Think about it, it's just the very kind of thing Phibes would use, in some sophisticated and devilish fashion, to bring about the nasty demise of those he was out to reek vengeance upon!
Used to go to all-night horror shows (mostly Hammer) in Brighton eons ago, when I was a student at Sussex. Even went to a talk hosted by Peter Cushing at the Brighton Film Theatre (sadly closed now..). That event was especially weird, as his dead wife was in attendance..and he frequently addressed her, rather than the bemused assembled throng of horror fans :O ...Anyway, with the tech we have these days..and tech available from Tankbear on this forum, it would be possible to put horror sounds effects, and Vincent's famous faux ghoulish tones into an IBu2 SD card to accompany the engine and gun sounds,
and play it from your King Tiger, instead of the Horst Wessel Lied that some rc tankers prefer..now that would be an attention grabber. All you'll need is a Windows PC (versions 7-10)sporting a USB port...That's if, of course you go on the upgrade route. Most of us do..
Phibes was scary and hilarious in equal measure..and deserves to be remembered!
Last edited by 43rdRecceReg on Tue Apr 05, 2016 11:10 pm, edited 1 time in total.
"Get your facts first, and then you can distort them as much as you please"- Mark Twain.
User avatar
Dr Phibes
Corporal
Posts: 300
Joined: Wed Sep 23, 2015 9:38 pm
Location: Southampton, England, UK

Re: Another Torro Pro-Metal King Tiger

Post by Dr Phibes »

Crikey! I'd forgotten about those all-night horror shows. I did a few of them myself, I remember staggering out of the cinema at about 8.00am all bleary eyed after watching half a dozen or so back to back horror movies. Great stuff, and I think that in part fed my passion in those days. I loved Peter Cushing as Van Helsing in particular but he played many other parts of course - famously, I recall, 'The Old Curiosity Shop' I think it was called - a Hammer compilation of horror shorts (no Vincent though).
Now the idea of a IBU on my KT with a sound file or two sampling Price as Phibes, that would be most unusual to say the least - I will certainly think of giving it a go as I do plan to upgrade to one of Tankbear's IBU2 or 3 in the not too distant future.
User avatar
Dr Phibes
Corporal
Posts: 300
Joined: Wed Sep 23, 2015 9:38 pm
Location: Southampton, England, UK

Re: Another Torro Pro-Metal King Tiger

Post by Dr Phibes »

NEXT STEP: Turret Mods.
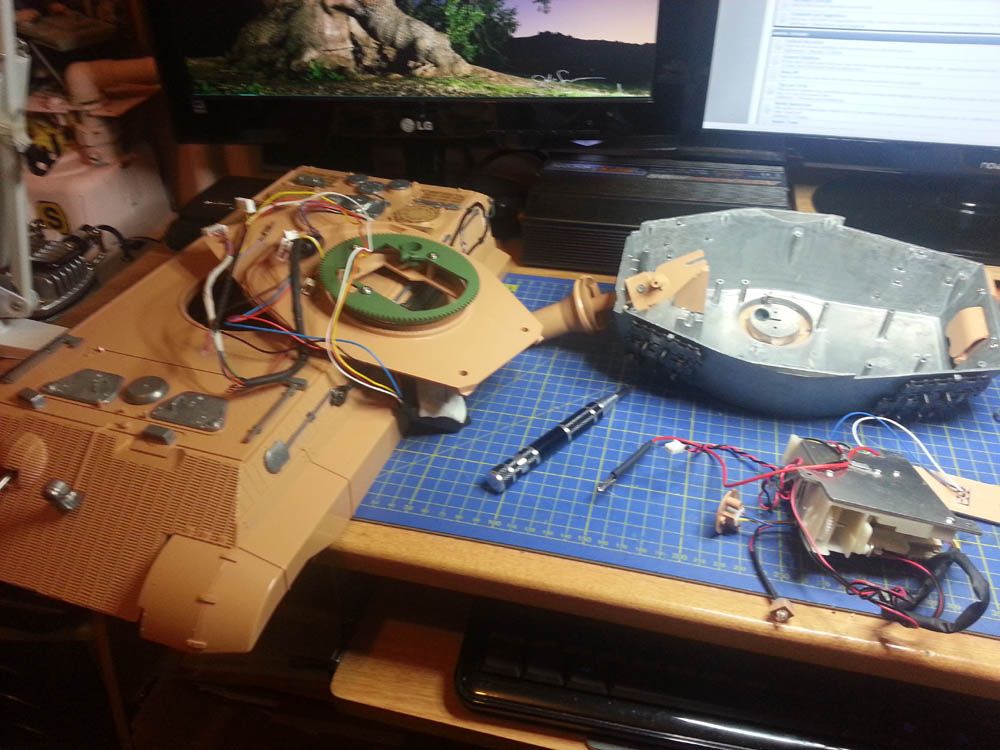
So, as promised, my newbie adventure into RC tank building/modding and even driving(!), begins with tearing down into pieces my shiny new Torro King Tiger. It's a slightly uncomfortable experience I must admit, having only just purchased it at this time, but that's progress I guess. What I will say is that it's all a fairly straightforward process and, as with any project like this, I find it useful to keep the parts for different sections together in sections. So I naturally have section boxes for all parts of the turret, upper hull, and lower hull (not shown here) which is by far the larger portion of the tank.
Image

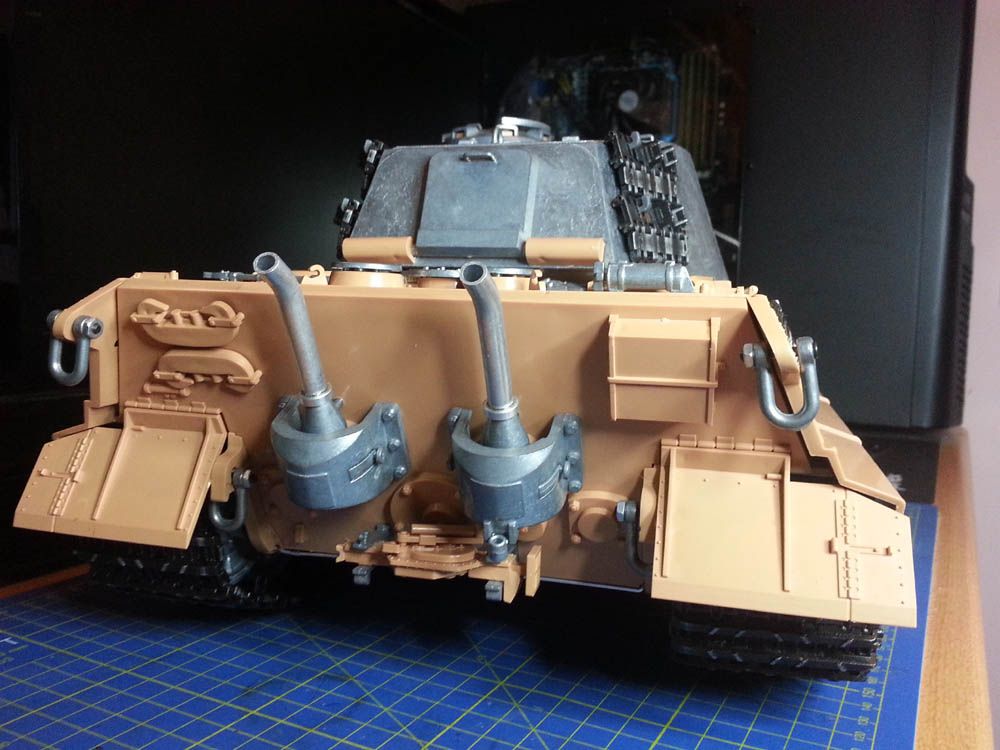
For no particular reason I decide to start first with the turret mods and additions. In particular the Torro KT is known for the absence of zimmerit on the turret (as well as the rear hull armour and lower glacis plate) so this is where I start:
Image
I did strip out all the electronics but then decided to stick, for now, with the stock setup (for the most part at least) - at least until I have a better understanding of the upgrade options. Besides which I reasoned I may as well get some use out it and there is plenty to do besides.
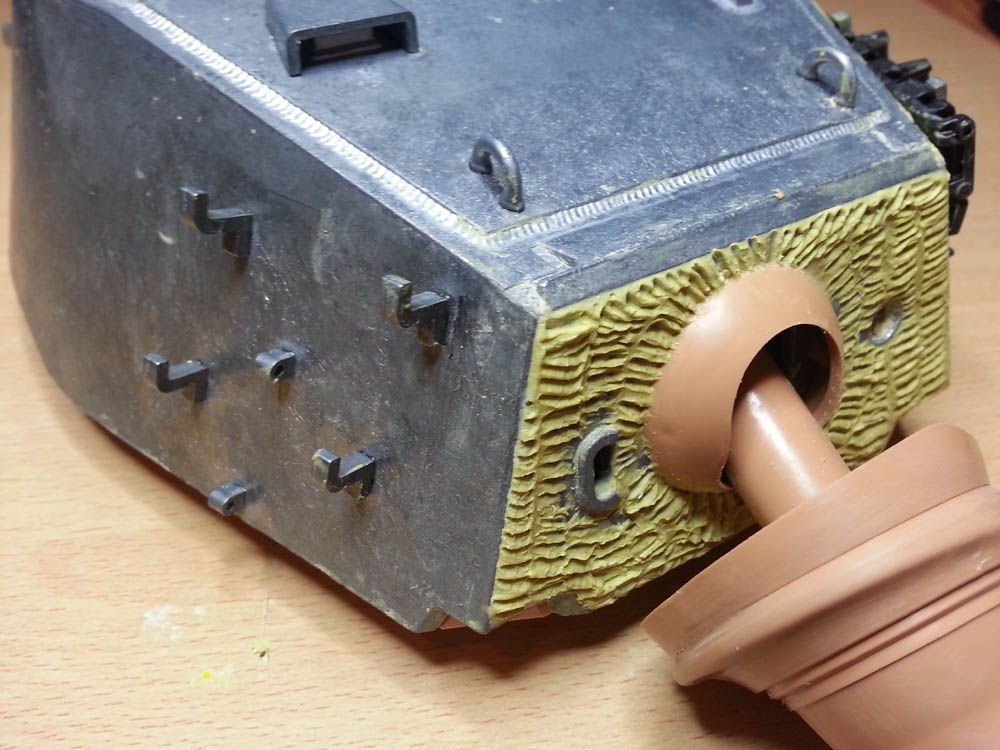
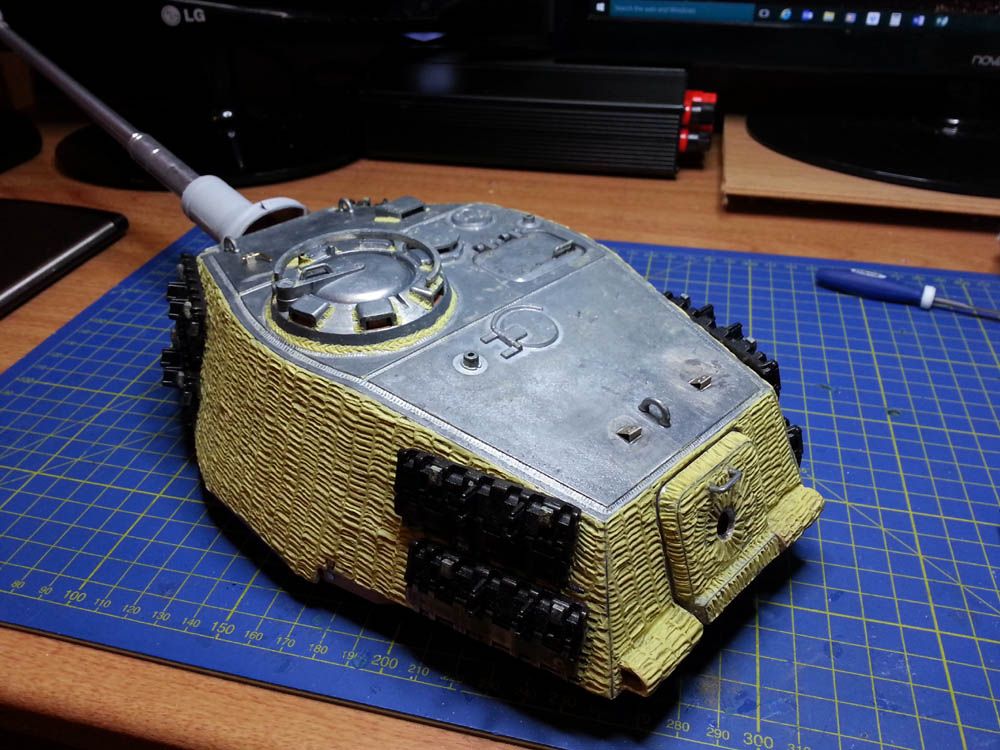
Regarding the zimmerit I began with Milliput White but it wasn't working well for me, and tend to not to grip or hold the pattern as I wanted. Hence I started again with the yellow which is a bit stiffer but but worked better, I actually got this coating thinner which was the reverse of what I expected. The actual patterning of the zim I took from historical pictures of various KT's It might also be noticed I have drilled the pistol port hole int the rear turret hatch ready for the plug when it arrives.
Image

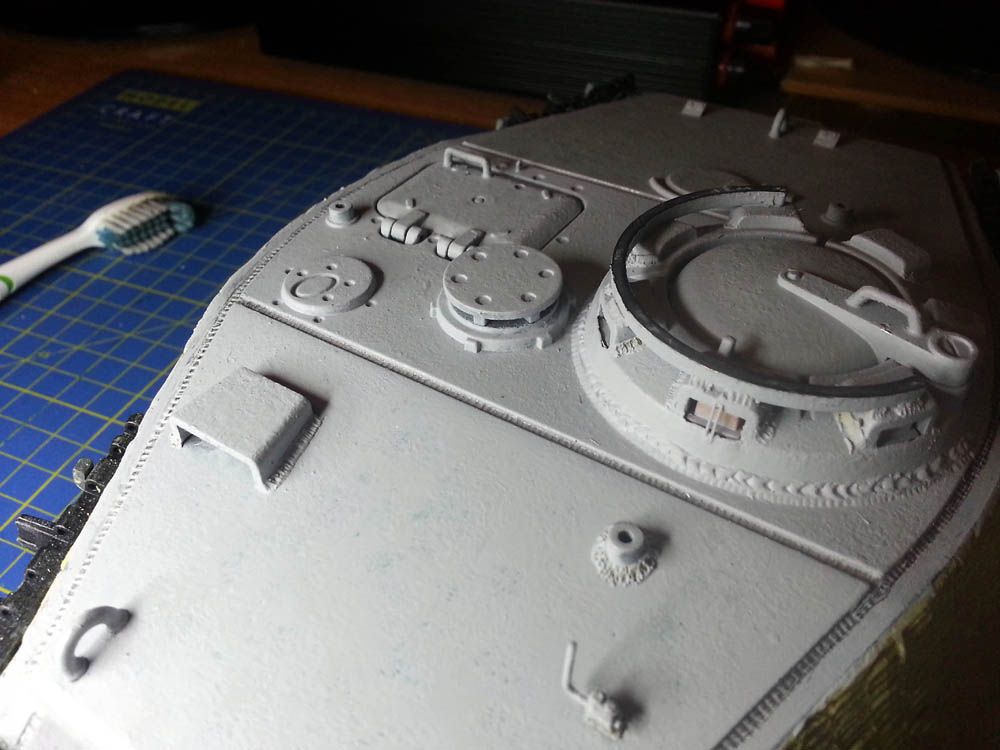
The weld beads, my first attempt, met which varying degrees of success - some I am happier with, some not quite so much and I might have to redo. I also added some detail from the Aber phot etch kits I bought - in particular the gun sighting aid and the brackets next to the lifting eyes (don't yet know what they are called or do I'm afraid). The important next step was to give the upper surfaces of the turret armour some texture and rough casting effect in particular. I played around with the Mr Surfacer 500 quite a bit but eventually got a finish I was fairly happy with.
Image

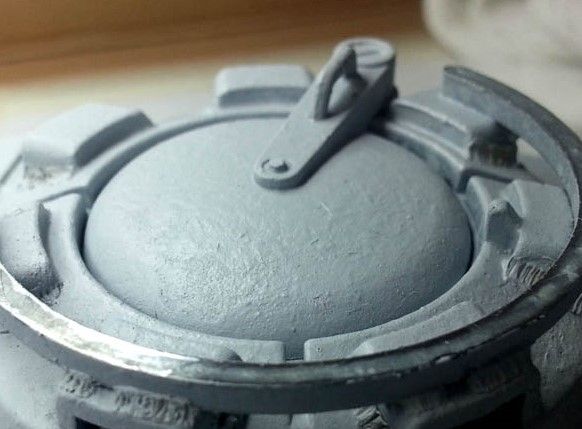
The casting effect can, I think, be seen better here on the commanders hatch and Cupola:
Image

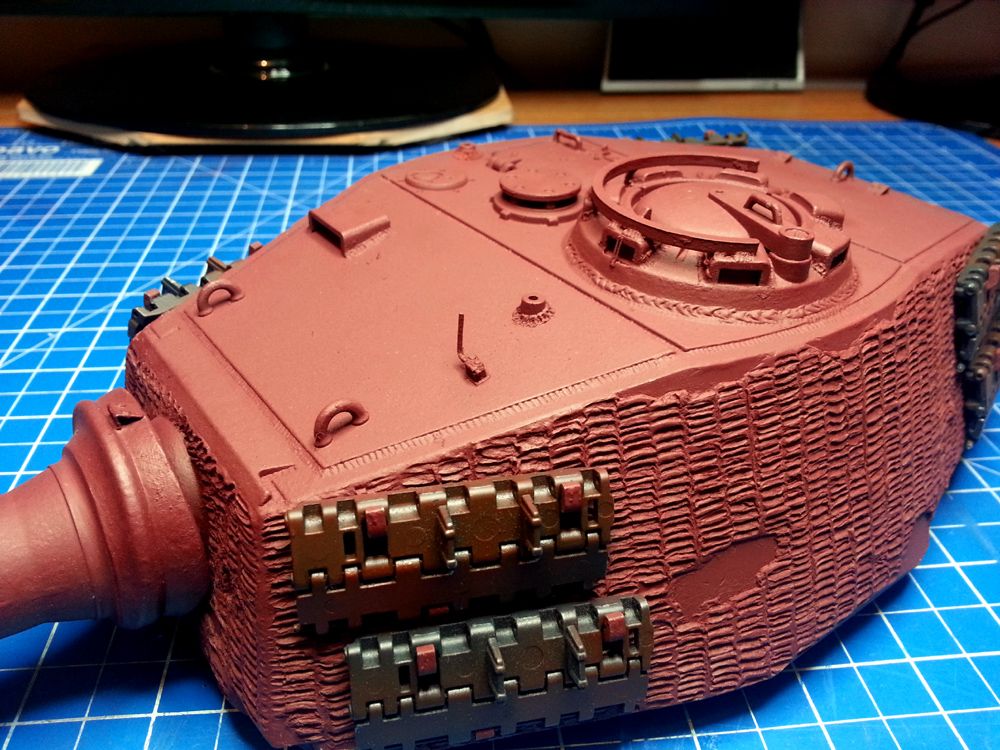
Having finished a number of mods the turret and barrel were given several coats of German red oxide primer - the factory standard practice. Notice after all the work zimmeriting the turret I then have to bash it up a bit for some battle damage!:
Image

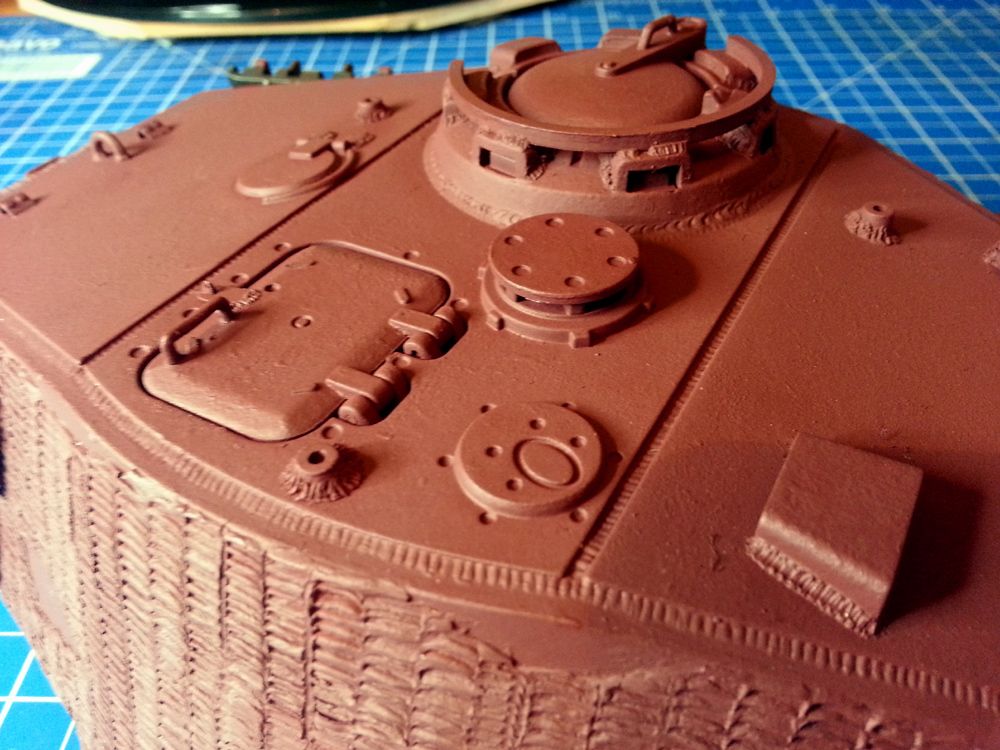
And here the casting effect is a little more visible I think:
Image

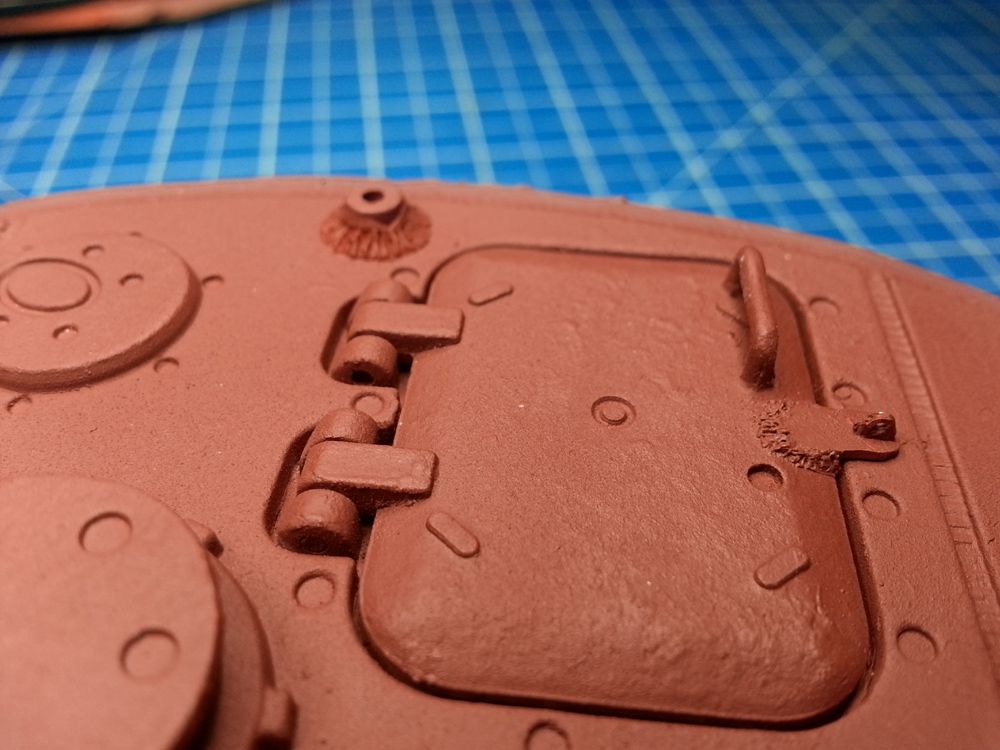
And here (the latch on this hatch is missing on the Torro so I added it with a little styrene. There are also some Aber additions inside but I forgot to photo - dohhh):
Image

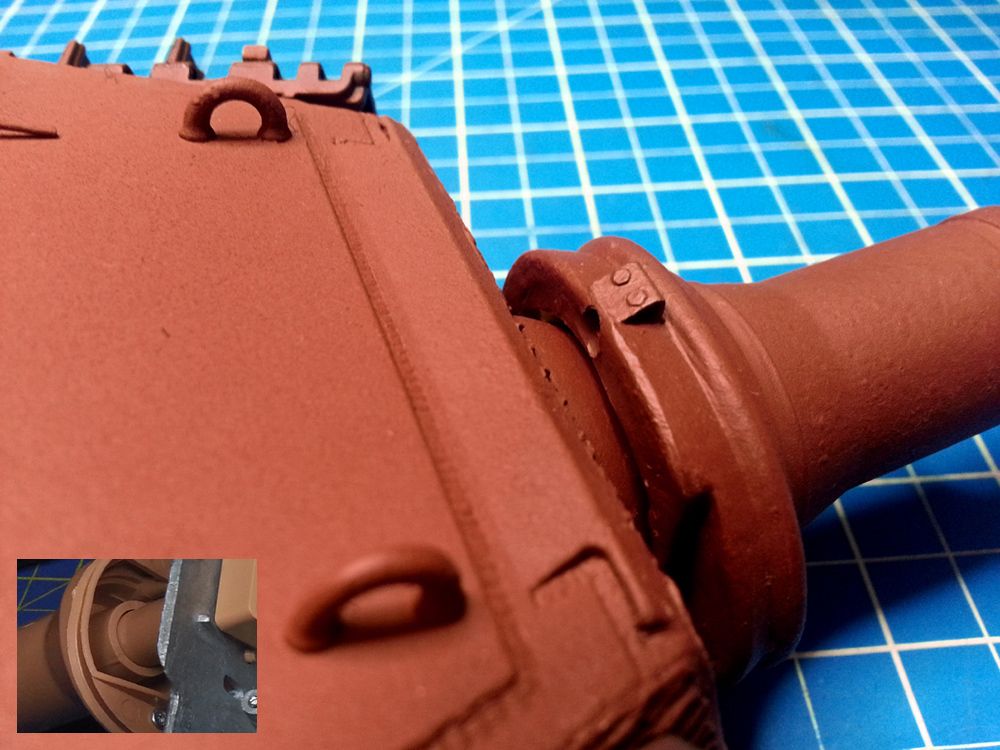
One important mod I did not show before priming is that to the mantlet. The stock plastic one is far to thin (see insert, bottom left) compared to the real thing that is many inches thick so, like I have seen on the experts here, I made it as near to the actual thing as I could (given Torro glue these on to the extent they are almost impossible to remove from the turret without damage):
Image

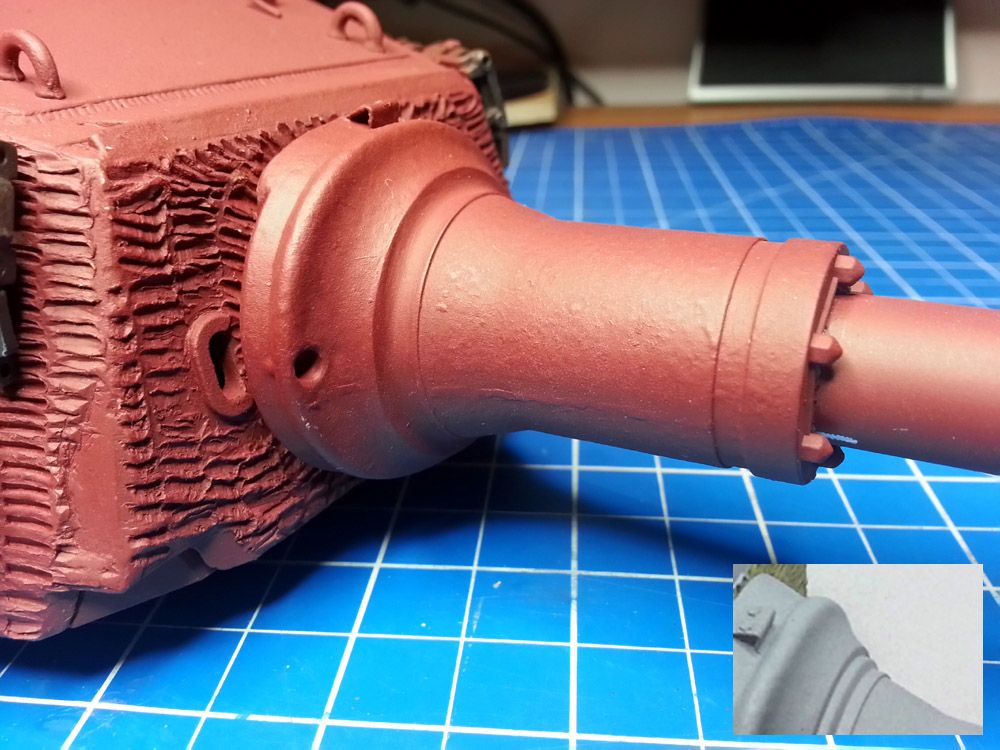
In this picture you can see the modification to the mantlet machining pattern (i.e. I have removed one and smoothed the overall finish)/ The original part (see insert. bottom right) has too many rings compared to what I have seen on the KT pics I have examined (though, no doubt, some might have these, or more!). Anyway, also can be seen the faint weld lines:
Image

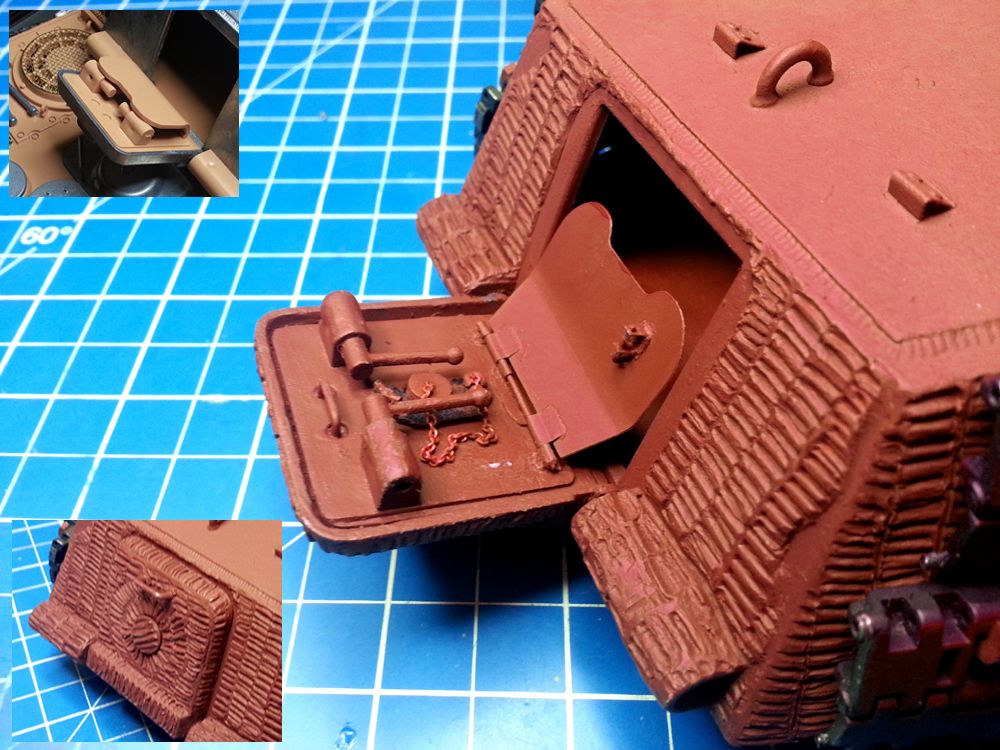
Lastly, to the rear can be seen here the hatch and pistol port detail (needs cleaning up further I think) including the Aber parts (inner door/cover and latch) plug and chain as well as the locking plate, etc. The inset picture top, left shows the original Torro rear hatch detail and the insert bottom left shows the exterior view of hatch with the port plug fitted and finished:
Image

That's it for now folks, I'm still learning and making mistakes (and attempting to fix them) so progress is sometimes slow (but a lot of fun!). I will post further attempts to emulate my betters soon!
SCHWEREPANZER
Sergeant
Posts: 535
Joined: Thu Jan 08, 2015 1:40 am

Re: Another Torro Pro-Metal King Tiger

Post by SCHWEREPANZER »

You're doing a great job...an inspiration for the rest of us. Keep it up. I'll be following your build with interest.
SCHWEREPANZER
Sergeant
Posts: 535
Joined: Thu Jan 08, 2015 1:40 am

Re: Another Torro Pro-Metal King Tiger

Post by SCHWEREPANZER »

Meant to comment on it the first time around, but lost my way (a gray cell lapse, there, sorry), but really like the zimmerit job you did on the turret. Among the very nicest applications I've seen. What device did you use as an applicator?

Thanks,

Ralph
User avatar
Dr Phibes
Corporal
Posts: 300
Joined: Wed Sep 23, 2015 9:38 pm
Location: Southampton, England, UK

Re: Another Torro Pro-Metal King Tiger

Post by Dr Phibes »

Thanks for the encouraging comments Ralph, as I say I'm a newbie regarding RC tanks so this is a big learning experience for me, I just thought it be good to share with others particularly like myself who might be starting out and wondering how others go about it.
With the zimmerit I looked at the patterning tools available but in the end plumbed for a simple home made flat stick that I whittled the end roughly to the scale and shape I wanted. My intention was to get the look I saw in the old pics which seemed to show that zimmerit application was generally quite uneven, a little slap-dash in places, thick or thin (or absent) in others. So once I applied a thin coat of putty to an area I scored some rough vertical guide lines so my pattern didn't lean too far to one side or the other and then just went down each column prodding away fairly roughly so as not to be too uniform, as I say. I did find myself re-doing a few patches but all in all I was surprised how easy it was.

I have more pics to post up of my further progress as soon as I sort them out, I have been practicing the airbrushing stuff a bit and looking at this pre and post shading, modulation, weathering techniques and who know what some of the cleaver people here and elsewhere do - phew, lots to more to learn! (but good fun I should add)
Post Reply

Return to “Other Builds”