Taigen Panther F

This section is for builds that are not strictly Tamiya or Heng Long. For instance, replacing the electronics from a WSN or Matorro, or even a scratch-build.
User avatar
c.rainford73
Major
Posts: 6104
Joined: Thu Aug 25, 2016 7:34 pm
Location: Connecticut USA

Re: Taigen Panther F

Post by c.rainford73 »

Top notch work Stian 
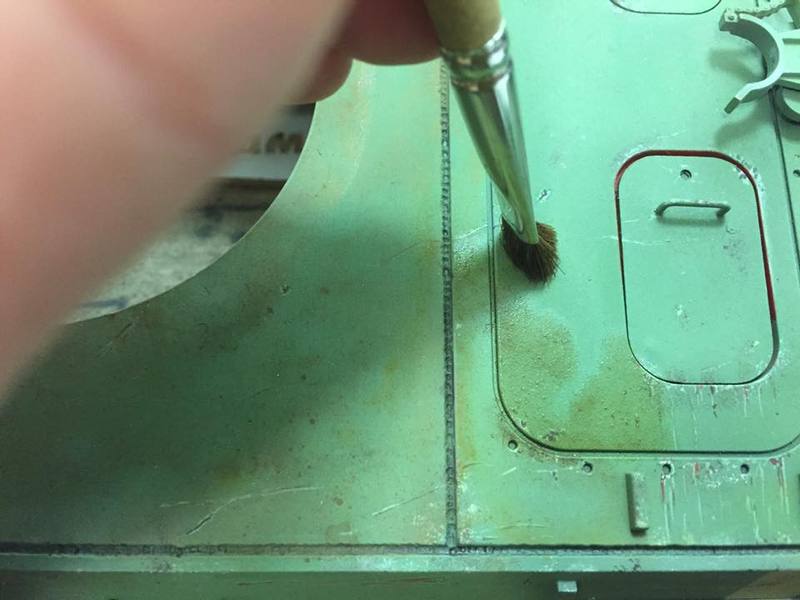
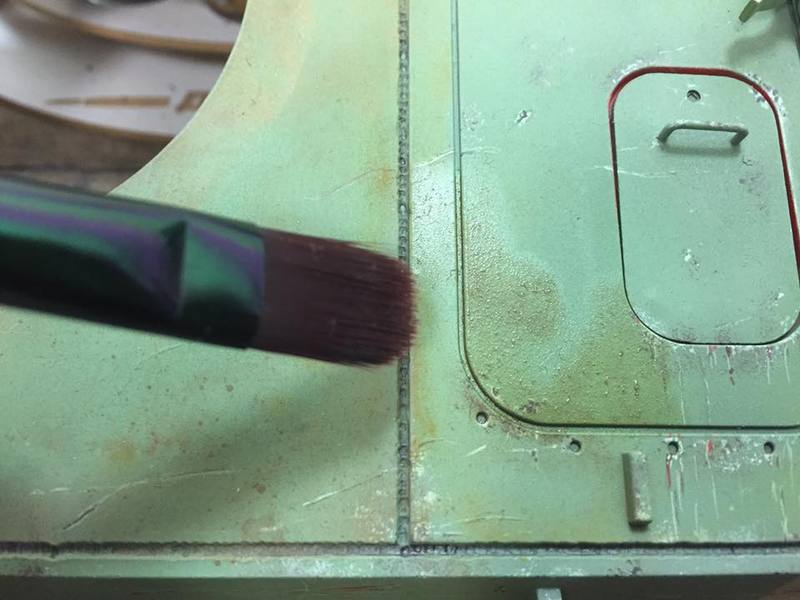
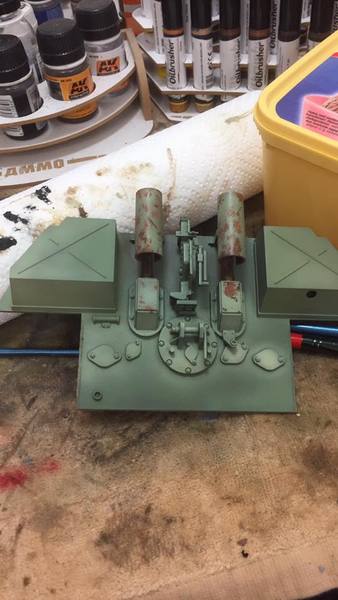
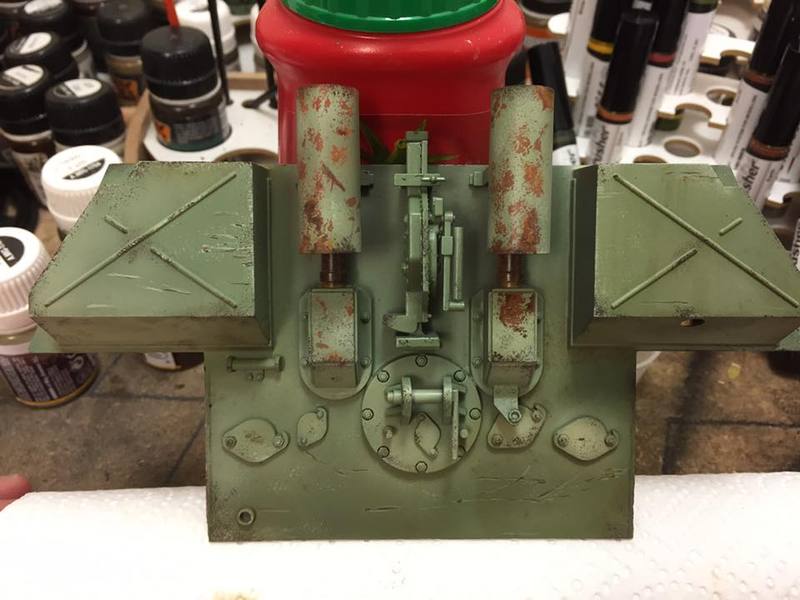
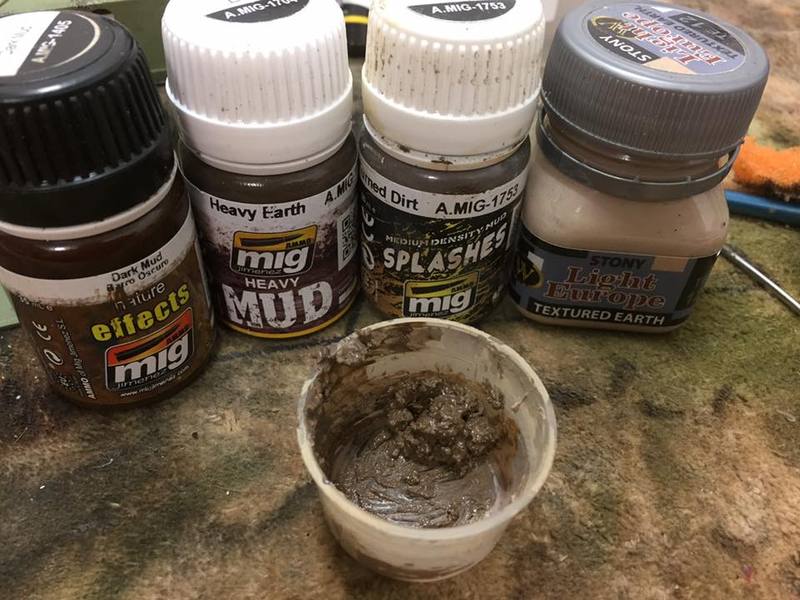
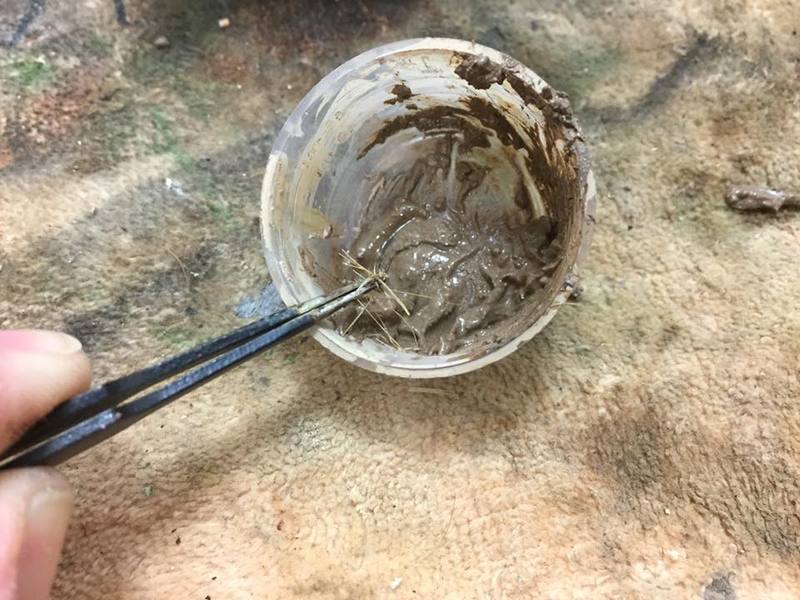
I see you have employed the oilbrushers great stuff my friend
Tanks alot.... :wave:
User avatar
Soeren
Warrant Officer 2nd Class
Posts: 1356
Joined: Sat Oct 22, 2016 3:27 pm

Re: Taigen Panther F

Post by Soeren »

Very , very nice. For the basic colours, it is all AKs late German set? Reseda grün, dark yellow '44 and redbrown?
User avatar
maxmekker
Warrant Officer 1st Class
Posts: 1690
Joined: Tue Apr 27, 2010 8:47 am
Location: Norway

Re: Taigen Panther F

Post by maxmekker »

Soeren wrote:Very , very nice. For the basic colours, it is all AKs late German set? Reseda grün, dark yellow '44 and redbrown?
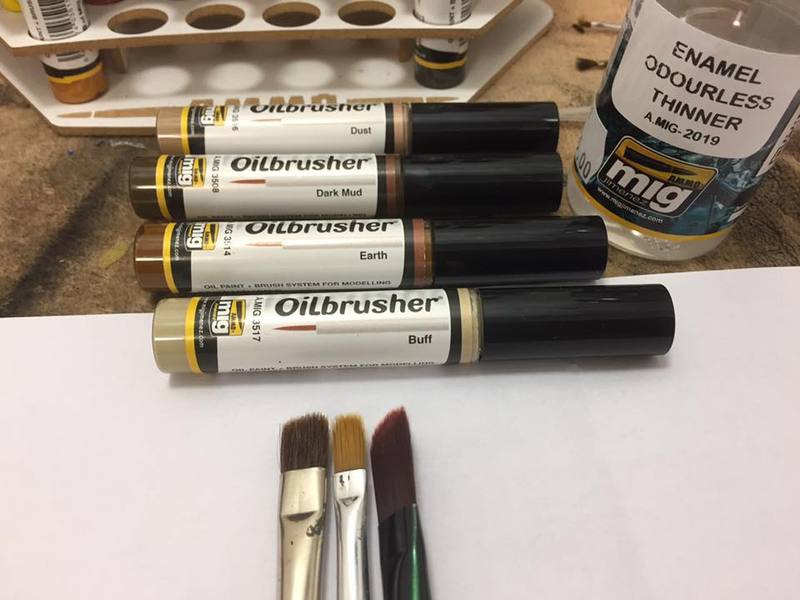
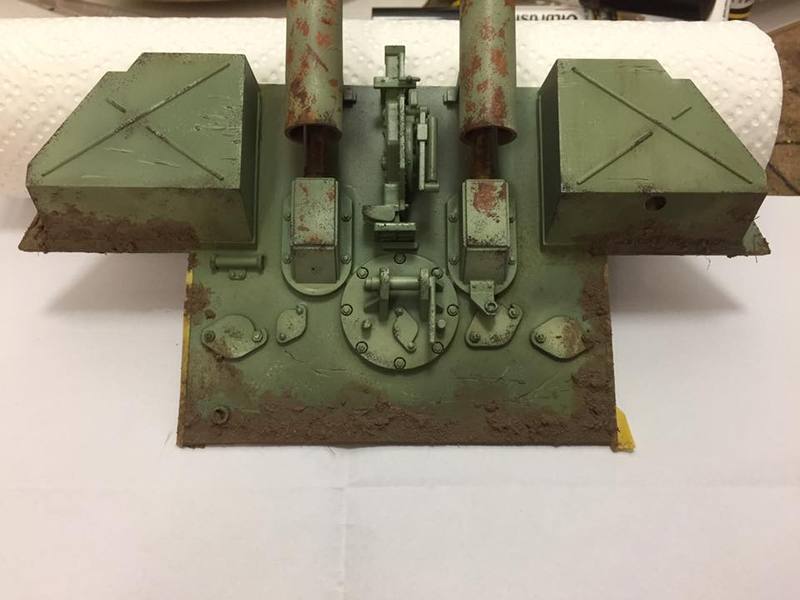
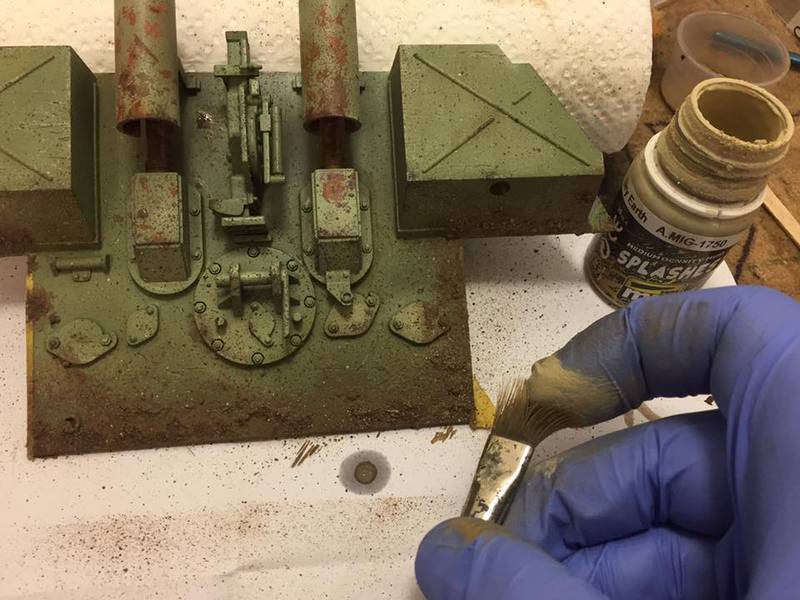
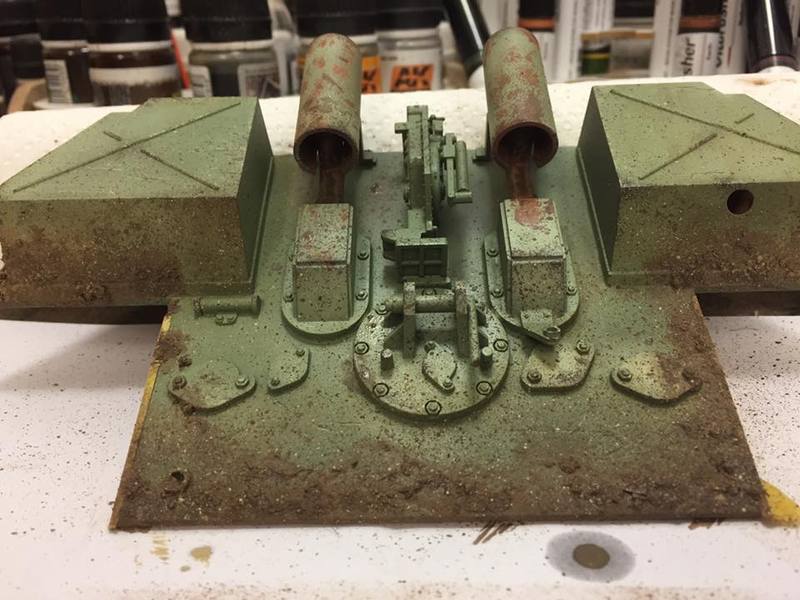
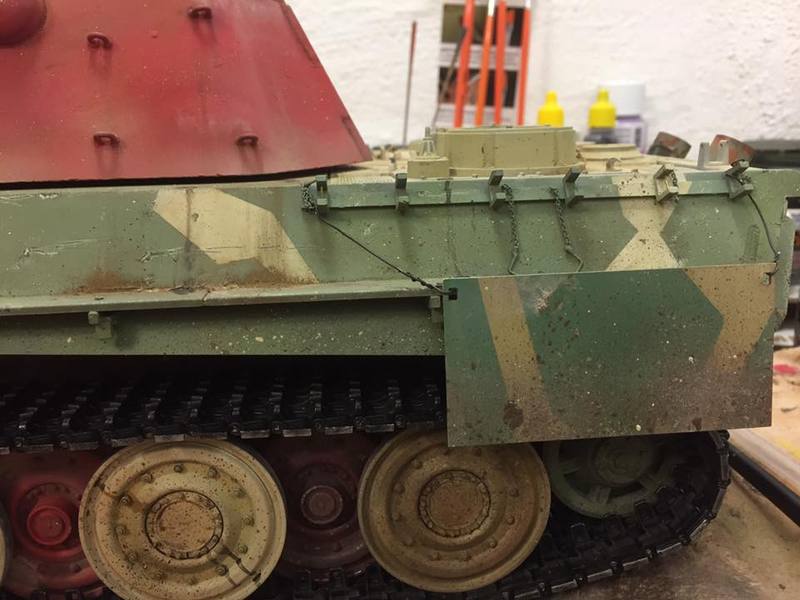
Yes sir , mix of AK/Ammo late war set ( as I was low on the AK set, I had to switch to Ammo set but they differ like non)

only used the green's and yellow's on this one . Turret is tamiya flat red + clear red ( with a hint of black for pre shading )
Drammen Rock City
User avatar
Raminator
Warrant Officer 2nd Class
Posts: 1267
Joined: Tue Aug 11, 2015 9:57 am
Location: Newcastle, Australia

Re: Taigen Panther F

Post by Raminator »

I love the weathering Stian, I'm really going to have to learn how to use oils. I think they do a better job of achieving the look that I want than the pigments I've tried, though of course that's probably more user error than anything else. Keep it up!
User avatar
maxmekker
Warrant Officer 1st Class
Posts: 1690
Joined: Tue Apr 27, 2010 8:47 am
Location: Norway

Re: Taigen Panther F

Post by maxmekker »

Using oils( my way of doing it). These ammo oils are ready to use out of bottle. Place desired color in spot you want to weather. Use brush to wet area with odorless thinner. Continue with bigger brush dry ore just a hint of thinner on, and 'stomp' the oils, spreading it out. When dry it will leave a transparent 'dirt/dust/mud look. Repeat prosess to build up layers, using different tones (earth/mud/dark brown/dust/buff etc)


Image
Image
Image
Image[/url0]

[url=https://imageshack.com/i/pm2ctMXlj]Image

Image

Image
Image
Image
Drammen Rock City
User avatar
c.rainford73
Major
Posts: 6104
Joined: Thu Aug 25, 2016 7:34 pm
Location: Connecticut USA

Re: Taigen Panther F

Post by c.rainford73 »

Great tips Mr Maxmekker.... Now you just have to grow your hair out and add some color and gel and do some instructional videos
Tanks alot.... :wave:
User avatar
maxmekker
Warrant Officer 1st Class
Posts: 1690
Joined: Tue Apr 27, 2010 8:47 am
Location: Norway

Re: Taigen Panther F

Post by maxmekker »

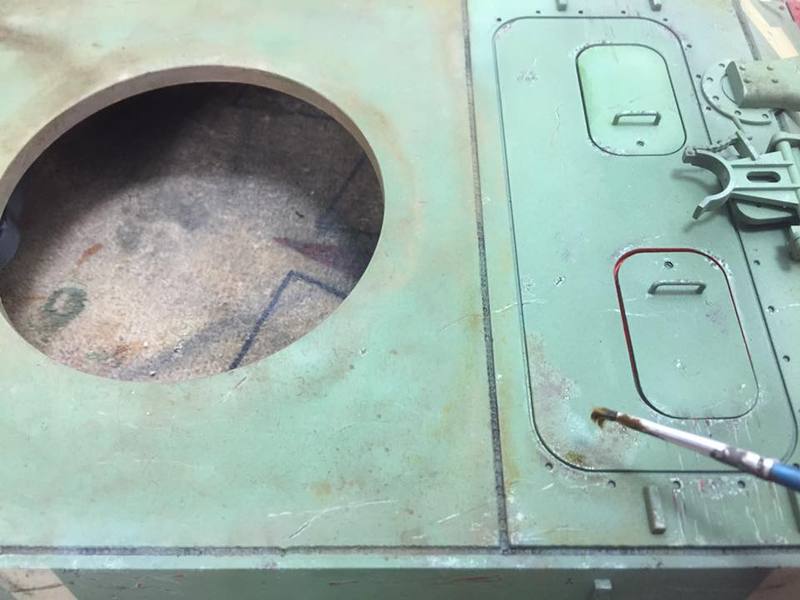
c.rainford73 wrote:Great tips Mr Maxmekker.... Now you just have to grow your hair out and add some color and gel and do some instructional videosImage

:haha: :clap:
Drammen Rock City
User avatar
maxmekker
Warrant Officer 1st Class
Posts: 1690
Joined: Tue Apr 27, 2010 8:47 am
Location: Norway

Re: Taigen Panther F

Post by maxmekker »

So a little update on the F.

had a few hours in the cave today , and got a few things done. I'll let the photos do the talking . Ask away if anything :thumbup:

Image
Image
Image
Image
Image
Image
Image
Image
Image
Image
Image
Image
Image
Drammen Rock City
User avatar
maxmekker
Warrant Officer 1st Class
Posts: 1690
Joined: Tue Apr 27, 2010 8:47 am
Location: Norway

Re: Taigen Panther F

Post by maxmekker »

more areas were treated with mud

Image
Image
Image

Made up a few small details

Image
Image

and All is dryfitted

Image
Image
Image
Image
Image
Drammen Rock City
User avatar
c.rainford73
Major
Posts: 6104
Joined: Thu Aug 25, 2016 7:34 pm
Location: Connecticut USA

Re: Taigen Panther F

Post by c.rainford73 »

Absolutely stunning work Stian 
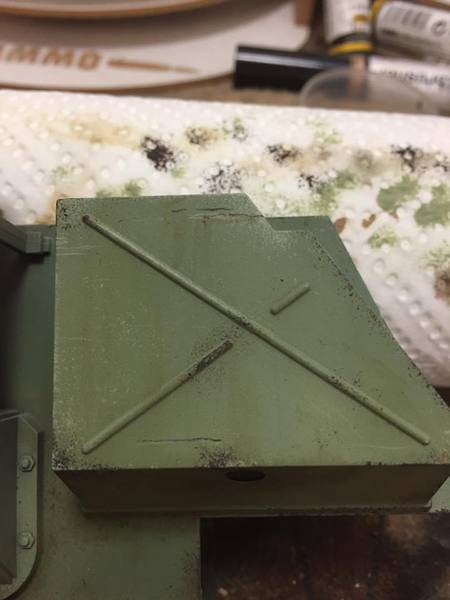
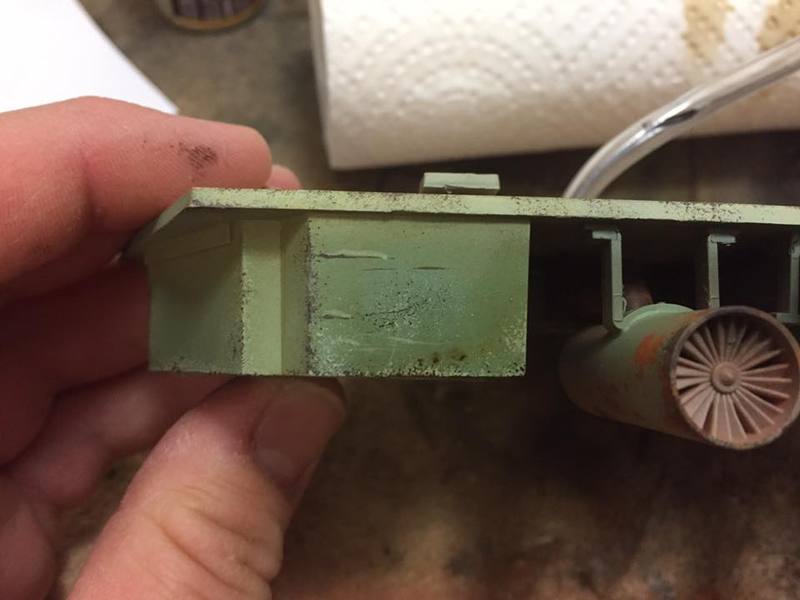
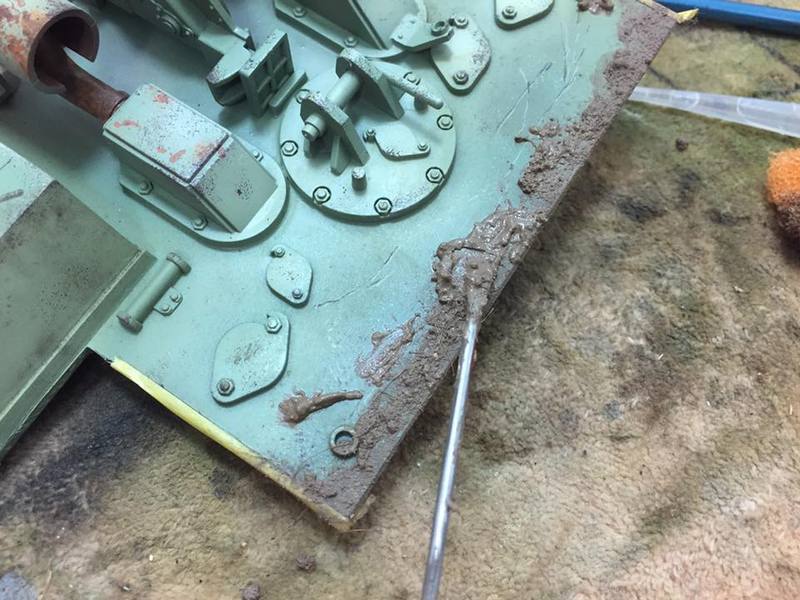
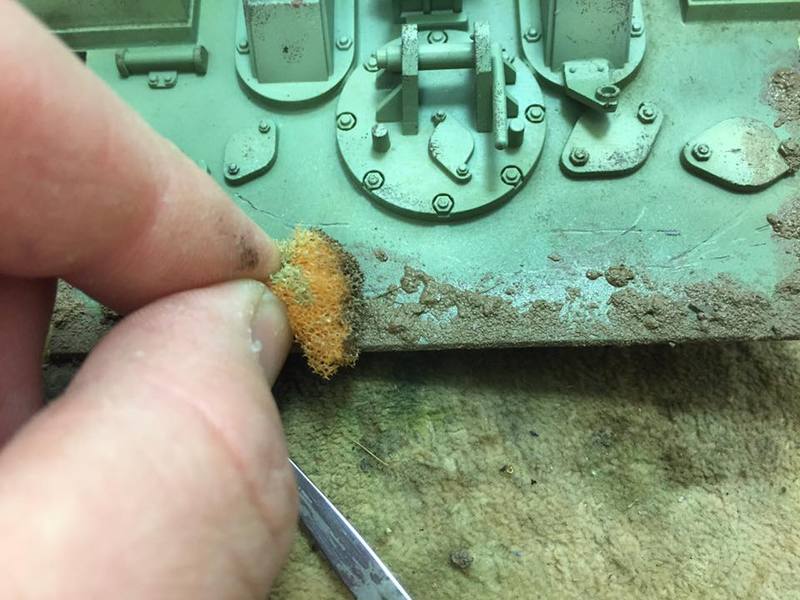
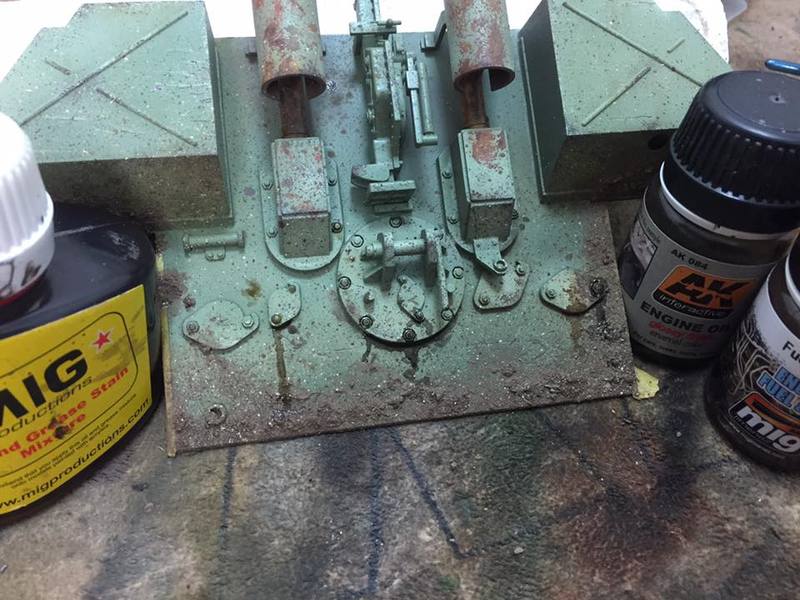
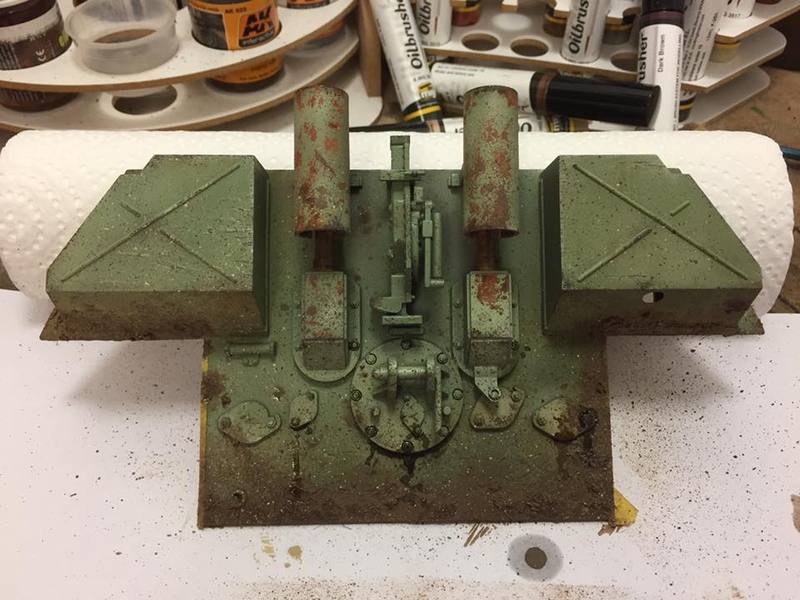
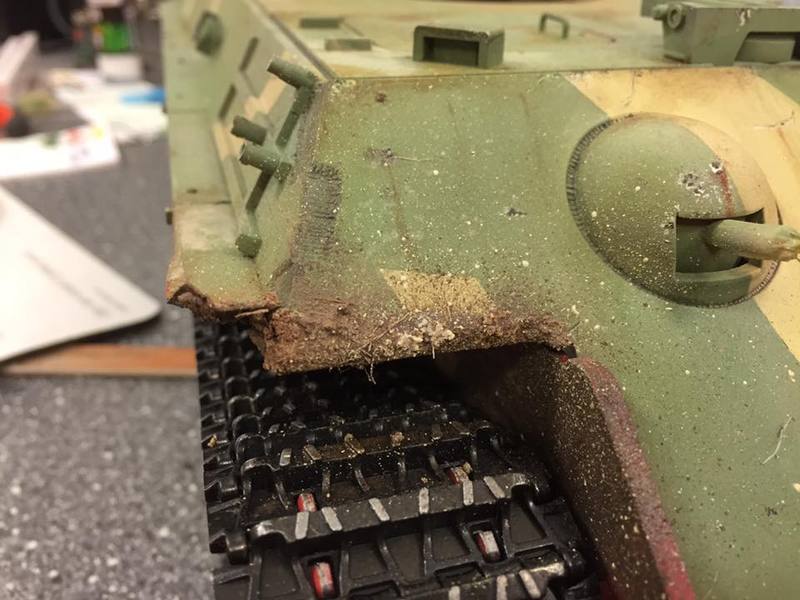
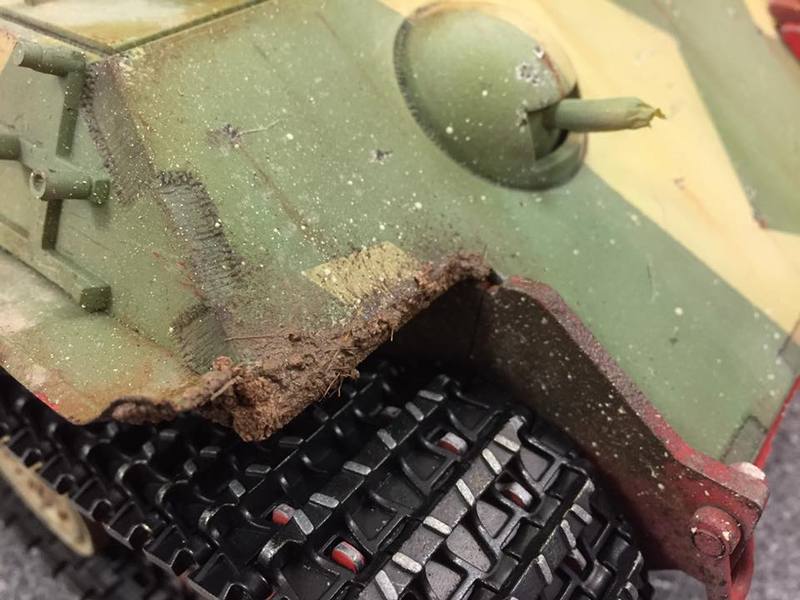
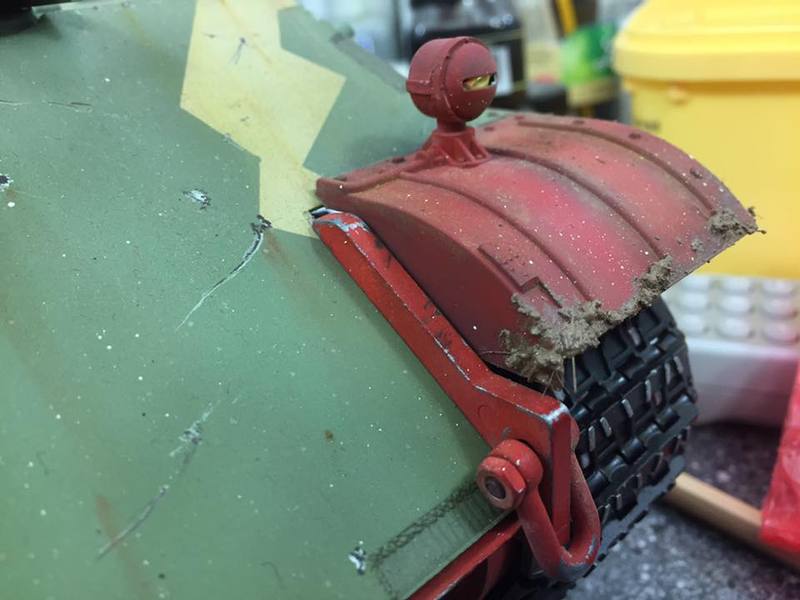
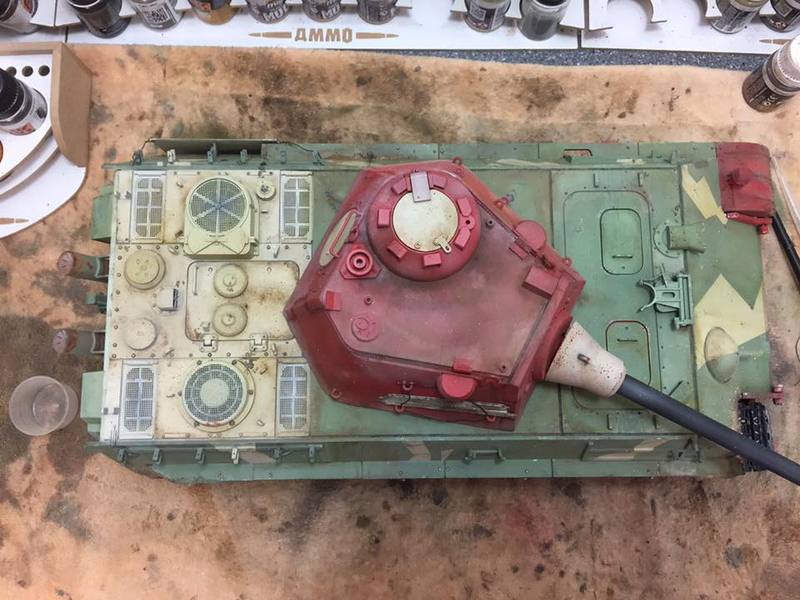
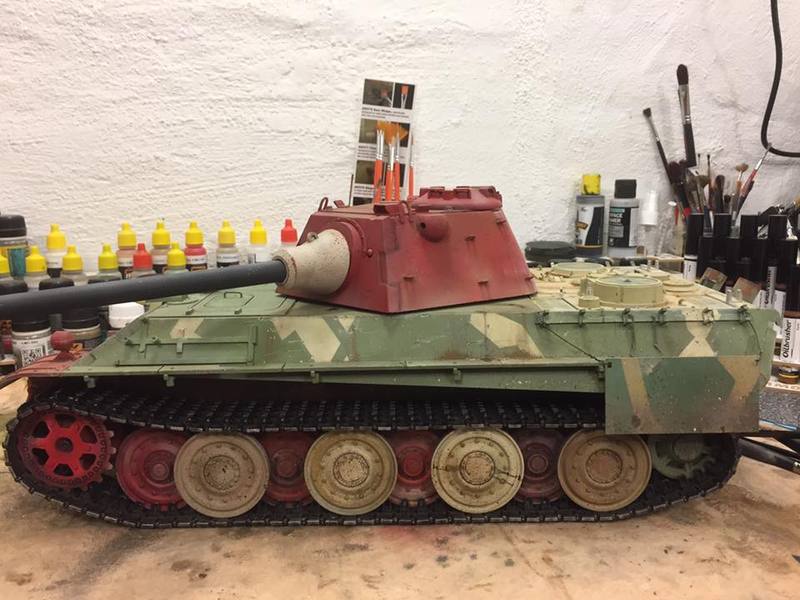
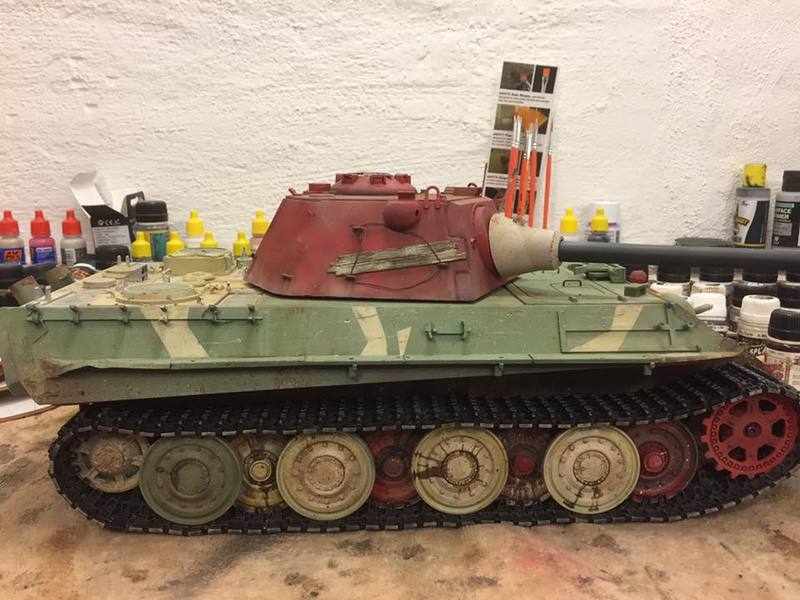
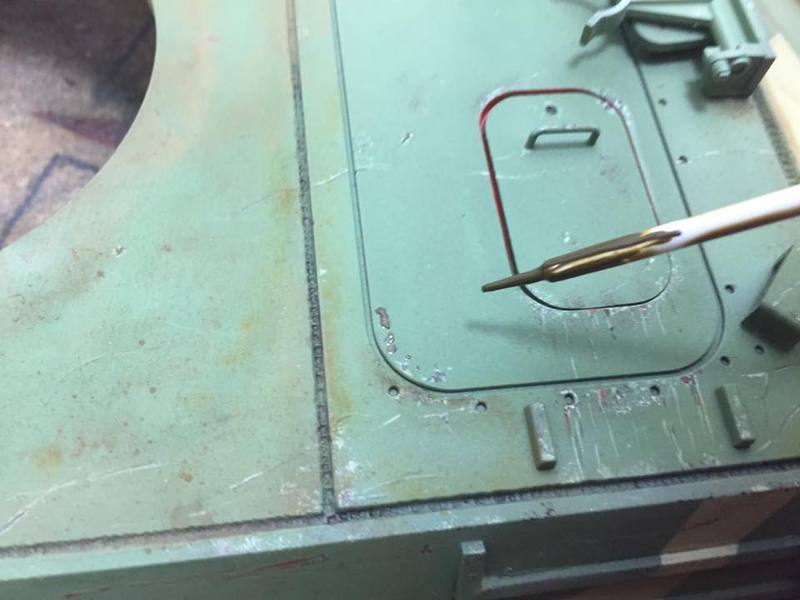
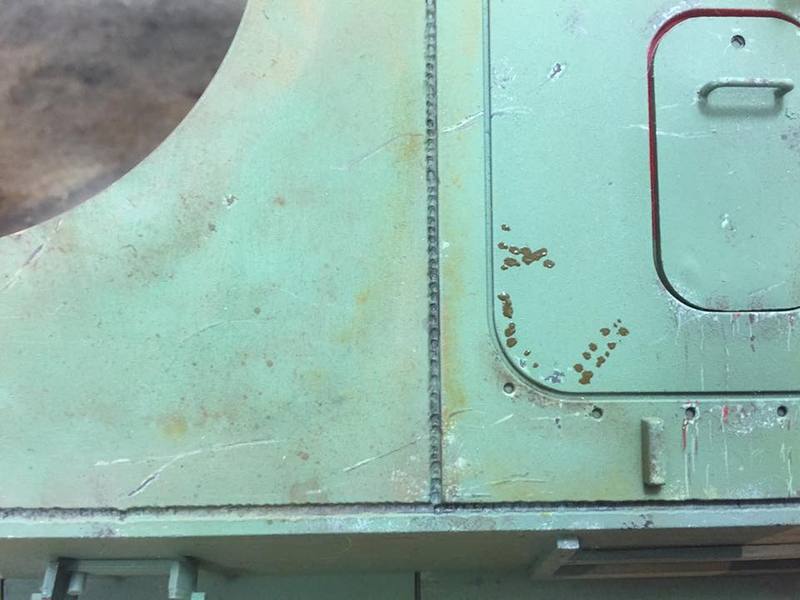
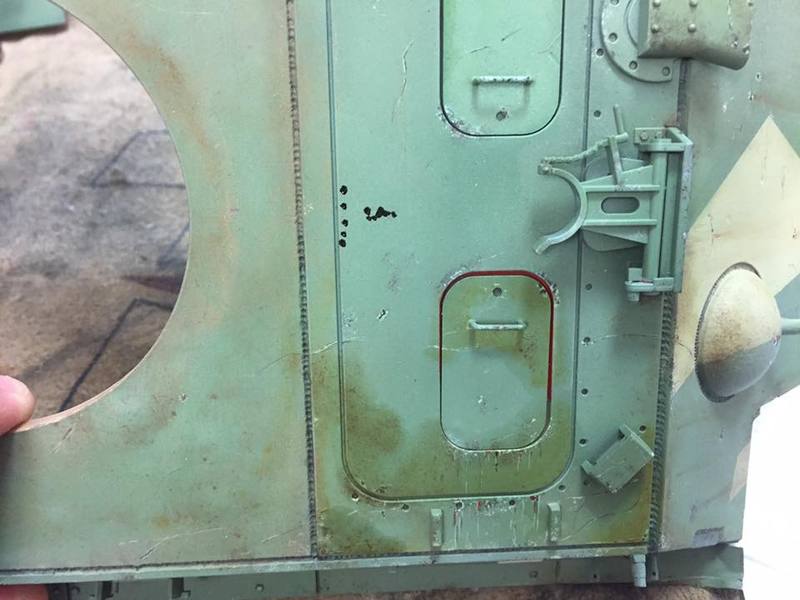
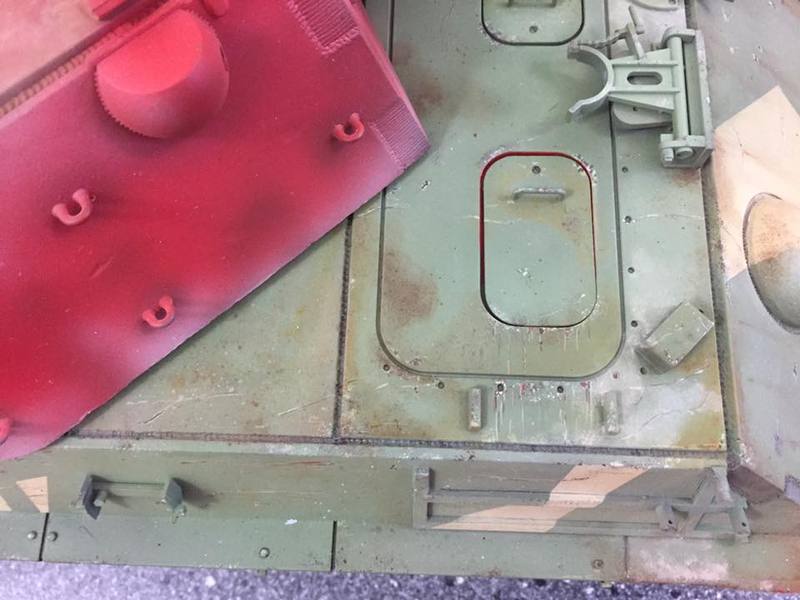
the dirt is exceptionally done
Tanks alot.... :wave:
Post Reply

Return to “Other Builds”