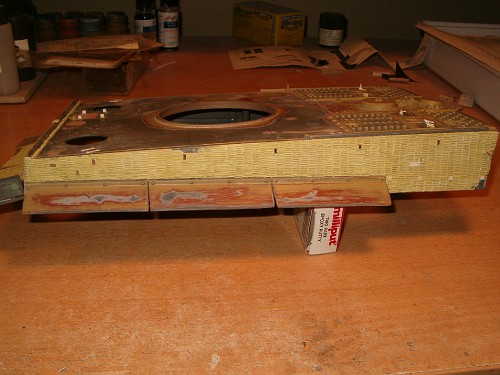
The subject tank.

Been bashing away on my Heng Long Tiger 1 for about two months now and I thought I would share an update with ya'll. Plus I figured, with all the questions i've been asking, I display the reason why.
My plan is to do this tank in sub-sections, upper hull, lower hull to include all the electronics and finally the turret. The intent is to remove the BB function which I'll miss (the cats won't) and go with a recoil system. The lower hull will have 3:1 ratio metal gears with maybe the 460 motors that everyone is talking about. The other electronic systems required i'm still up in the air about, may go Tamiya, ElMod, or maybe this will be a future discussion point with a few of you experts.
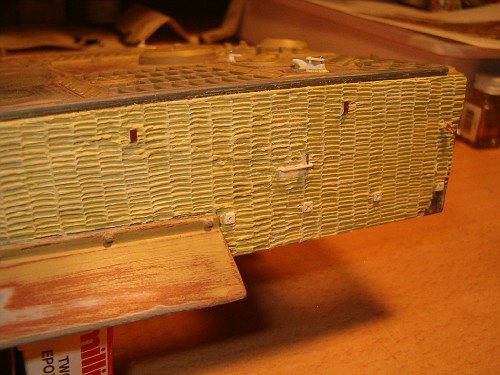
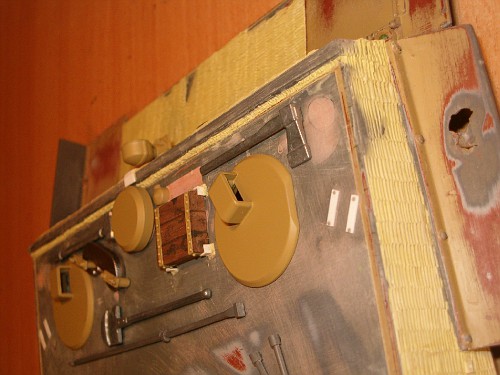
So here we go, on the upper hull I applied the Zimmerit utilizing Milliput but before that, I scratch built with styrene and flat copper all the attachments and hangars for the track cable. Also, I removed a section of the side mud guards and added the mounting blocks.

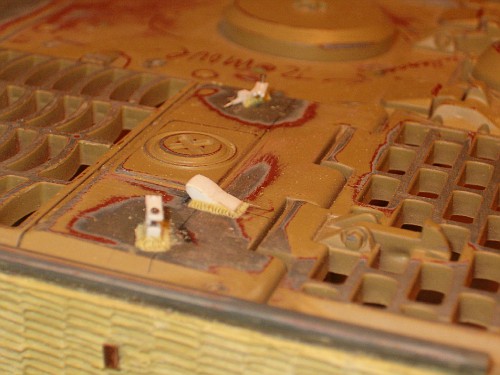
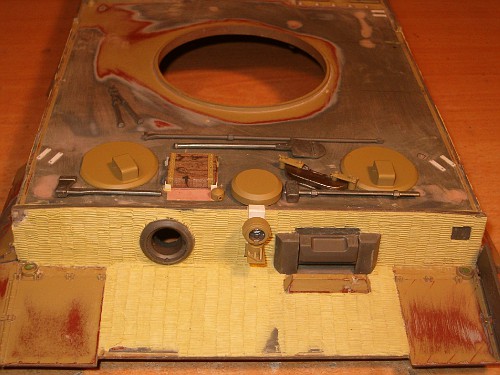
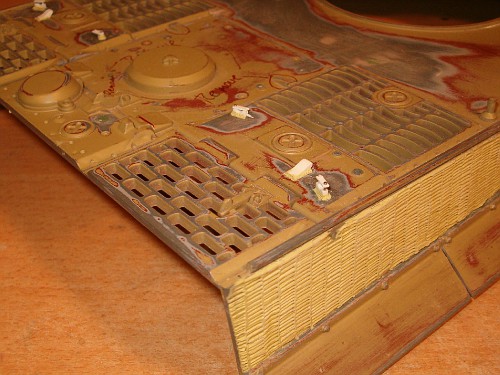
On the engine deck I fashioned some Tow Cable Holders (which are operational) and new rear deck hook retaining base, both port and starboard side. I also added the weld beads around each object. The intent is to remove the engine cover and replace it with the Tamiya cover with all the Mid-Prod mods.
Up front, I replaced the Driver / MG Hull plate for a Tamiya one, some slight mods required. Added the center mounted Bosch light that I got from Welsh Dragons (Thank you Steve) and added some clear plastic in behind the driver vision block assembly. I removed the port side, side fender off the mud guard and added the Tamiya replacement. Also, every rivet has been replaced on the mud guards with rivets from Scale Hardware.
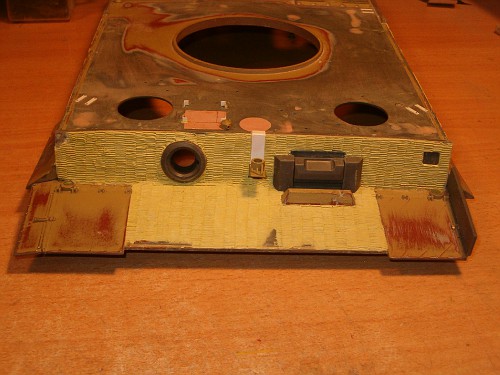
On the top deck, I removed all the molded on Pioneer tools, hatches, etc. and filled in the holes with automotive bondo.
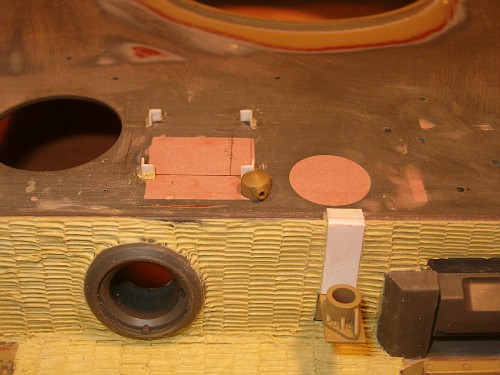
Starboard side details
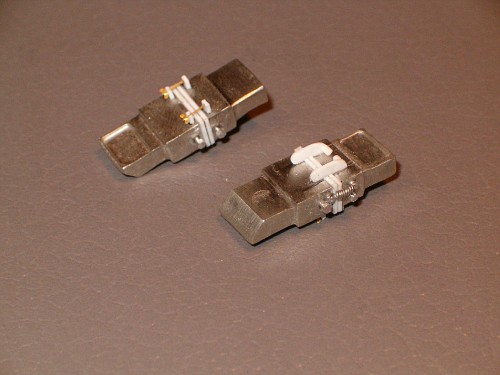
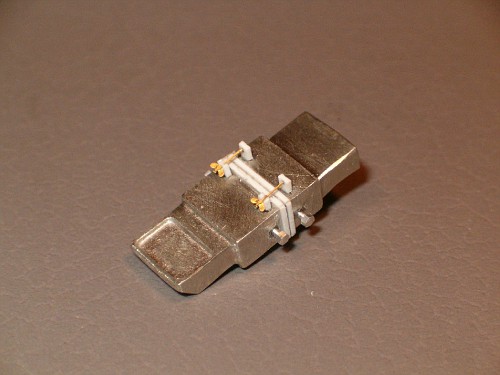
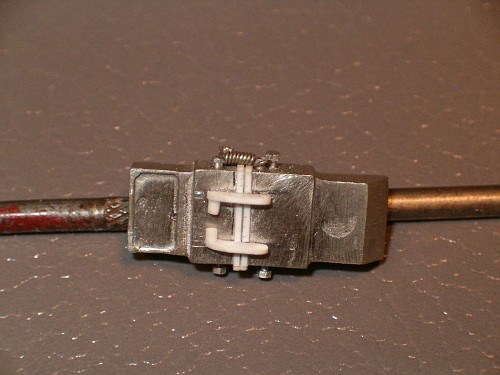
A little while ago, I bought two Tiger 1 Perscopes from tanks_for_the_memories (Thanks Tim - great guy to deal with and thanks for info on the detailed pics of the periscopes) and scratch built some detail items, to include the bolts, springs and mounting attachments.
Hope you enjoy and I'll keep you updated as I go. Also, if anyone has some actual photos of this tank, I would really appreciate seeing them. I like accuracy. Thanks.
http://public.fotki.com/Mortar-Dog/