hello all, sorry no updates for a while, been a little busy with the build here are some new pics
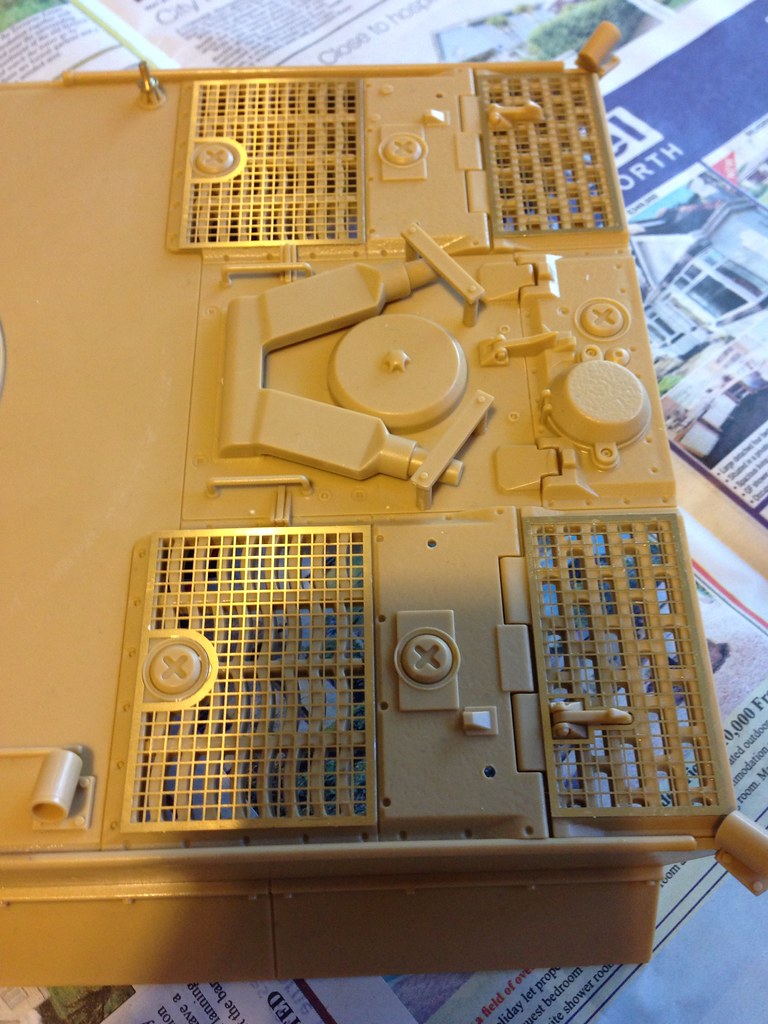
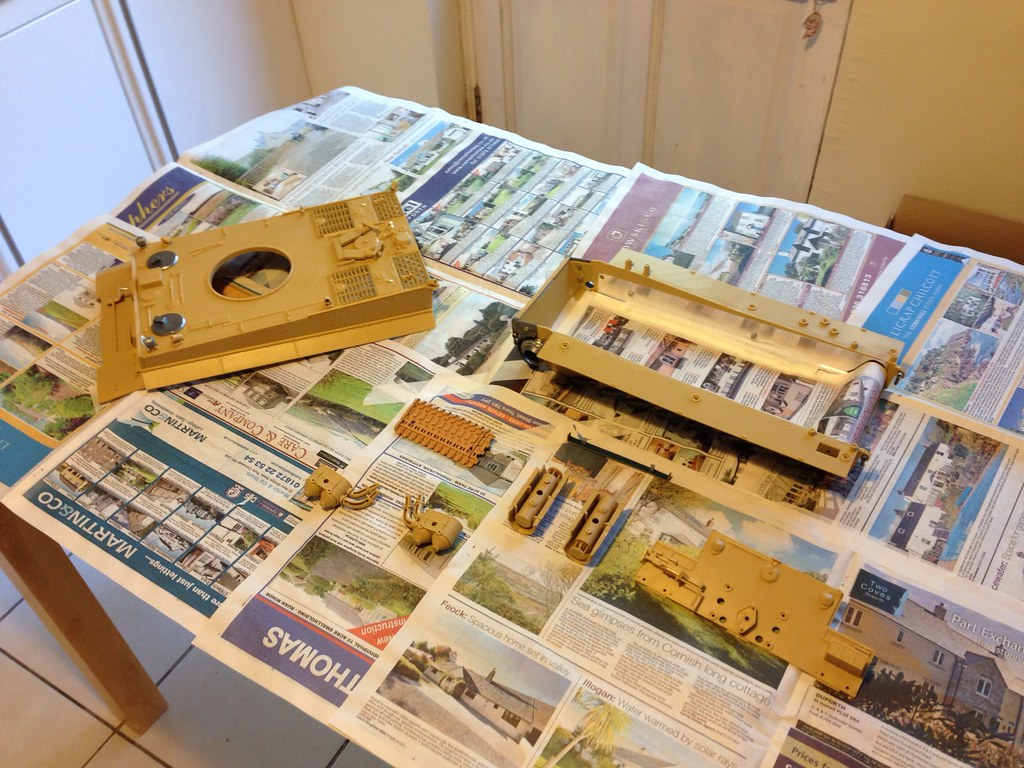
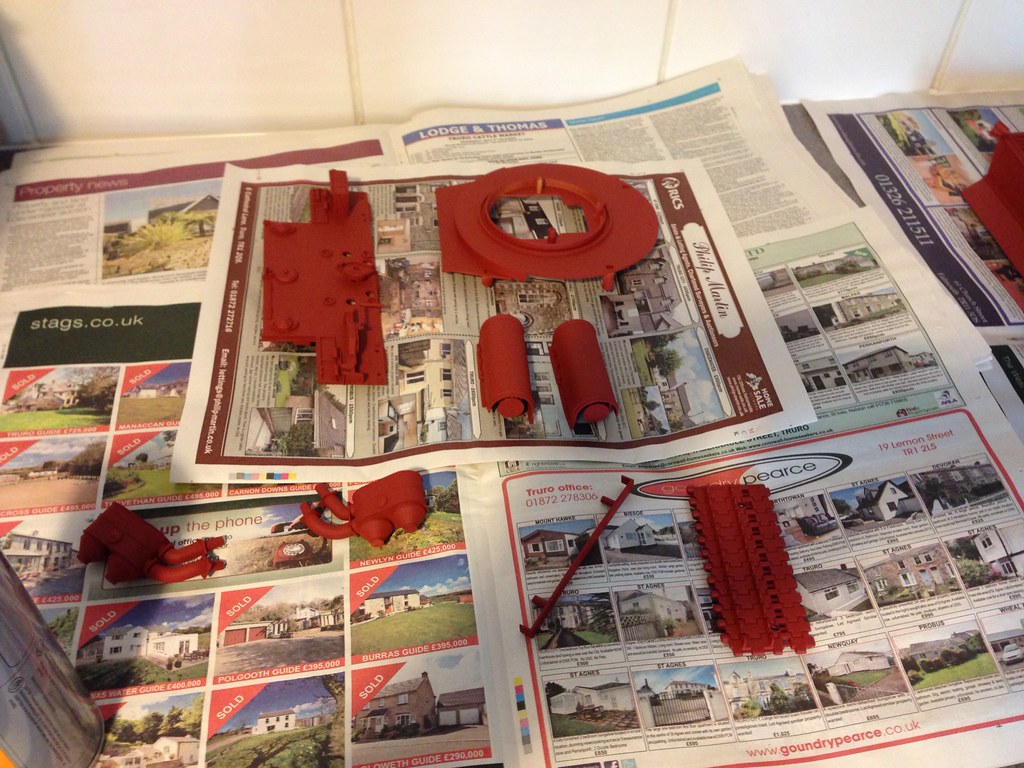
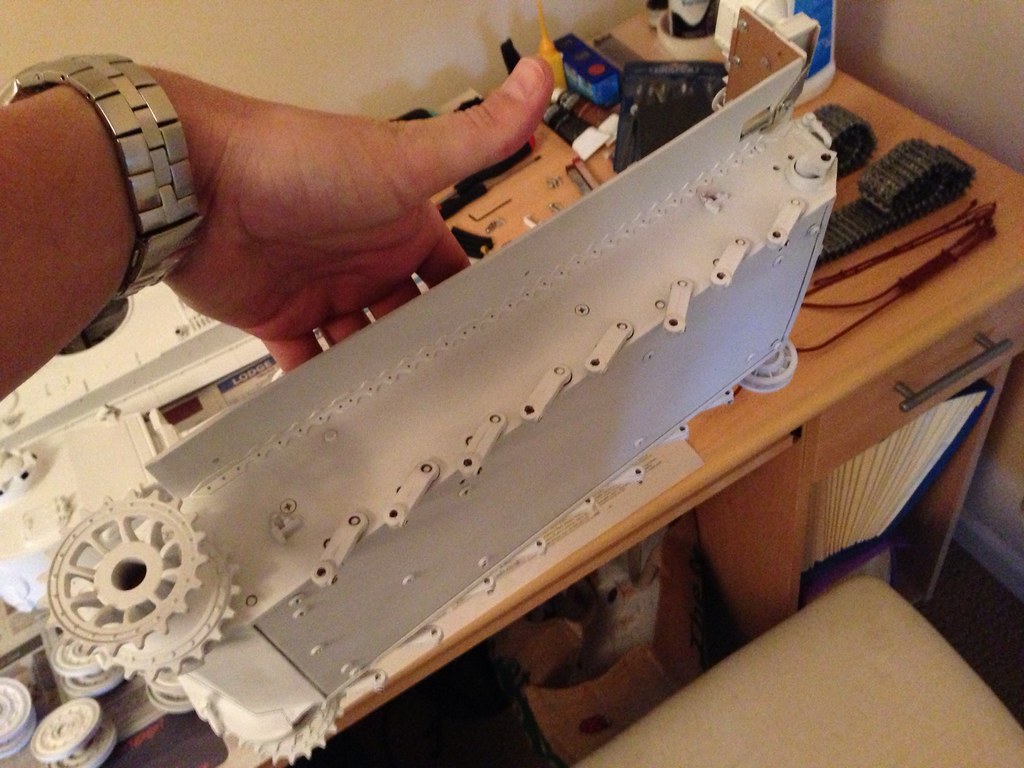
i now have almost everything i need to compleate the tank, tigen upper hull arrived, i have most of the internal electrical parts, im still waiting for a Dragon ATRC chip board to turn up so i can disable the track recoil when its finished, here are the first parts set out for a red oxide under coat, i used halfords plastic red oxide primer for the plastic bits and the same colour metal primer for the metal bits so i would have a even base to start on
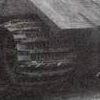
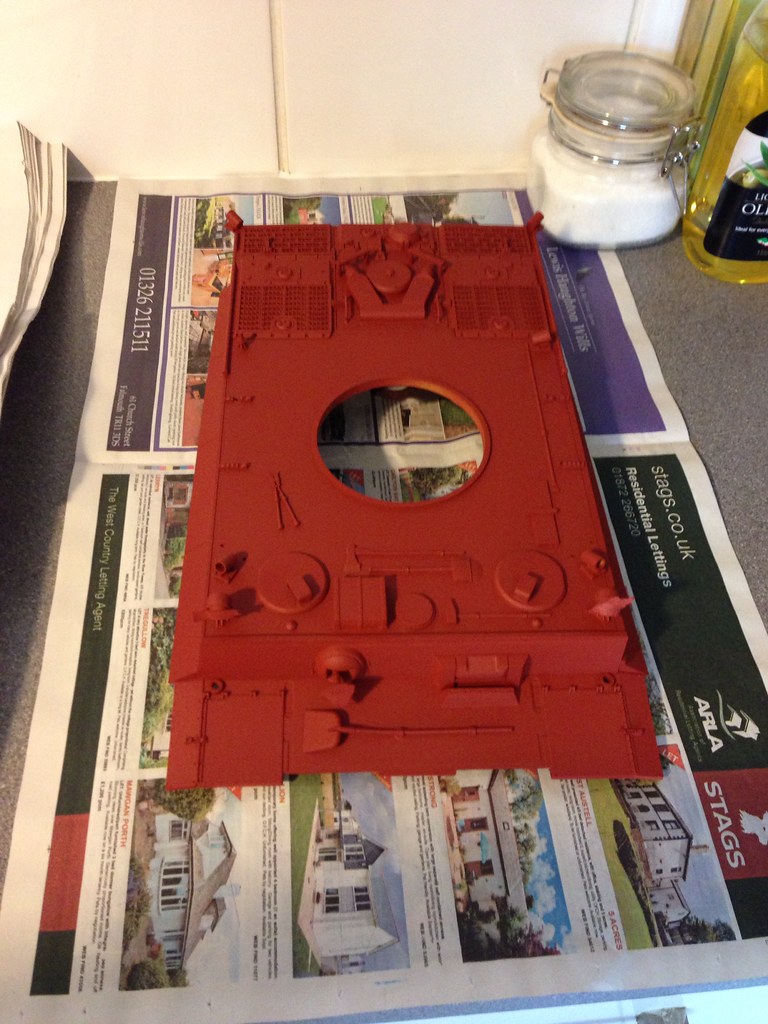
photoetched grills added to rear hull
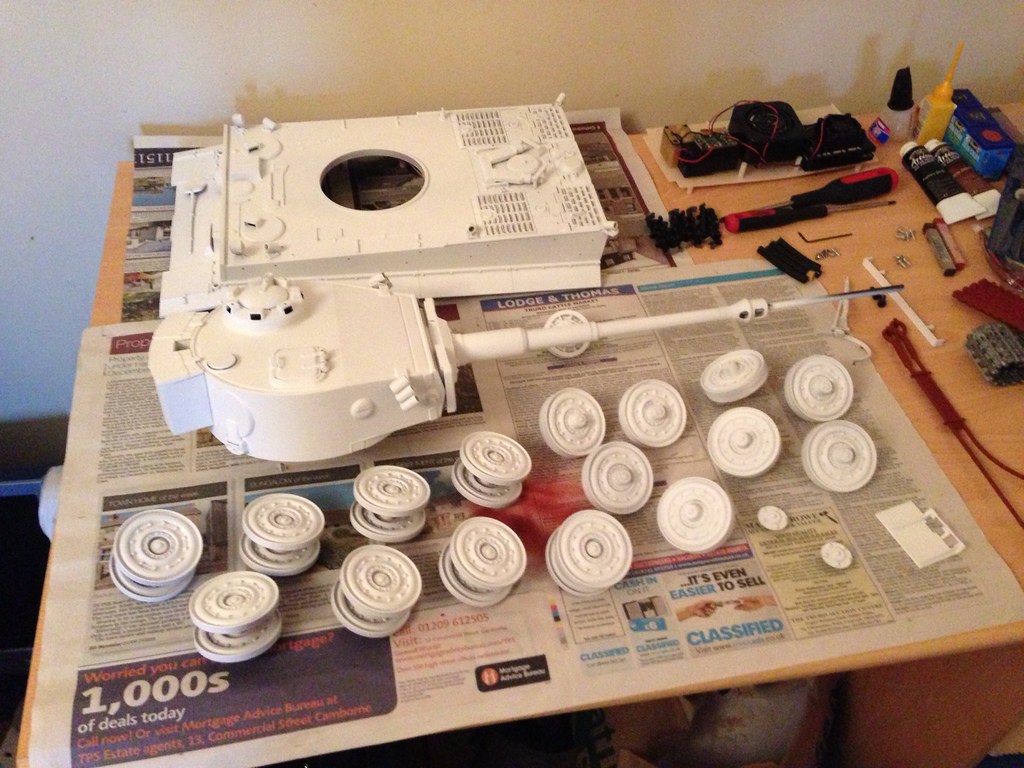
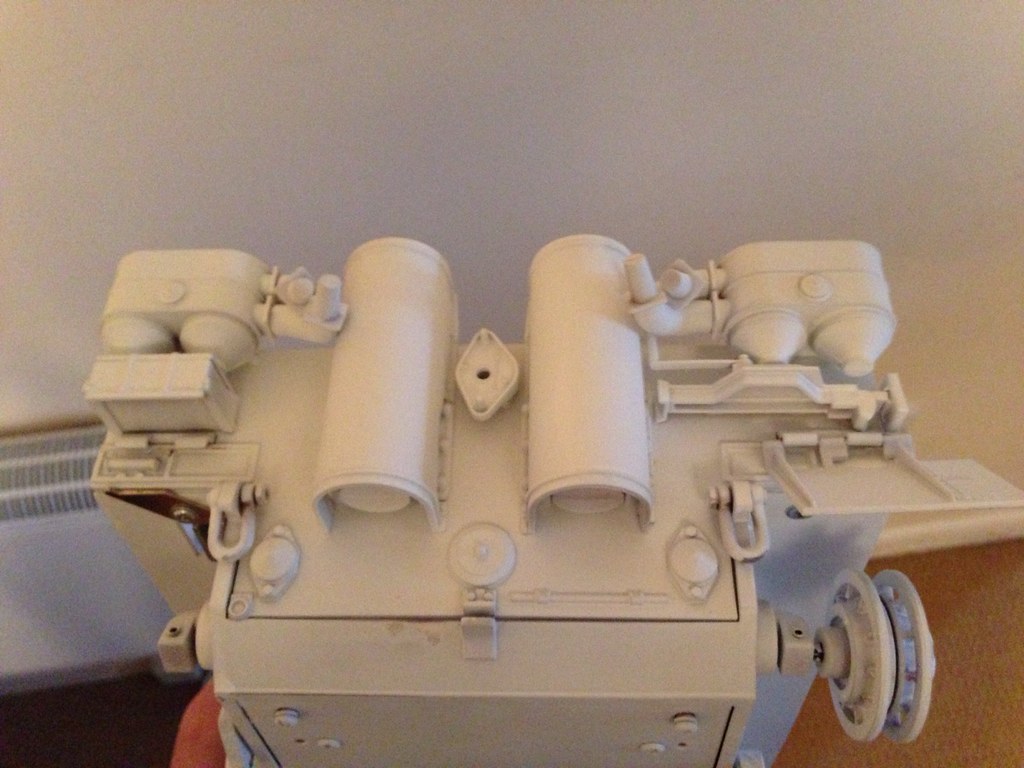
top coat of matt white applied, im going with a winter type camo, for this im just using rattle cans at the mo, i have a cheap air brush for the later stages
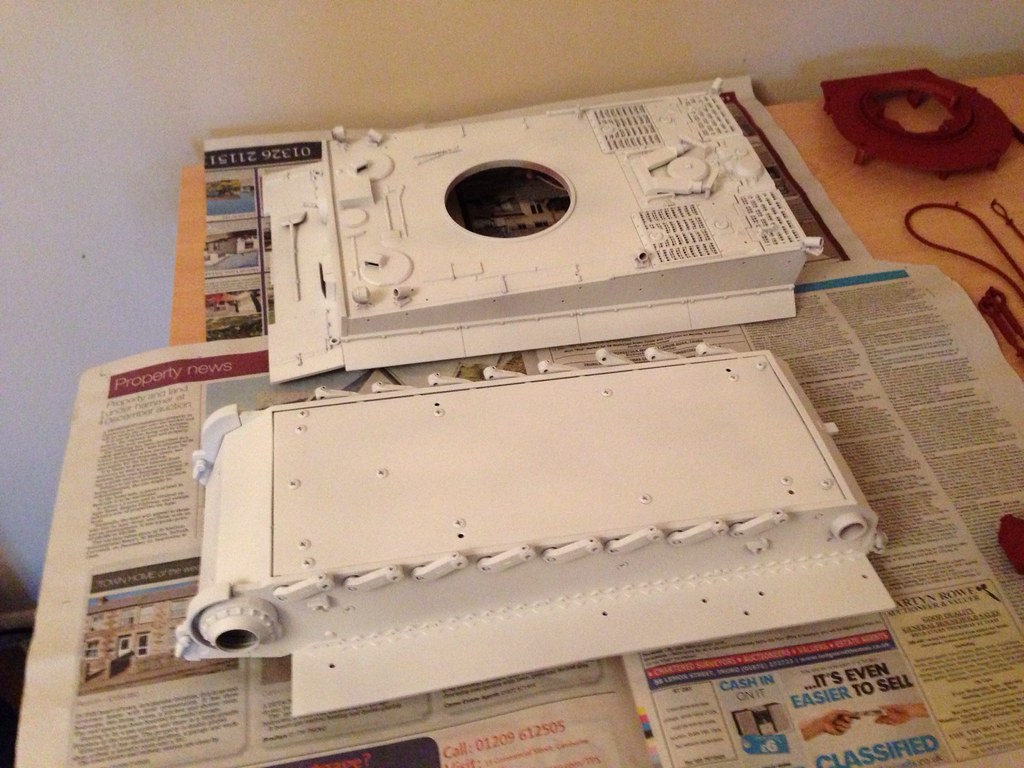
more parts sprayed up
rear deck
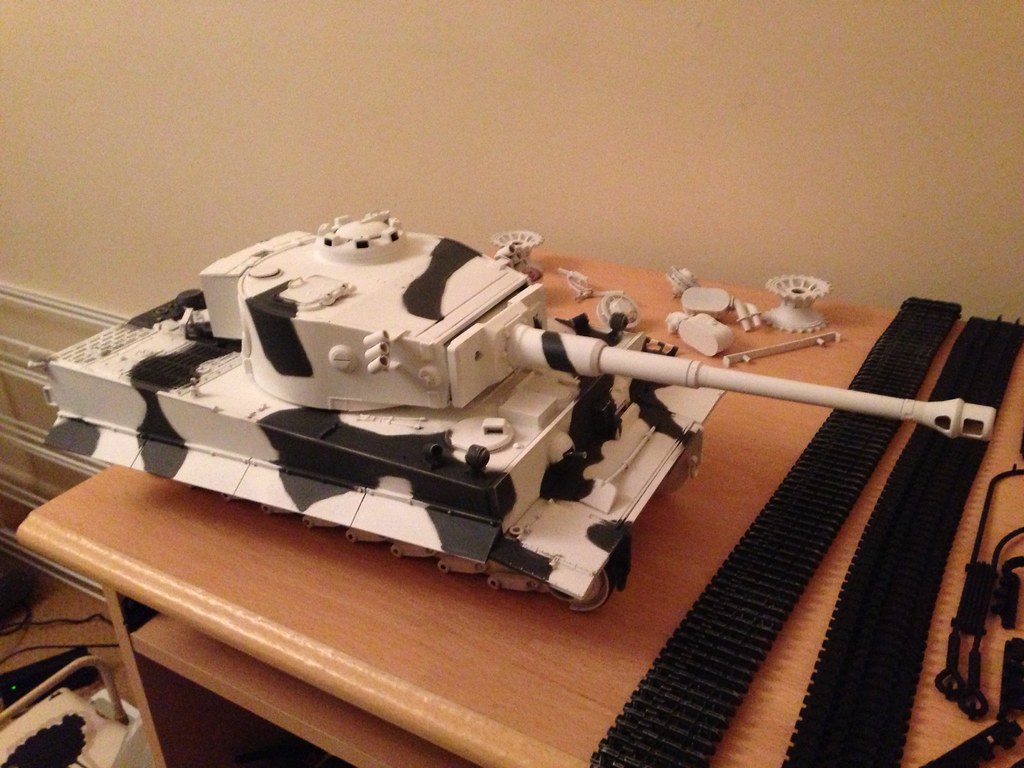
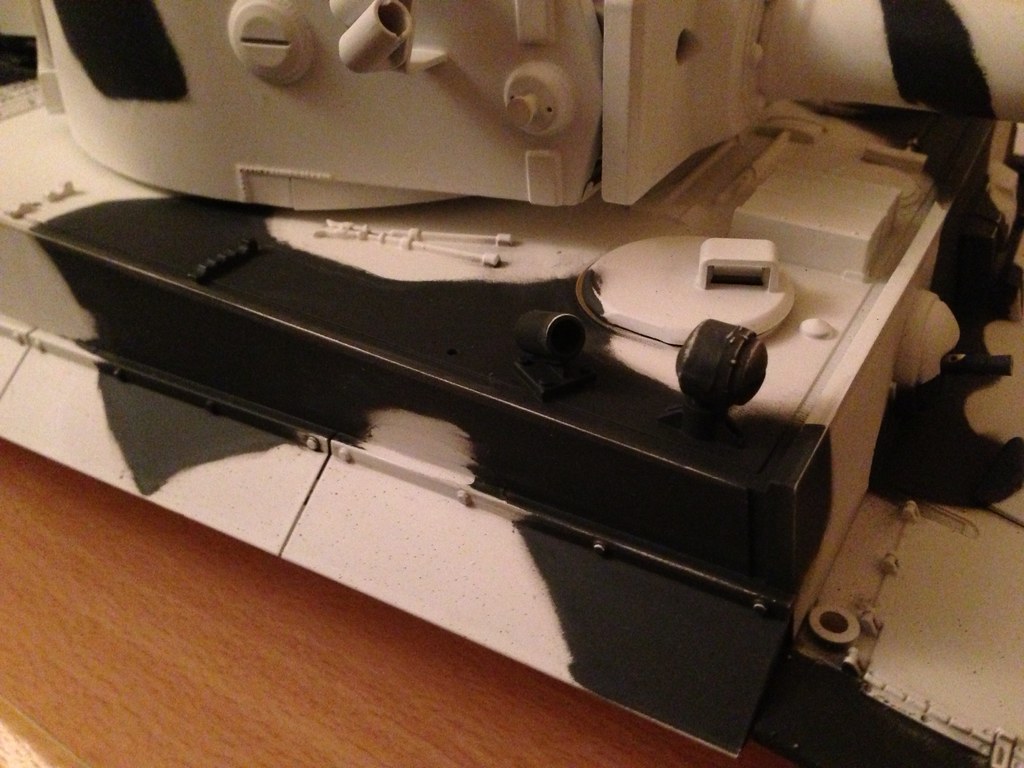
i had a bit of a disaster with the camo, i spent ages masking the hull with normal masking tape, then i laid down some panzer grey through my air brush, unfortunately it was my first time using it and the paint mix was a little too watered down, so some of the paint seeped under the masking tape, i recovered it and the colour looked good, then i unmasked it all and found the paint leaks and soak through the masking tape, i initialy thought it was a total wreck and i might have the remove all the paint and start again, however i came up with the idea of using some chlorhexadine wipes (i work in an A+E dept and we use then for cleaning patients skin before we canulate/take blood from them) anyway it took of the excess panzer grey paint perfectly and didnt disturb the white base coat, it also gave a nice blended effect round the edges of the camo lines which was an incidental finding but im really happy with
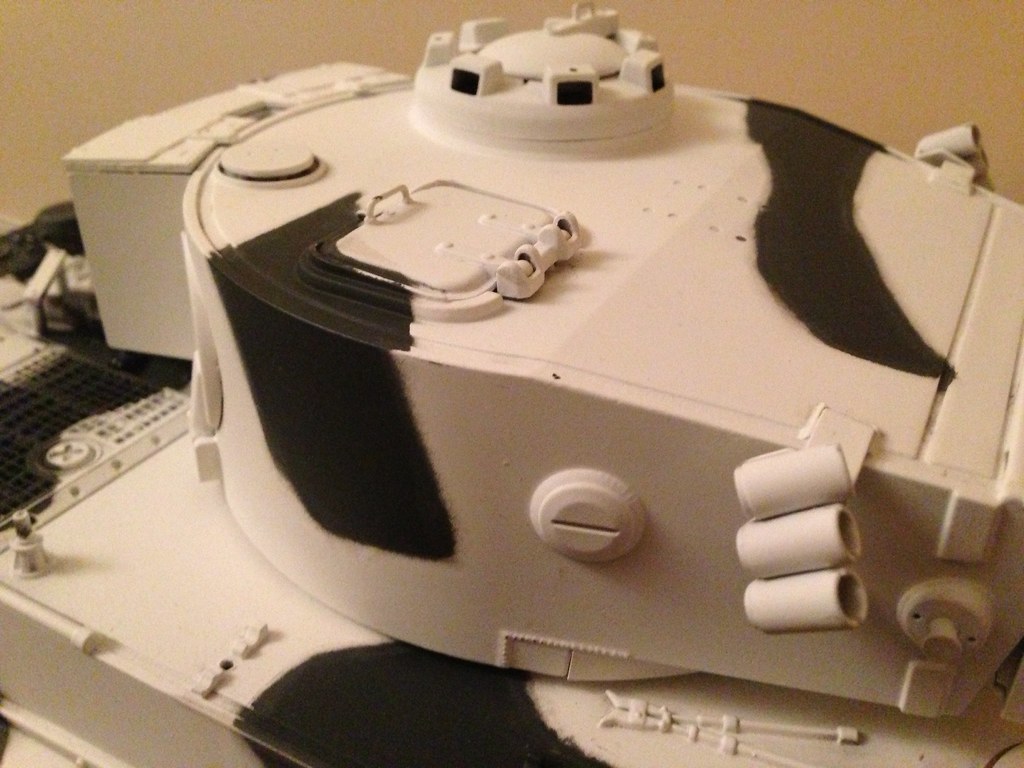
the chlorhexadine wipes also gave a worn effect to raised edges, il go over them again later with a lightened panzer grey dry brushing
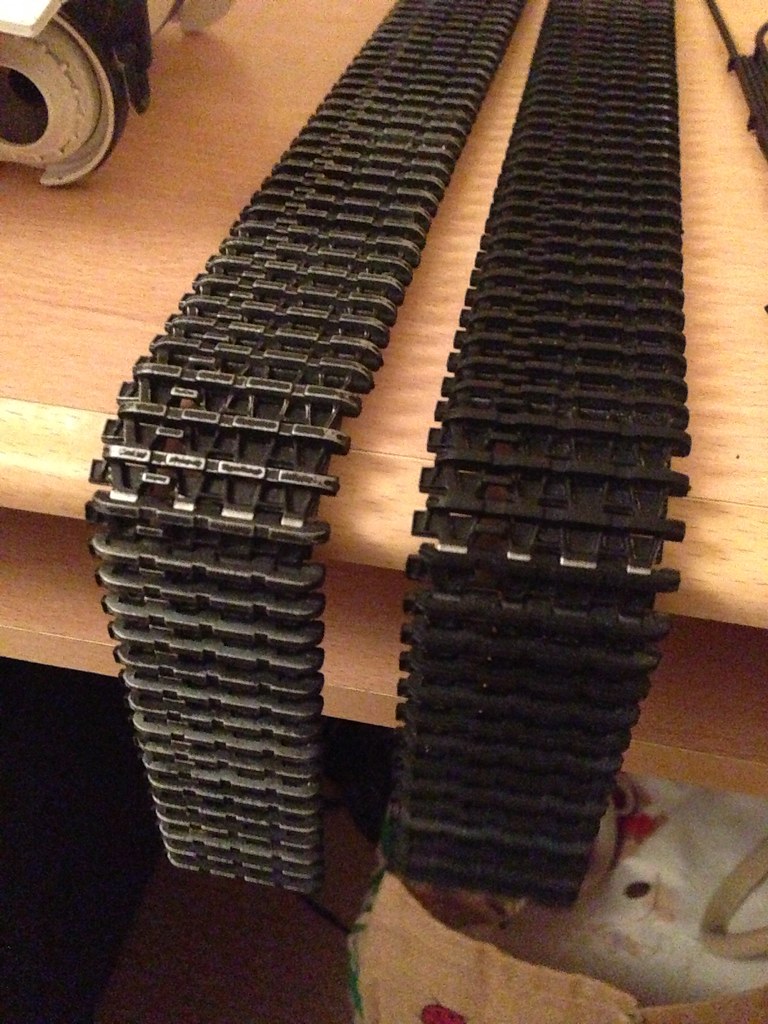
i also sprayed the tracks matt black then gave them a rub over with the wipes which gave them a worn look also, the wiped track is on the left and un-wiped on the right
so thats about it for now, im finding the whole project a lot of fun, as its a brand new experience for me, will get some more work done in the next week so il update some more pics, the next stage is gonna be getting some brushed up brown oil pastels to add round the edges, then il air brush over some floor polish, then il add decals, give it an oil wash then paint the details like the MG and tools, then a matt varnish, any comments and suggestions welcome, this is all a first for me so any help would be much appreciated, i have tried to research and read up as much as i can, but any pro-builders/painters id love to here from please, anyway, thnaks for reading
sam