Custom Switch Bridge
Re: Custom Switch Bridge
The closing mechanism is very clever 
-
43rdRecceReg

- Major
- Posts: 6294
- Joined: Fri Jul 31, 2015 11:38 am
- Location: North West Highlands, Scotland
Re: Custom Switch Bridge
It's the JS-2, but the correction I made didn't stick, for some reason.MITCH wrote:The closing mechanism is very clever
"Get your facts first, and then you can distort them as much as you please"- Mark Twain.

Re: Custom Switch Bridge
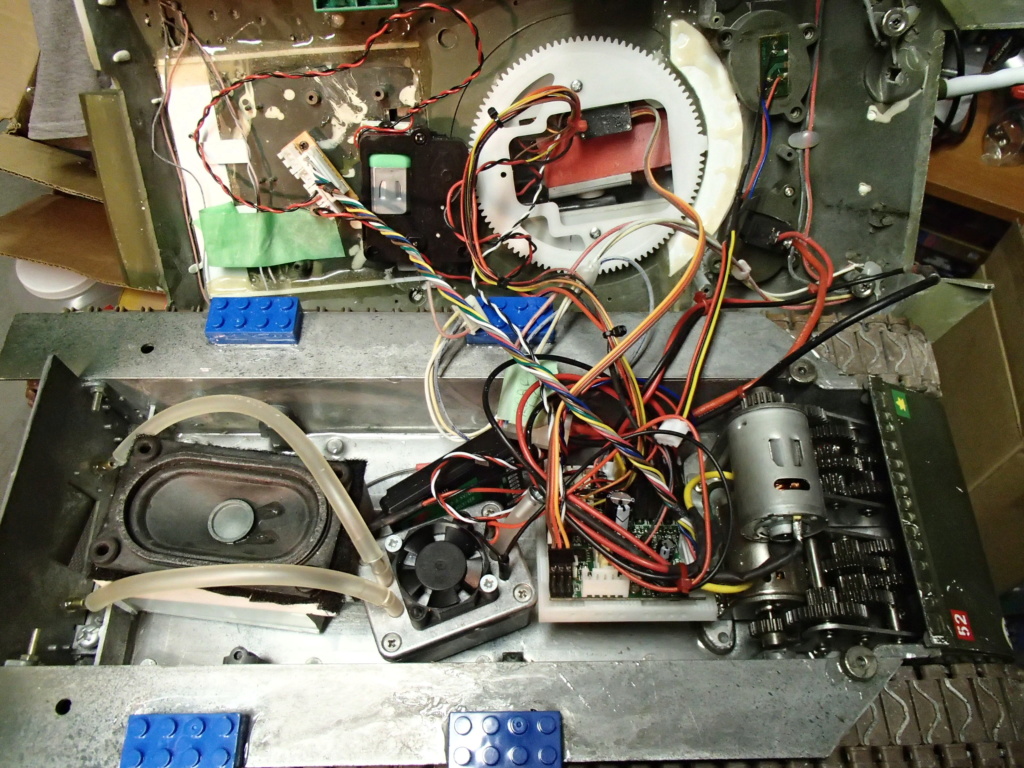
While I do not have a starting point image of the current tank. The next tank is a typical setup of Dean's.
Beautiful on the outside, a tad haphazard internally. This is the next Mato Sherman to get similar treatment/upgrading by me.
Yes those are lego/building blocks that hold the lower to the upper... (Not my doing
So we'll backtrack a bit. The gutted Mato Sherman with the Clark TK-2x/40 tray installed.
Provisions for mounting dual 25mm fans, but since this was a TK-20, not needed.
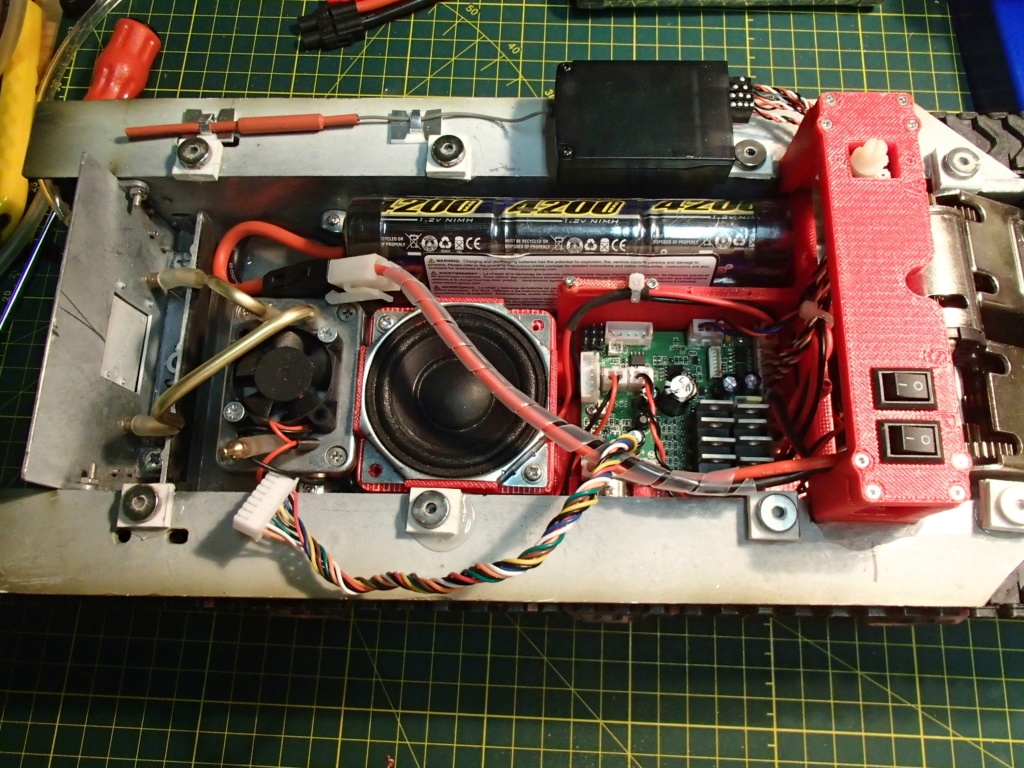
The highly technical concept arrangements. Battery pack and HL Speaker are being used as concept place holders while I awaited the actual speaker and Tarr smoker to install. That high-tech popsicle stick being used to determine the switch bridge dimensions and layout.
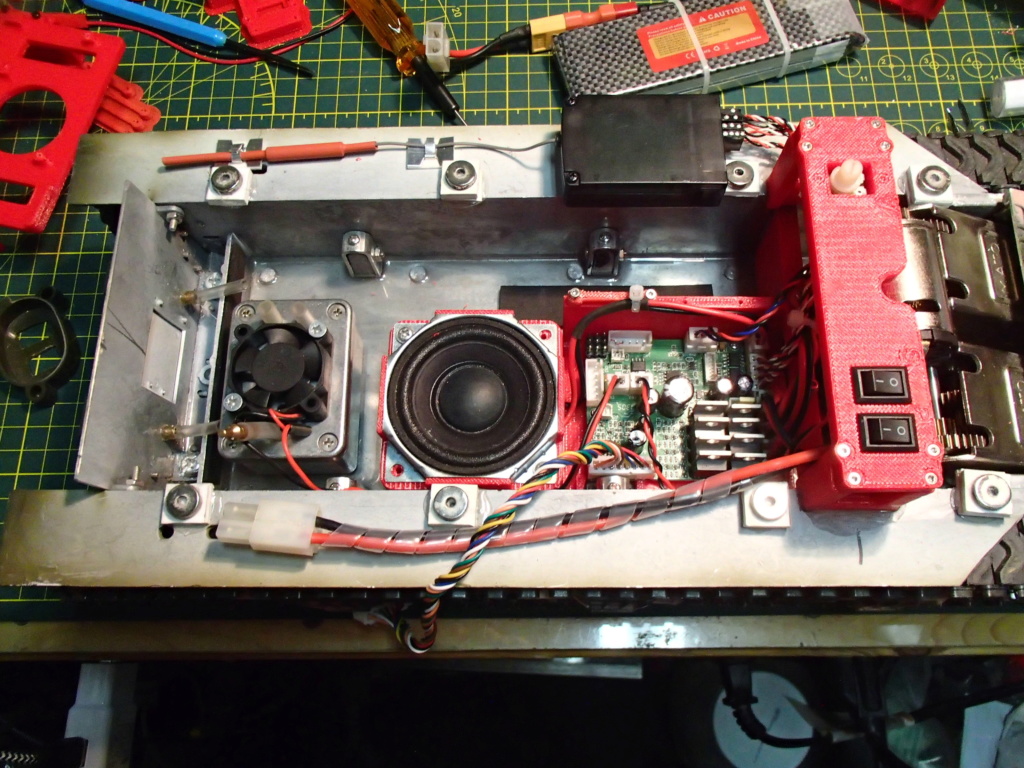
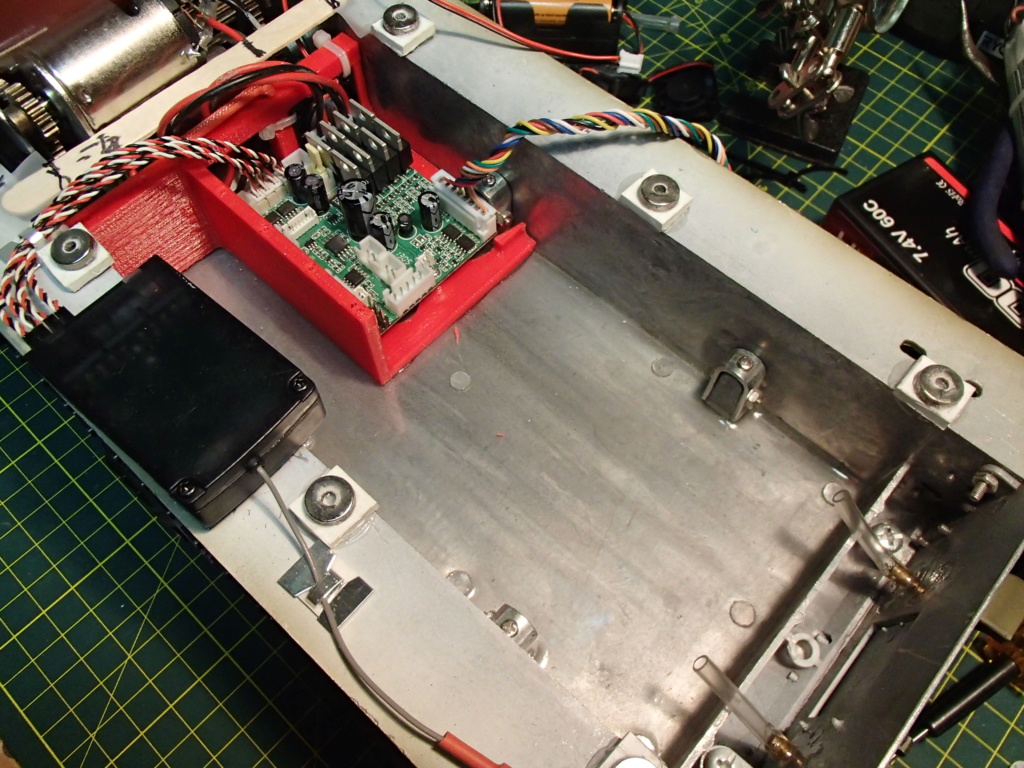
Finalized locations and installation. I like my routing to be clean as F%^$. Just awaiting some brass tubing and a tube bender for finishing the smoker plumbing.
If I'm going to do it, I'm going to make it well (I hope)...
Finalized lower with 3D printed trays and organizers. (That is a bridge mounted tray for a Clark TK-60 in the background)

The Switch bridge uprights have multiple mounting provisions. They can be epoxied to the hull, screwed down or even held on by 5mm x 3mm magnets.
Re: Custom Switch Bridge
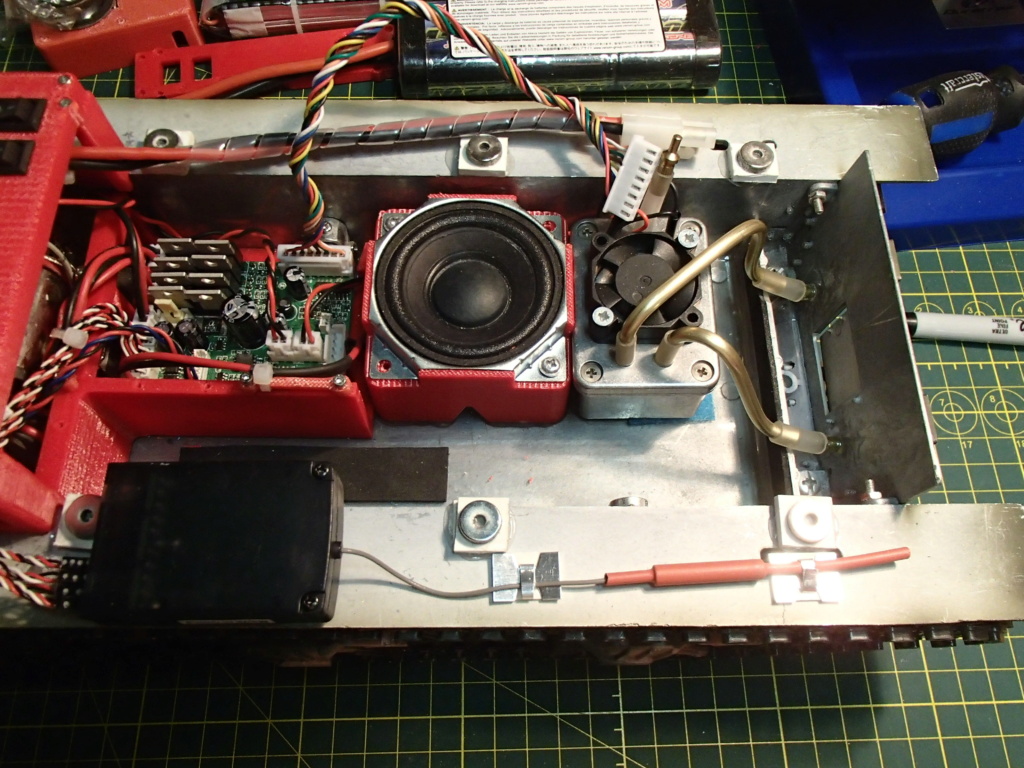
Remember that in the Smoke Generator the tubes must go up first and then down. The excess oil then condenses back into the generator. If it is down immediately as planned, excess condensate will build up at the bottom and block the flow of smoke
- Attachments
-
- Bez tytu?u.jpg (36.63 KiB) Viewed 265 times
Re: Custom Switch Bridge
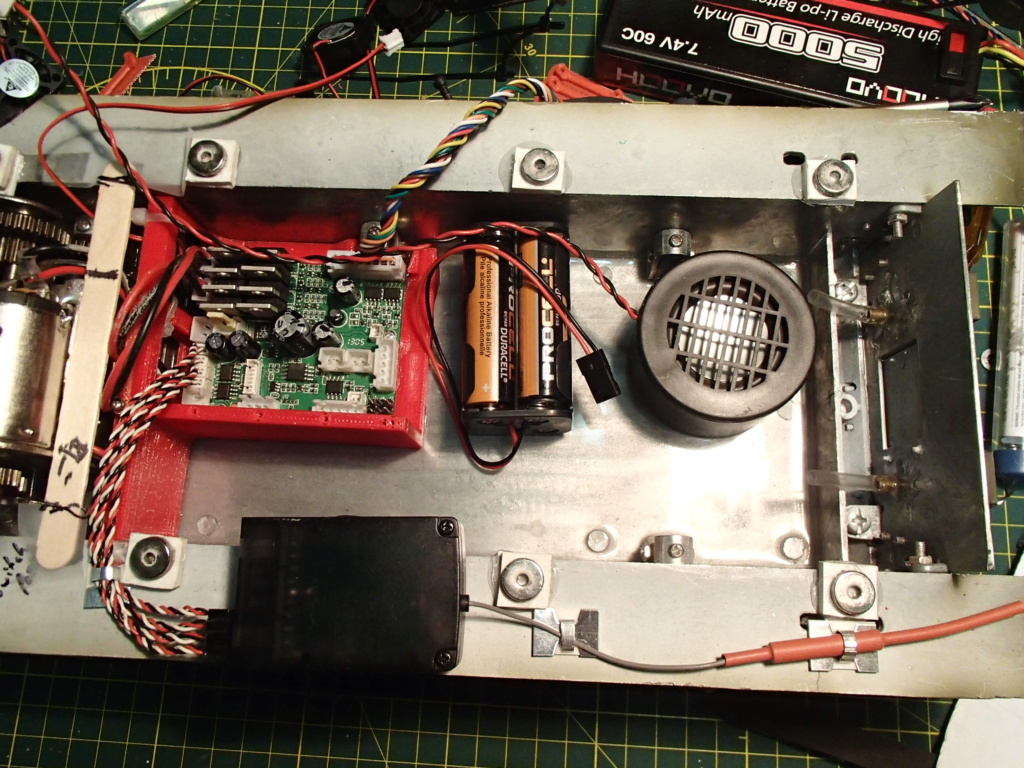
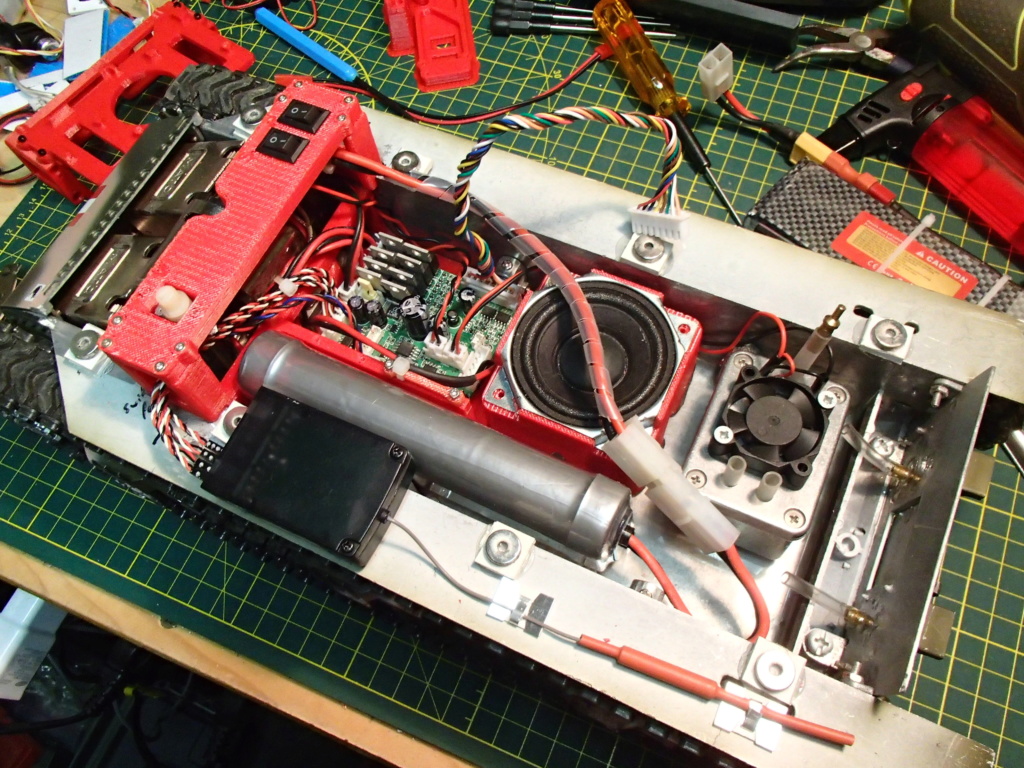
Finally had a chance to finish the Lower Hull plumbing of my friend's Mato Sherman. Damned that lower hull inside is a sexy beast IMHO....
Yes those are brass tubes, bent to accommodate the Velcro installed Smoker. Why Velcro? In case you burn the wick...
Battery area will fit almost everything including a standard hardcase LiPo. Success!
Yes those are brass tubes, bent to accommodate the Velcro installed Smoker. Why Velcro? In case you burn the wick...
Battery area will fit almost everything including a standard hardcase LiPo. Success!
