HL Panther G customization diary

scalawag

Re: HL Panther G customization diary

Post by scalawag »

Make that 5 :thumb up:

I think we will have to wait for the tank to be complete and then one of us nominate it :)

viewtopic.php?f=46&t=333
jeff1101
Corporal
Posts: 340
Joined: Tue Jan 03, 2012 9:08 am

Re: HL Panther G customization diary

Post by jeff1101 »

Updates 1/26/2014 - Final Clear Coat and Assembly WIP

Thanks for the vote of confidence guys! :thumbup: I'll be sure to post final pics of the tank in studio lighting :wtf: when I'm finished. (If I ever get this thing done. :crazy:)

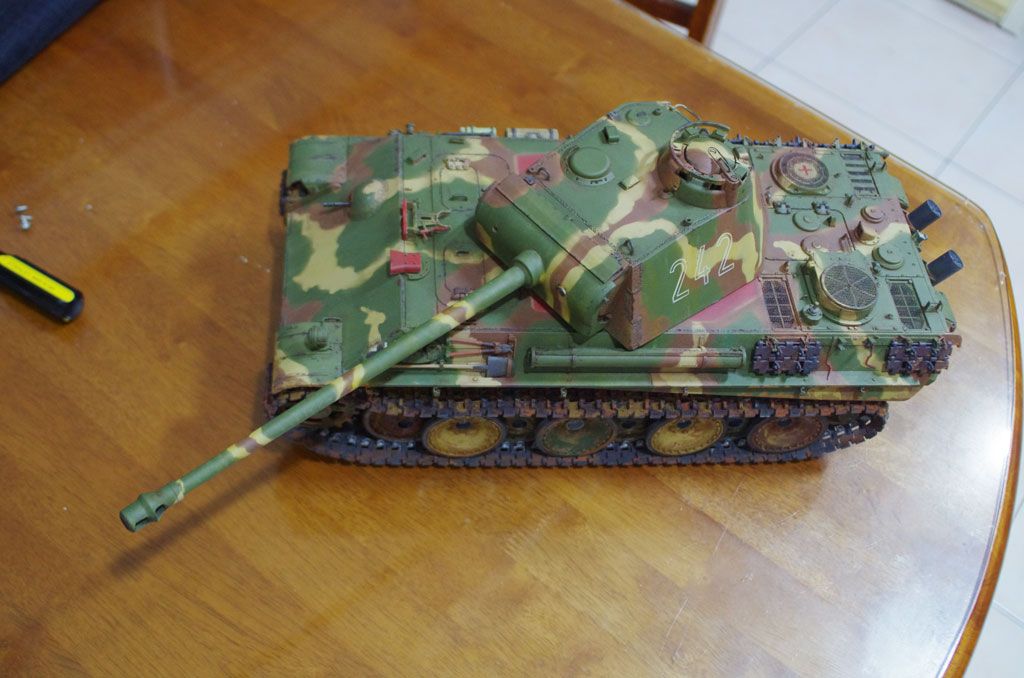
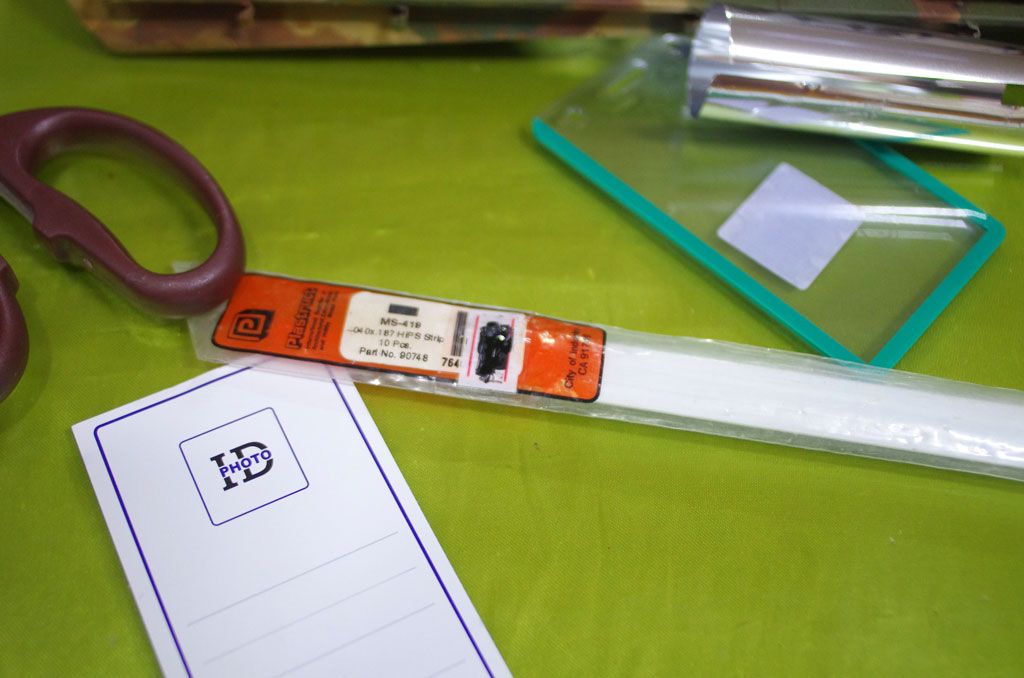
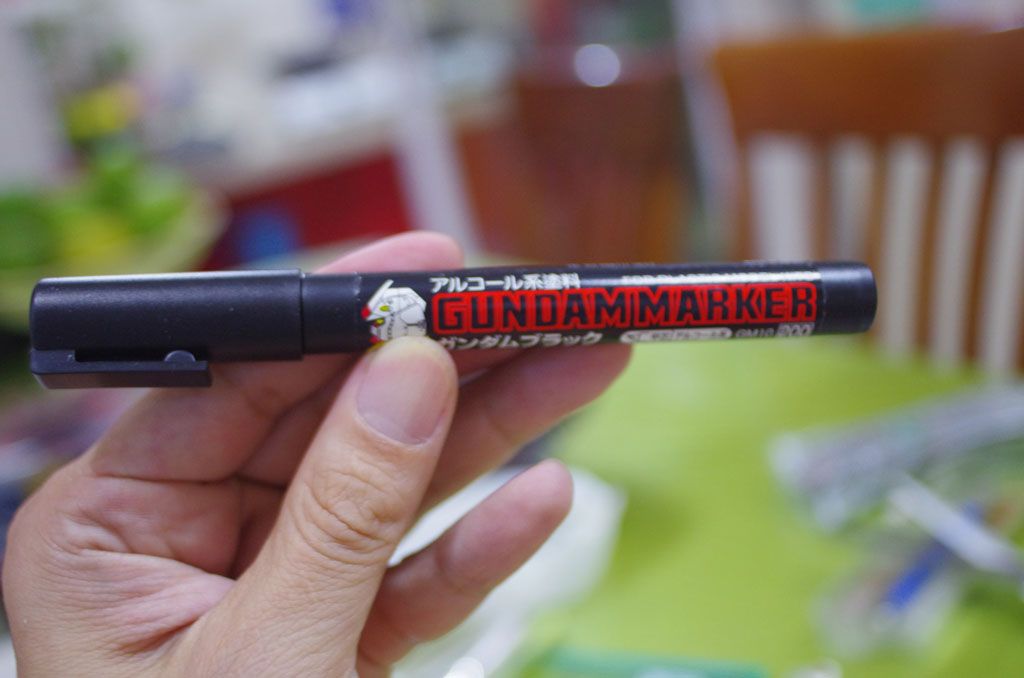
Anyway I made some progress in finally completing this build. First off I bought some clear coat to seal the camo colors and weathering of the tank. For this I bought Mr. Hobby Matt Clear.
Image

It sprays very easily and dries quickly. It does affect the acrylic coat so be sure it is completely dry before handling the sprayed parts of the tank or the base paint is liable to come off.

I decided to paint the road wheels and tracks separately from the hull so I can get the clear coat in all the nooks and crannies.
Image

I then sprayed the lower hull of the tank. Unfortunately spraying the tracks, wheels and sprockets took a lot of clear coat so I ran out by the time I finished the lower hull. Should have bought 2 cans. :{

Assembly of the road wheels, tracks and sprockets was a royal pain! :thumbdown: Here I ran into lots of problems. When painting and weathering the tracks, to have even coverage and to prevent the tracks from getting scuffed from fastening/unfastening the track pins, I had decided to paint and weather them fully closed.

Unfortunately attaching the tracks fully closed to the road wheels, sprockets and then the hull became almost impossible since I also added thickness to the tracks with all the paint and weathering crud I had added into them. :crazy: Because of the already tight tolerances of the tracks in relation to the sprockets/road wheels, adding additional stuff to the tracks made it almost impossible to re-fit them and changed the track slack from before.

With a lot of effort (and swearing :-< ) I was able to fit the tracks on one side of the tank. The other side I was unable to even using considerable force to fit the tracks and screw the metal idlers back on. I had to stop as I was already afraid I would break something.

To be able to re-fit them, I had to remove the track and add another link. I had to call it a day before I can change and add another link to the tracks on the other side.

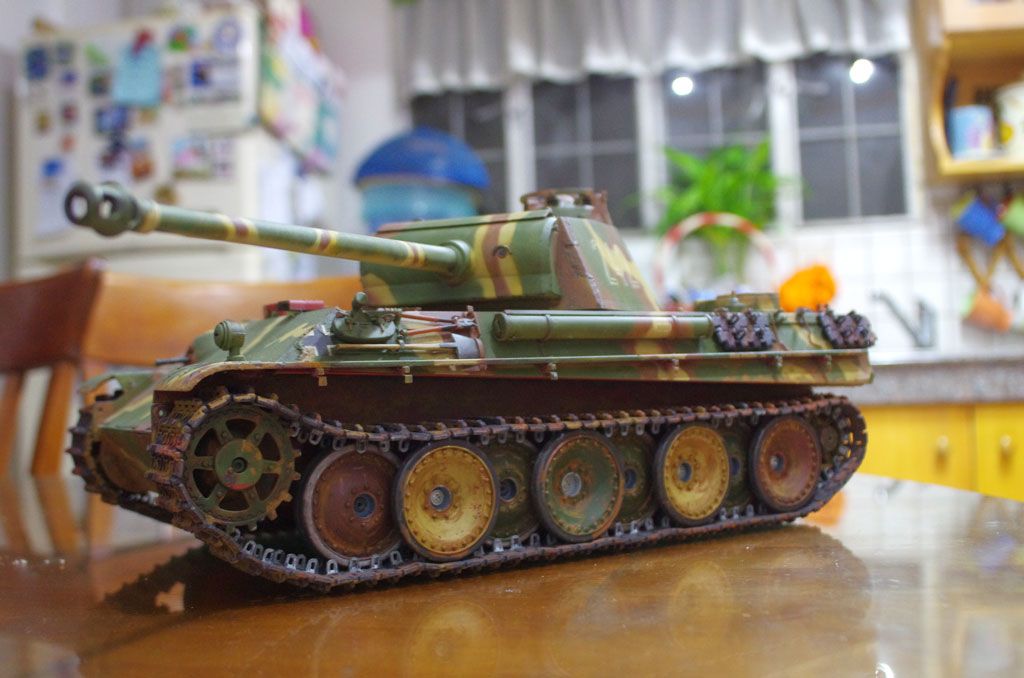
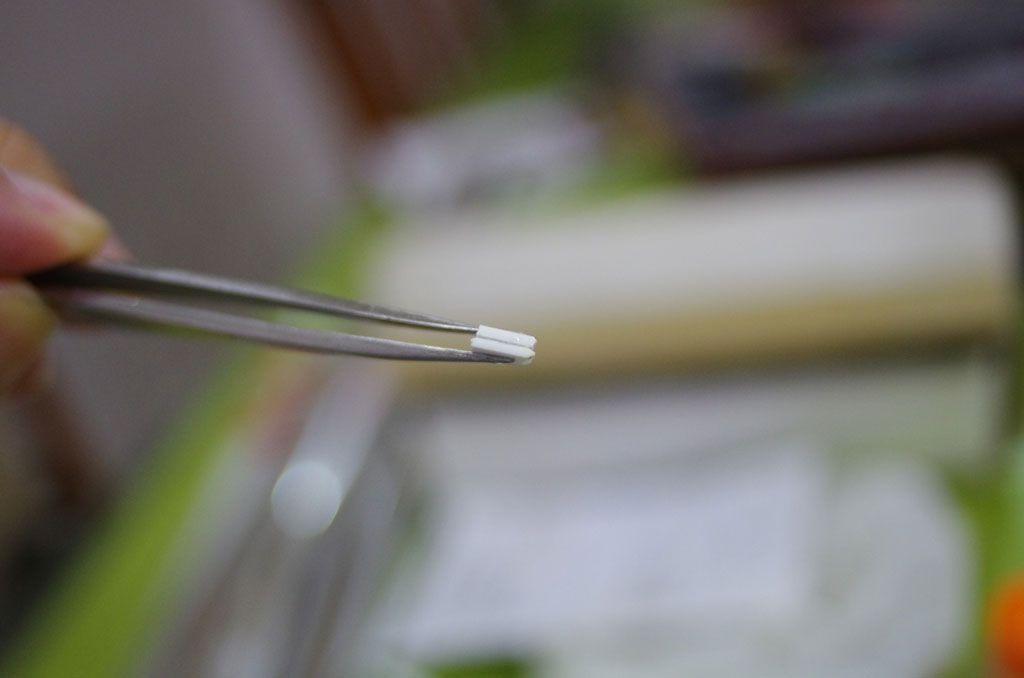
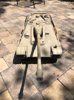
Here you can see the difference, one track fitted as they were and the other with one extra link added.
Image
Image

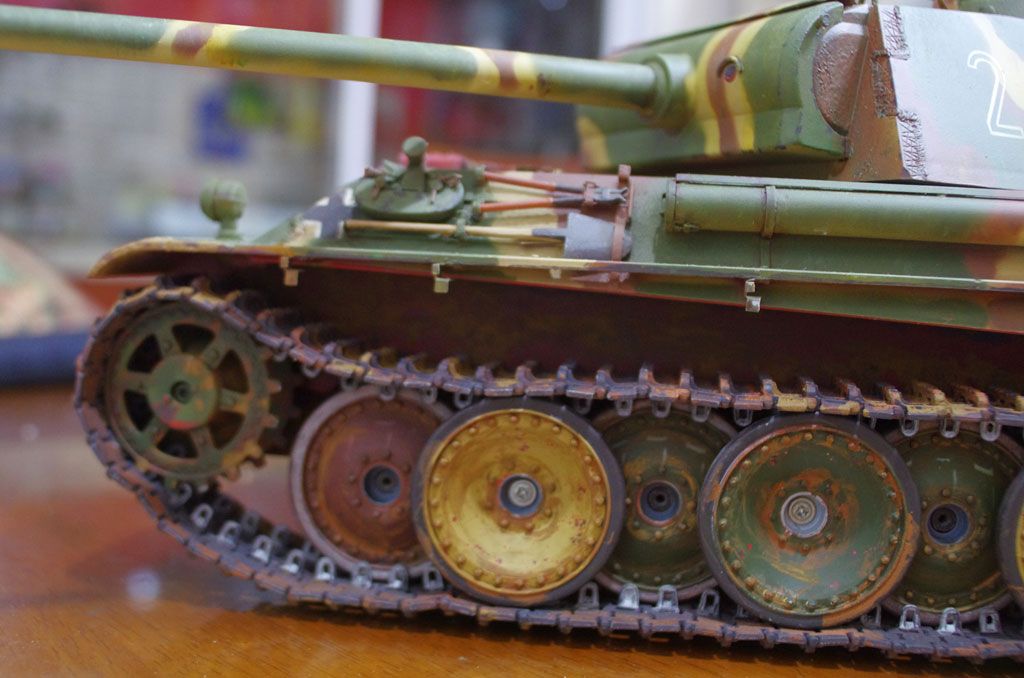
Here you can see where I added the extra track link. (Hint: Its the only link thats not weathered)
Image

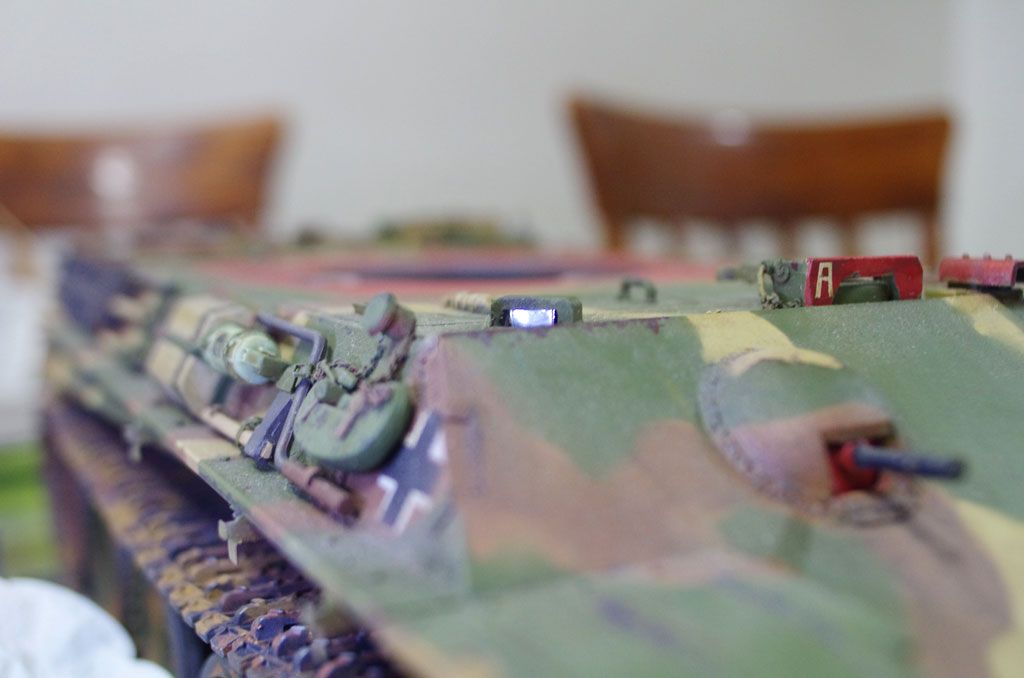
Here are some more pics of the tracks and lower hull.
Image
Image

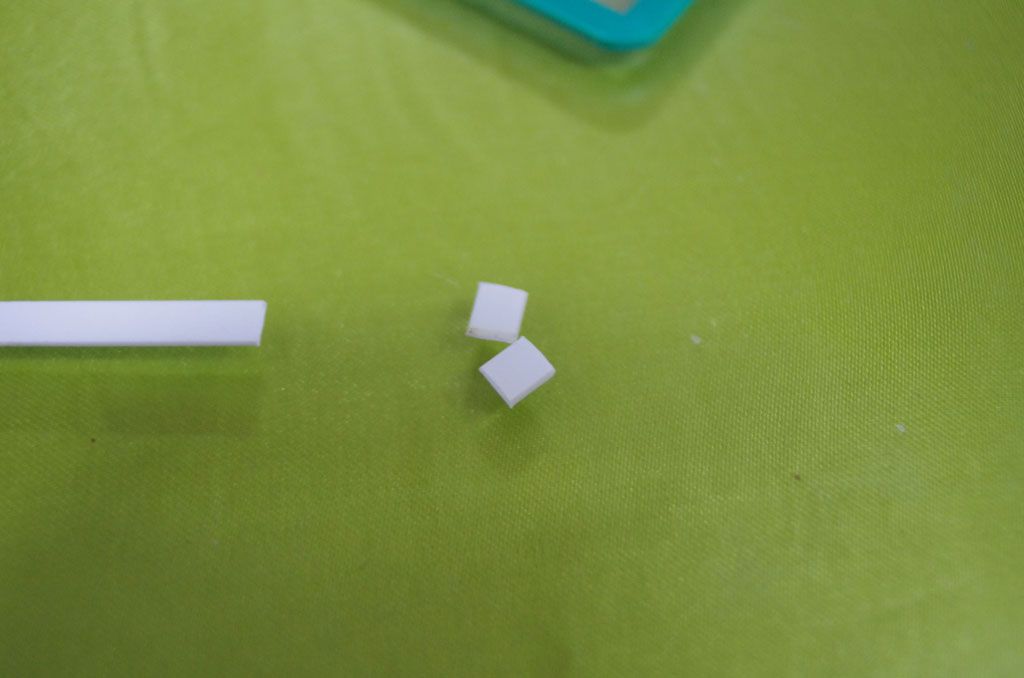
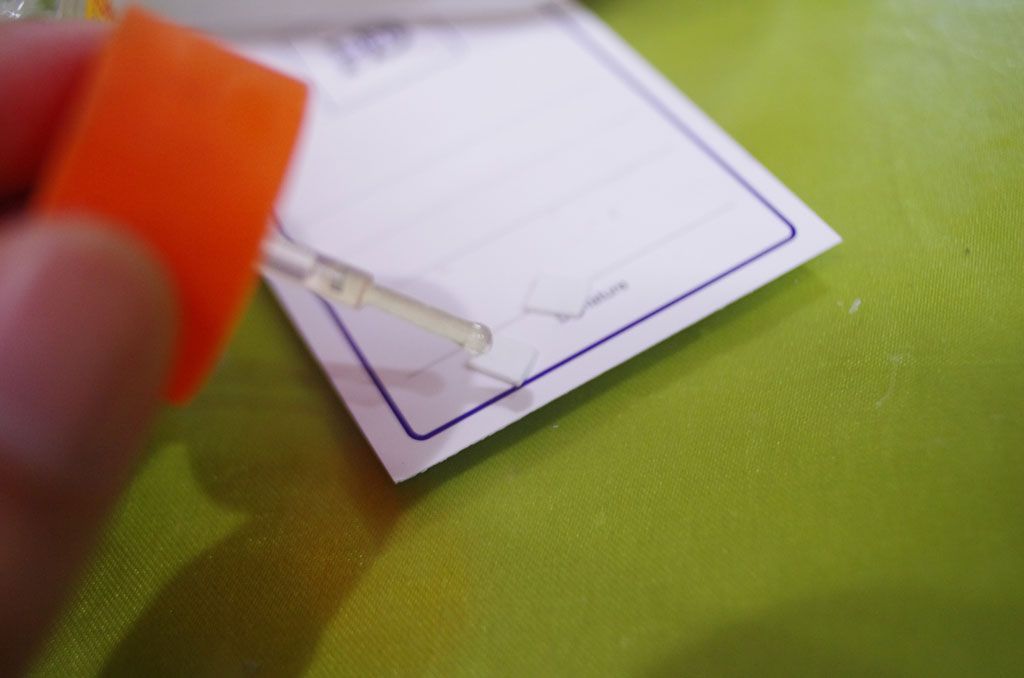
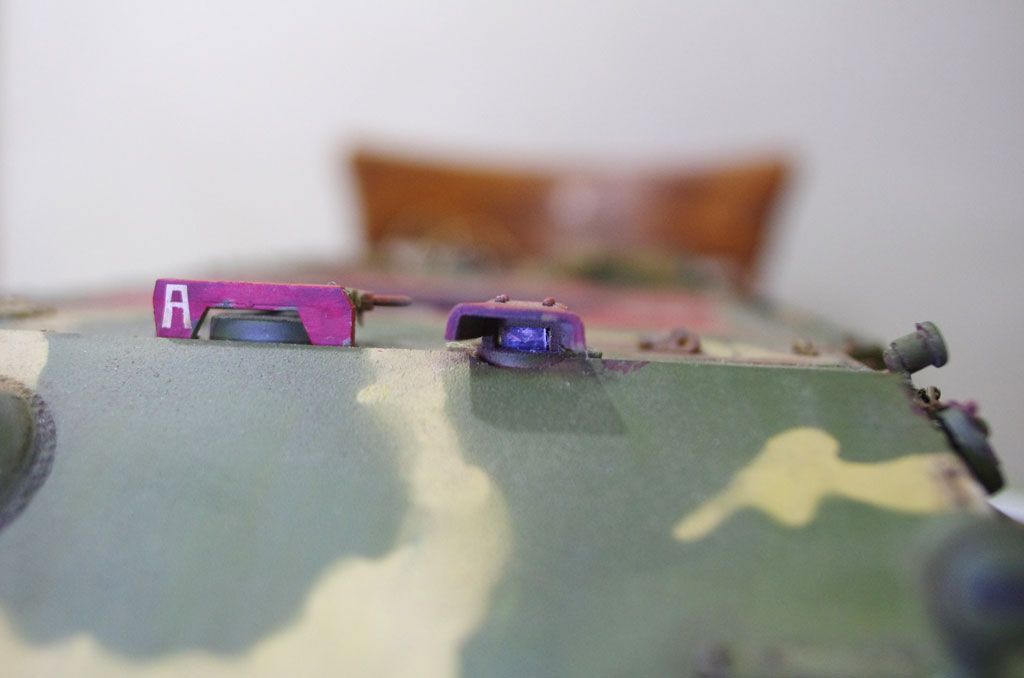
Finally I added some gloss red paint on the tank's rear reflector. For this I used Tamiya gloss red enamel. I used enamel so that it will not react with the acrylic base paint and I can wipe them off with Tamiya enamel thinner if I make a mistake.
Image

I dipped a fine brush straight into the paint bottle with no thinner added as I wanted the paint to be a bit thick. Applied it to the reflector and let capillary action to the rest.
Image

Thanks for reading!
cupoftea
Corporal
Posts: 261
Joined: Sat Nov 06, 2010 2:36 pm
Location: South Wales

Re: HL Panther G customization diary

Post by cupoftea »

That last photo of the reflector could so easily be mistaken for a real tank.............. very impressive.
User avatar
PainlessWolf
Lieutenant-Colonel
Posts: 7409
Joined: Sun Feb 26, 2012 9:09 pm
Location: Southern Colorado Rocky Mountains

Re: HL Panther G customization diary

Post by PainlessWolf »

Good evening, Jeff,
You will enjoy more realistic performance from your Panther with an extra link in the tracks. It was one of the first things I fixed on mine. Very Nice! on the little touches like your reflector. ;o)
Regards,
Painless
...Here for the Dawn...
jeff1101
Corporal
Posts: 340
Joined: Tue Jan 03, 2012 9:08 am

Re: HL Panther G customization diary

Post by jeff1101 »

Updates 1/31/2014 - Clear coat finished

Finally completed applying the final layer of clear coat on the upper hull and turret. Also I would like to thank Painless for the idea of adding spacers around the turret ring as the turret was still not clearing some of the brackets around the hull sides when rotating.

I sourced the stick-on spacers at our local hardware store.
Image

Applying the spacers were as simple as sticking them on. Plastic rubberized top was smooth enough that it didn't snag turret rotation. I spaced them around the turret ring so that none of them would be visible as the turret rotated.
Image

And here I took some photos of the tank to check my handiwork. :)
Image
Image
Image
Image
Image

Here you can see how I dry brushed some Tamiya dark iron on the muzzle brake to simulate (very faint) wear and sooth accumulation from firing the main gun.
Image
Image
Image
Image
Image
Image
Image
Image
Image
Image
Image


And of course one last comparison shot.
Image
Image

Things left to do on the tank.
- add another link on the right track.
- scratch build and add the periscopes. Preserved museum specimens of panthers :) usually don't have periscopes on them as these usually don't last as long as the tank. (i.e. periscopes as delicate optical devices often darken due to fungus growth or simply deteriorate to nothing after a long time). But mine is a fighting, active, period tank so should have them.
- Install the self charging kit. This will allow me to recharge the batteries without removing them from the tank. :thumbup:
- Paint the commander figure. I'm still on the fence if I want to add figure painting to this thread or create another specifically for this.
- Paint and weather the bucket. Of course no panther would be complete without a bucket hanging off the pintle mount. :thumbup:
Image
Image
- Paint, weather and attache the tow ropes.
- Hang some external stowage on the turret rear. I'm thinking a rolled up blanket would do the trick. It would still be cold in central Europe in February. :thumbup:

Thanks for reading!
User avatar
PainlessWolf
Lieutenant-Colonel
Posts: 7409
Joined: Sun Feb 26, 2012 9:09 pm
Location: Southern Colorado Rocky Mountains

Re: HL Panther G customization diary

Post by PainlessWolf »

Good Morning, Jeff,
I've used up all of my superlatives when it comes to this most amazing Panther Build. You have successfully recreated a moment out of Time. Every kudo to you, Sir. A small caution on the plastic slides. Make sure that you have the type with the hard and shiny plastic top to them. The spacing element that they provide is good but the real reason that I use them is to aid in removing friction from the turret rotation. If you only have access to the sort that feel a bit rubbery on top, add a drop of non penetrating oil to each one and rub it in. Works as well as the hard plastic types then with only a semi yearly touch up.
warm regards,
Painless
...Here for the Dawn...
jeff1101
Corporal
Posts: 340
Joined: Tue Jan 03, 2012 9:08 am

Re: HL Panther G customization diary

Post by jeff1101 »

Updates 4/19/2014 - Adding Vision blocks in hull

Finally after a long break, I have started doing some more work on the panther again. I keep making excuses putting off work on the tank, but I figured it was just laziness on my part.

When I last posted the tank looked like this.
Image
Image
Image

Now its time to add some vision blocks on the tank but since this was the first time I'm dong it, I experimented on the hull first.

Here are the things I needed. Some silver paper and transparent ID sleeve.
Image

Also strip styrene.
Image

Cut the strip styrene to proper length.
Image

And then glue them togther.
Image
Image

Next glue the silver paper on one side of the strip.
Image

Cut off the excess silver paper using small scissors.
Image

Cut the transparent ID sleeve to size.
Image
Image

Glue the transparent plastic to the silvered strip.
Image

Paint black on the sides and back of the strip. Here I used Gundam Marker acrylic paint pen do the job.
Image
Image
Image

Finally glue the strip to the underside of the hull periscope housing.
Image
Image

And here they look. Not bad I think. Now I can add the same to the turret. I only need to do seven of these for the commander's cupola and one for the loader's periscope. I'll post pictures when I'm done with the turret periscopes.
Image
Image
tiger tiger
Sergeant
Posts: 554
Joined: Sat Jan 12, 2013 1:00 pm
Location: Boston Lincs uk

Re: HL Panther G customization diary

Post by tiger tiger »

great job, i love the paint and weathering.
Grantham Light Armoured Division RCTC
User avatar
PainlessWolf
Lieutenant-Colonel
Posts: 7409
Joined: Sun Feb 26, 2012 9:09 pm
Location: Southern Colorado Rocky Mountains

Re: HL Panther G customization diary

Post by PainlessWolf »

Good Morning,
Jeff, as with all of your work, this is exacting and detailed to the nth degree. ;o) I am glad to see you finishing up this Panther now.
warm regards,
Painless
...Here for the Dawn...
User avatar
Markocaster
Staff Sergeant
Posts: 991
Joined: Mon Mar 31, 2014 11:16 pm
Location: Bay Area , California

Re: HL Panther G customization diary

Post by Markocaster »

What an amazing build you have here, and the step by step with photos is nothing short of fantastic.
I just spent an hour reading thru quite a bit of it, :clap: we'll done. And thank you it will be a great help on my first attempt at detailing a 1/16 tank.
HL /Mato tiger 1 early, Tamiya Tiger 1 early, Taigen tiger 1 mid
Taigen T34/85, HL SU-100
Jagdpanzer Lang
Taiga Jagdpanther
Heng Long Sherman DGS Firefly kit
Tamiya King Tiger (unbuilt)
Mato all metal Panzer III
1/10 Jagdpanther
Post Reply

Return to “Panther”