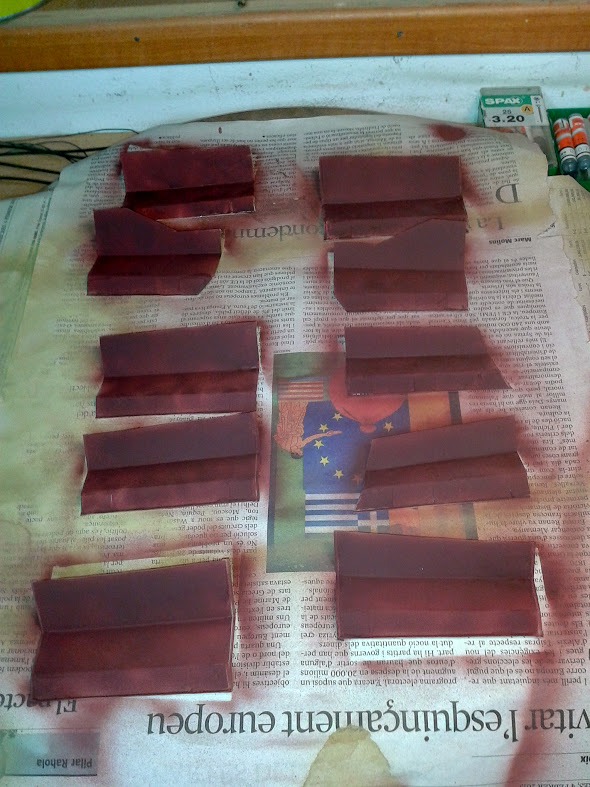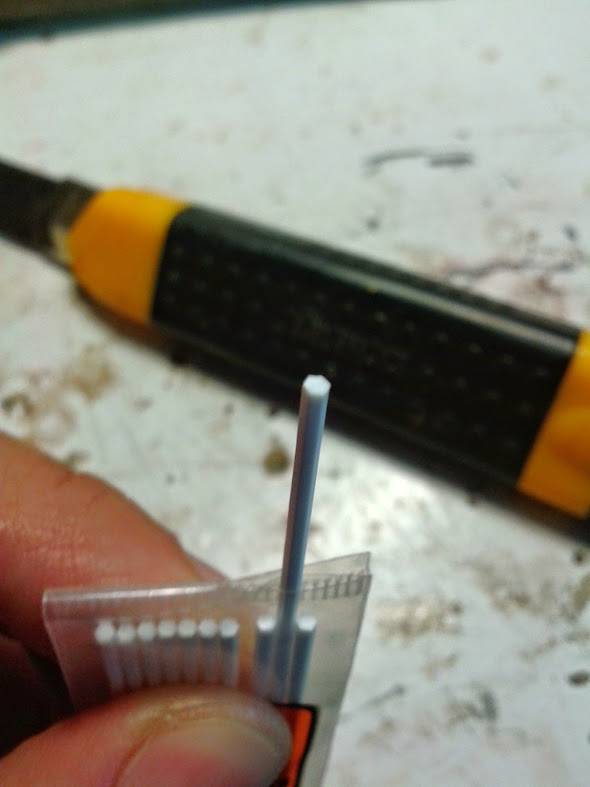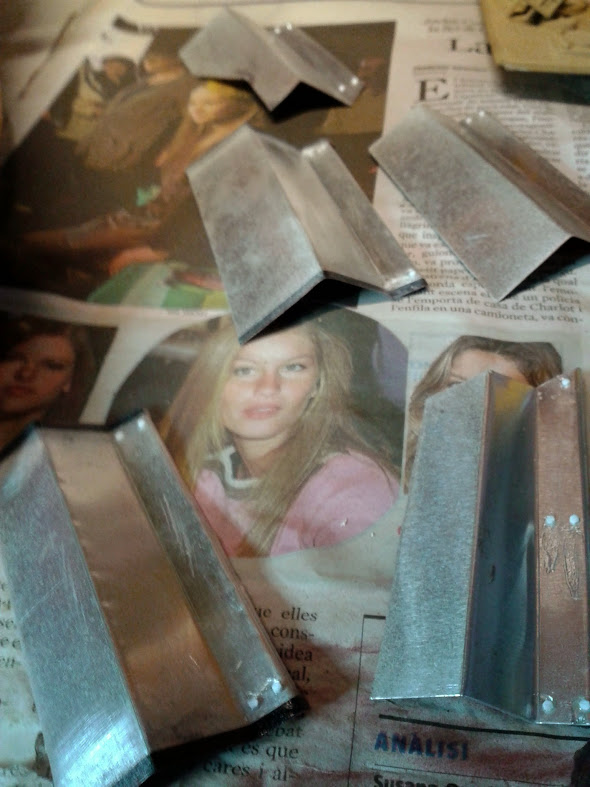
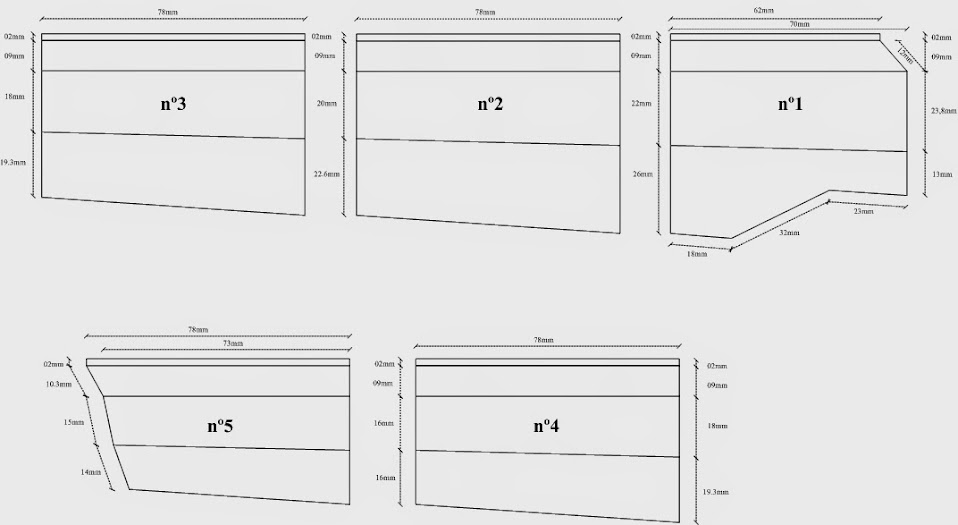
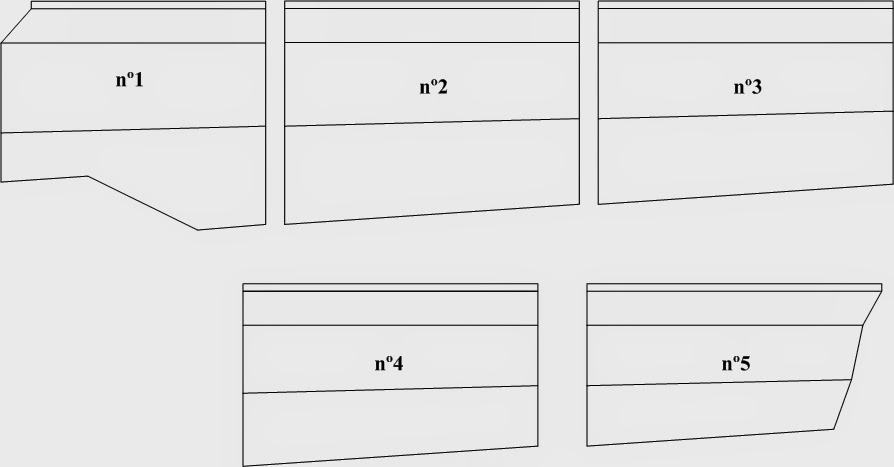
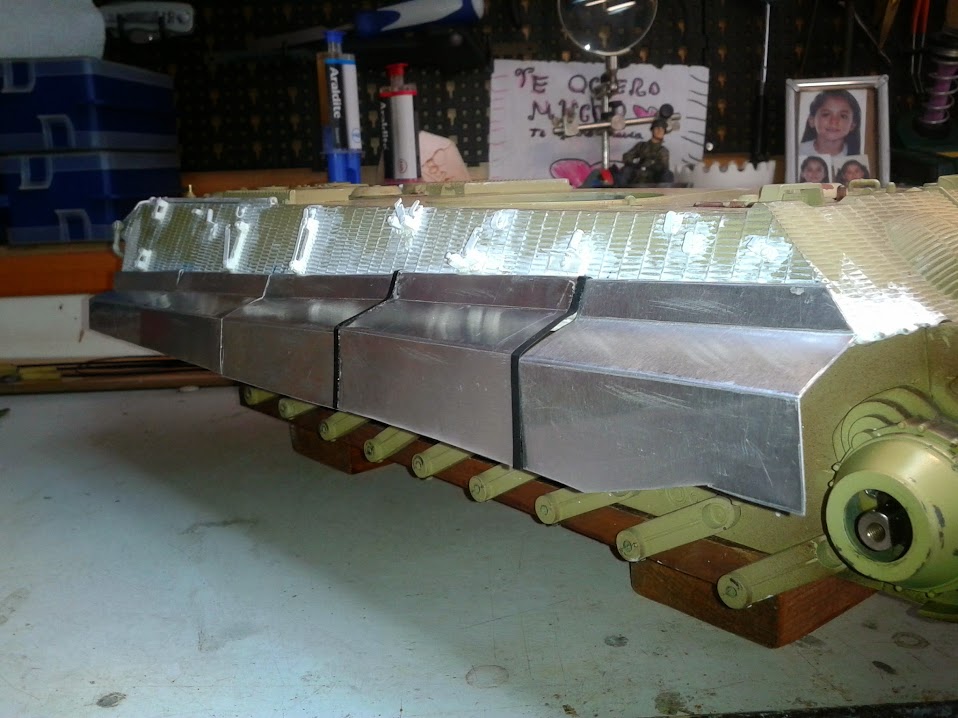
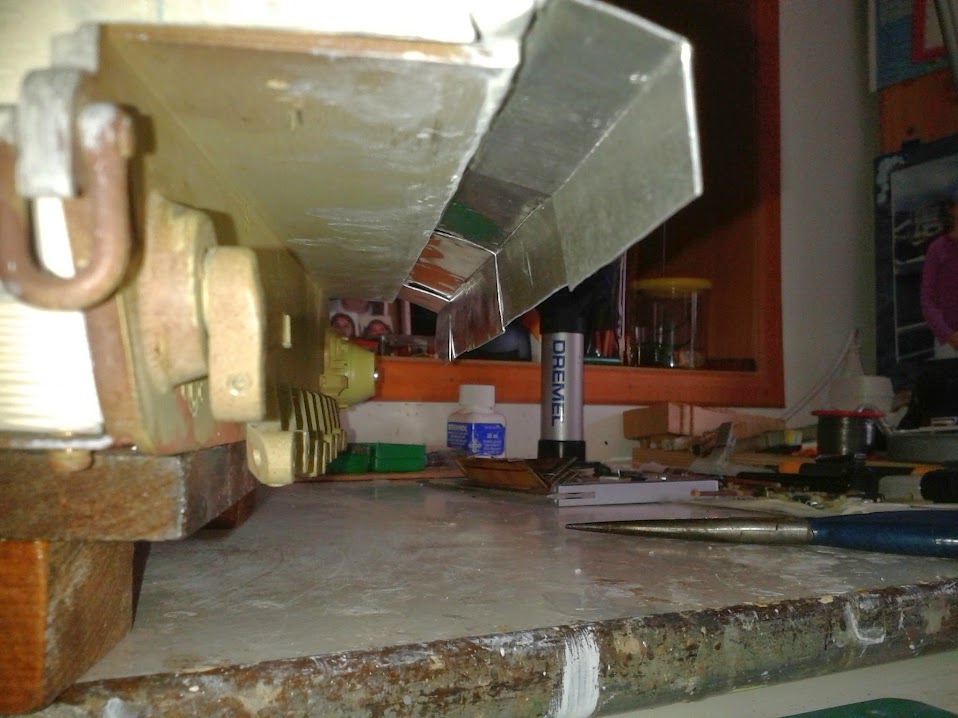
this is time to design the side skirt fenders 'moulds'. I took the measurements from the plastic ones i had cut out previously, and made a Visio file with this data. If anyone need/want it do not hesitate to tell me

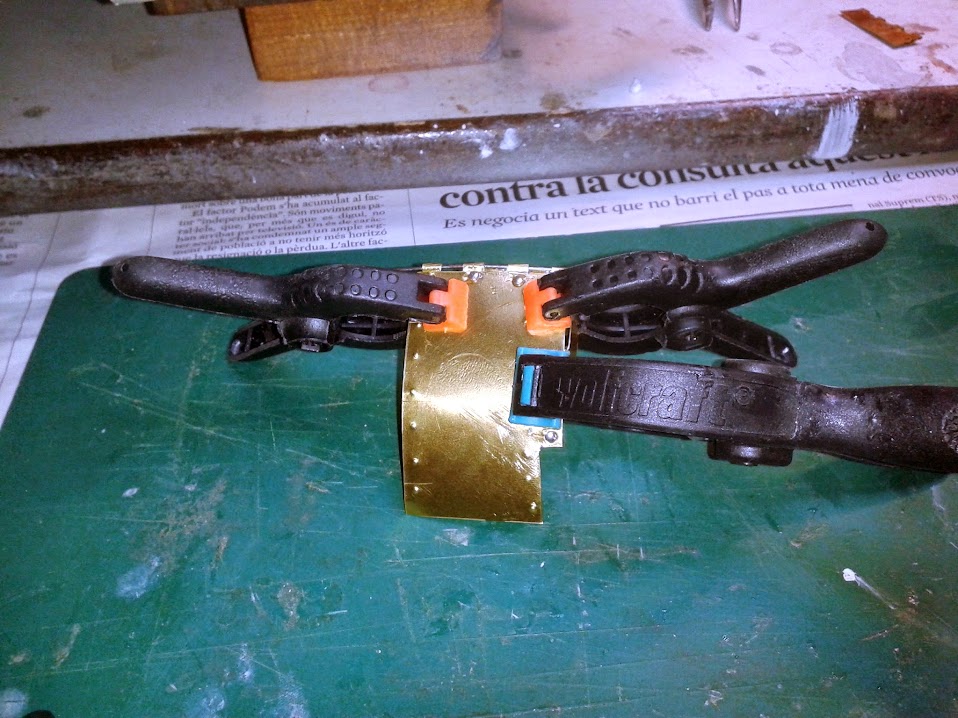
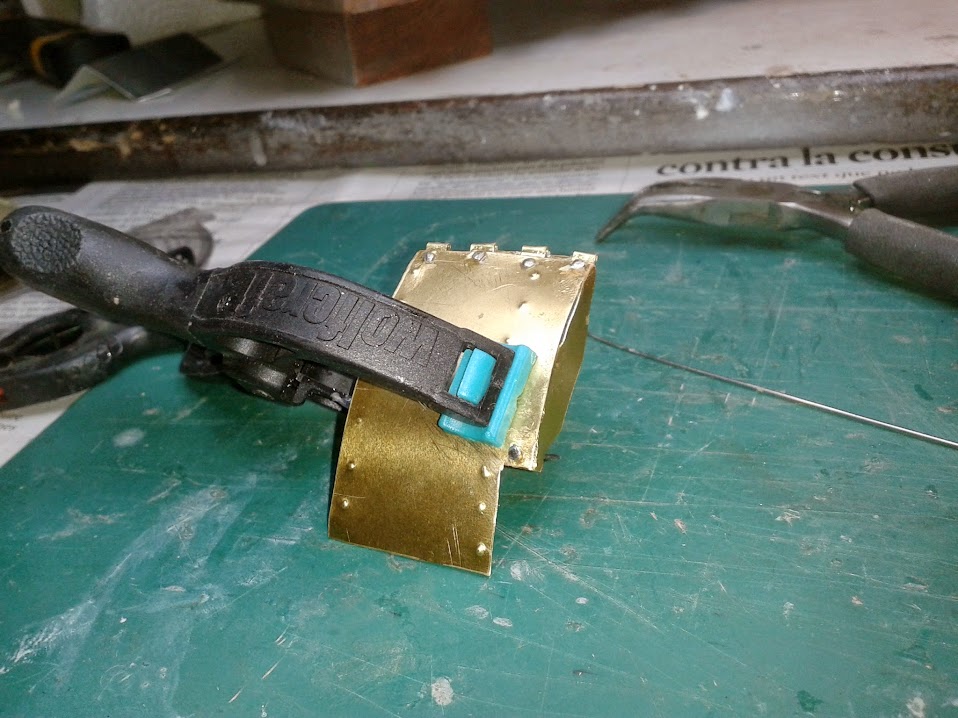
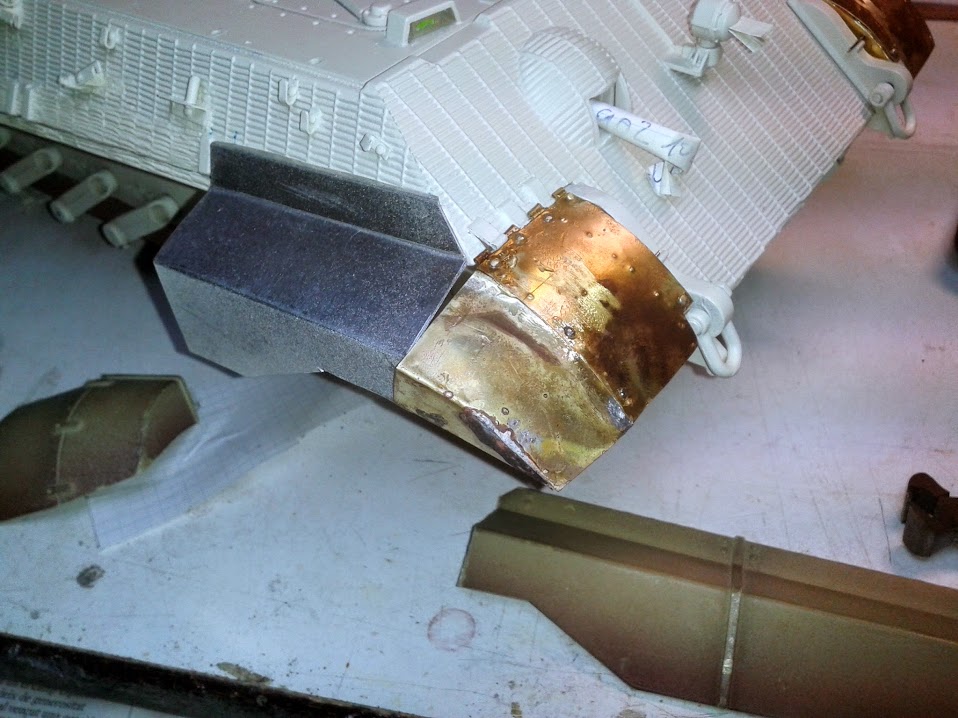
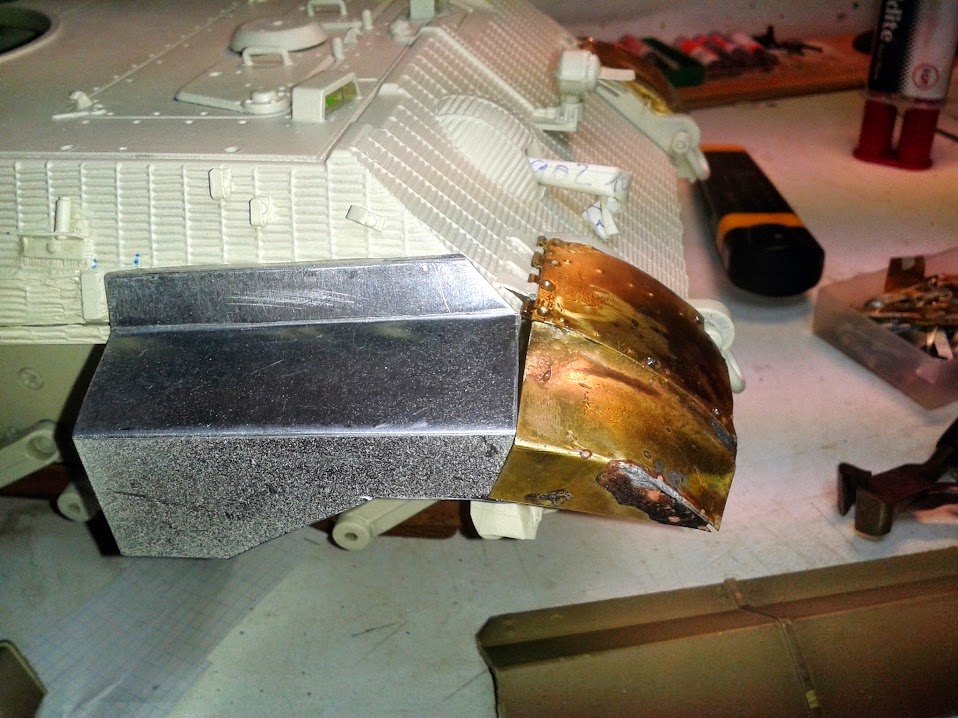
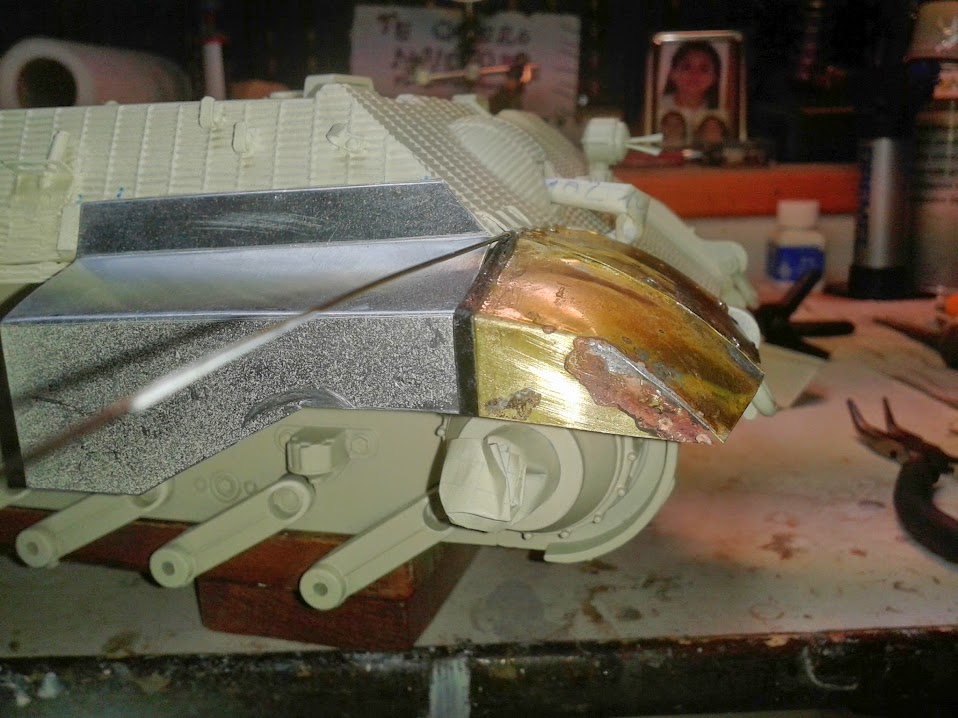
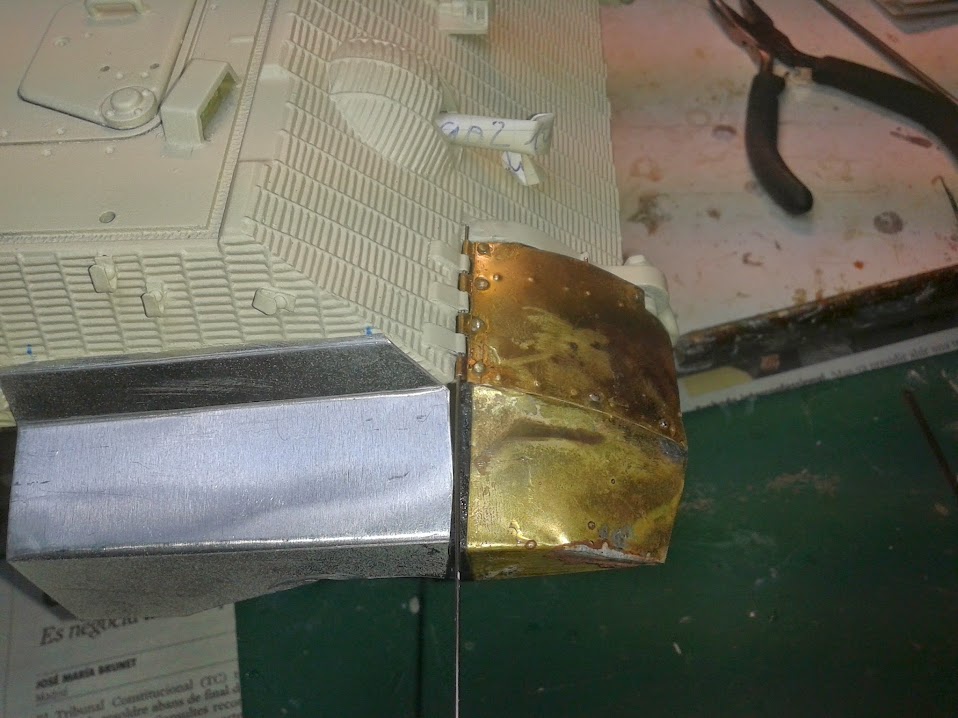
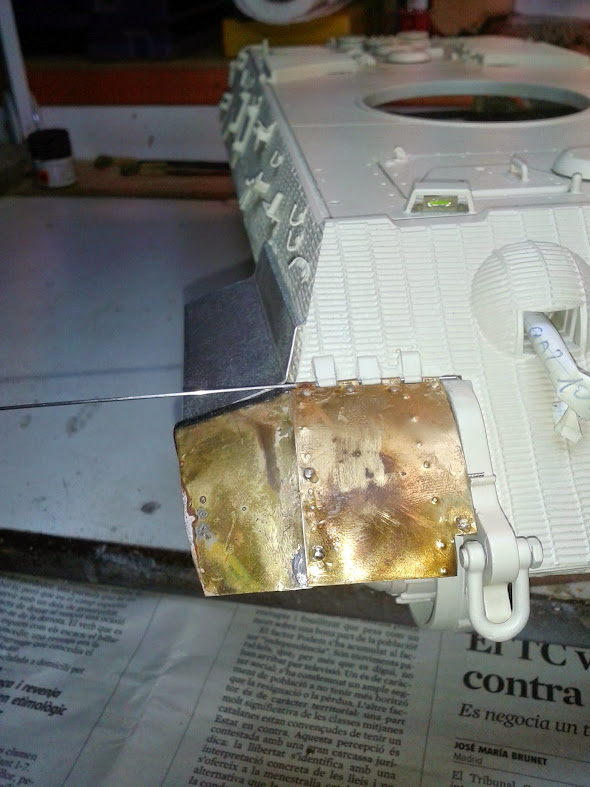
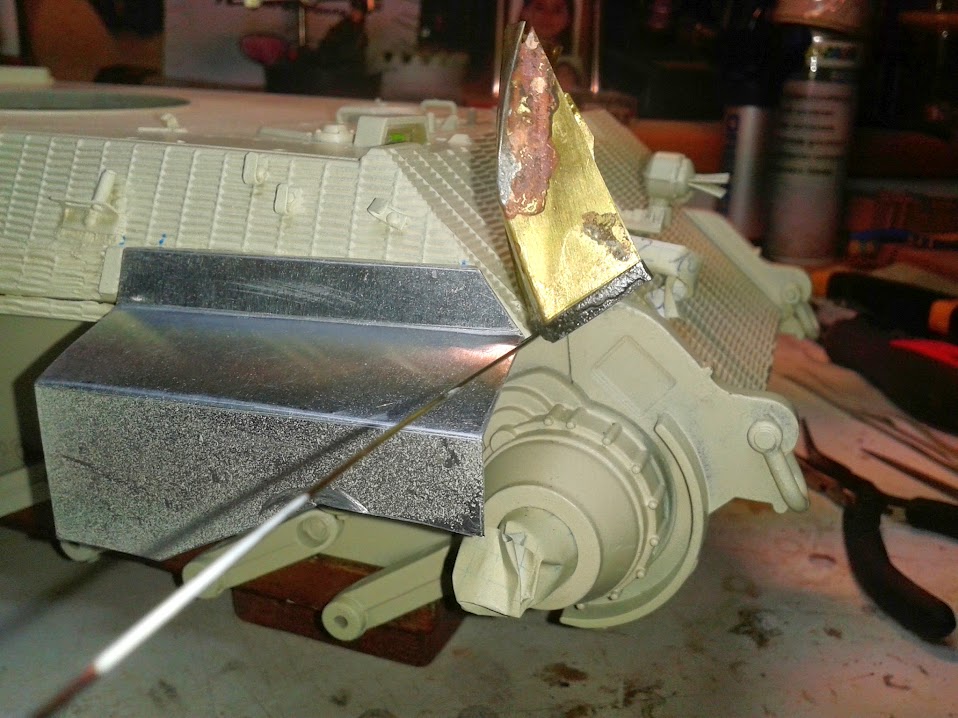
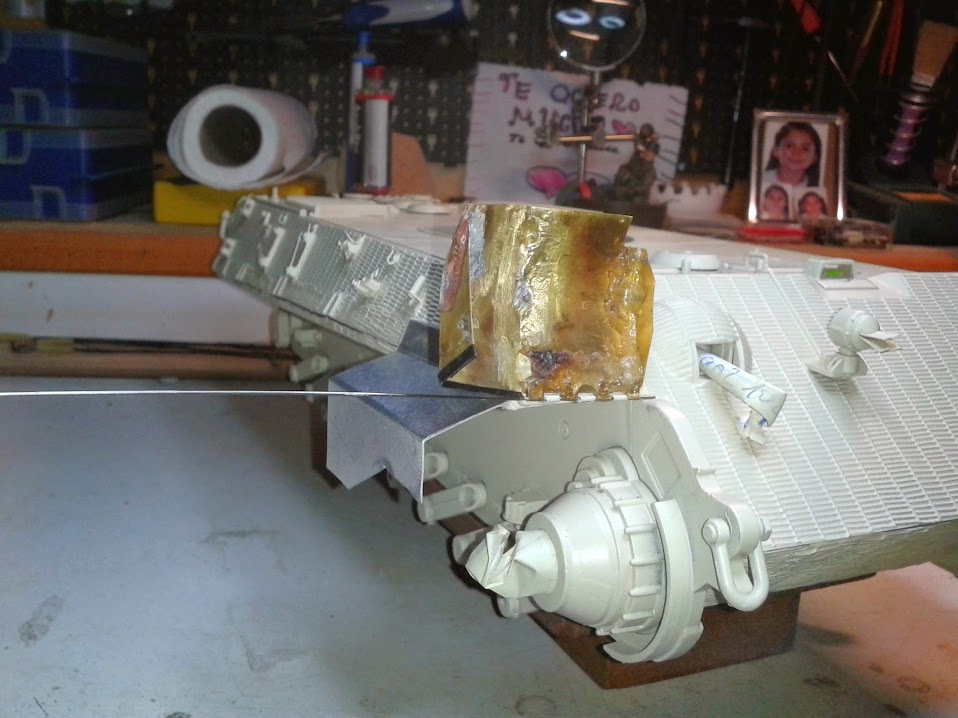
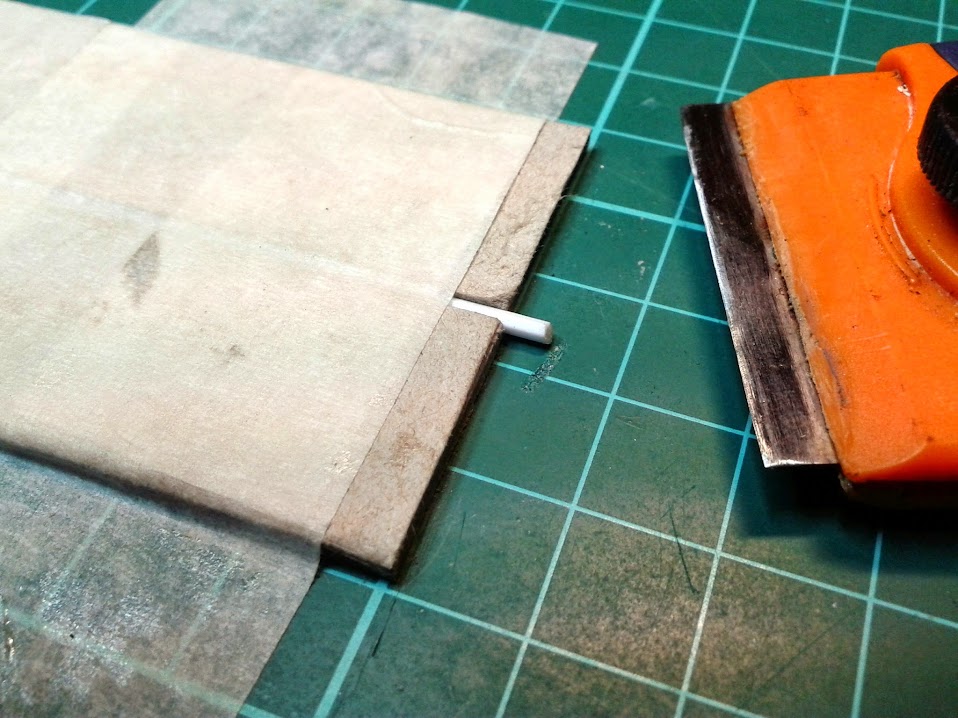
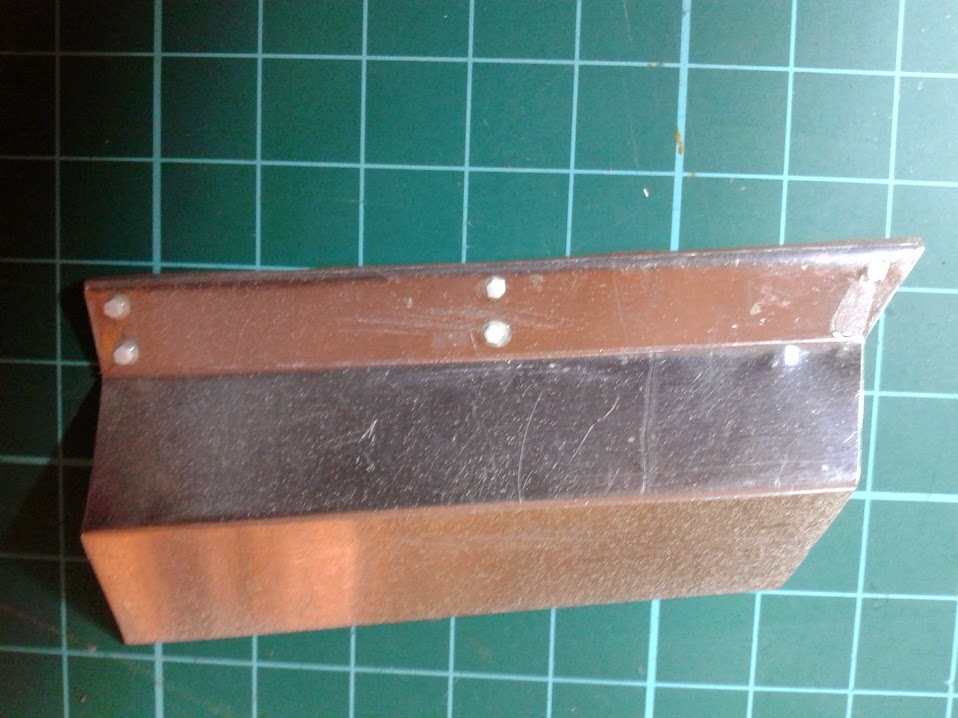
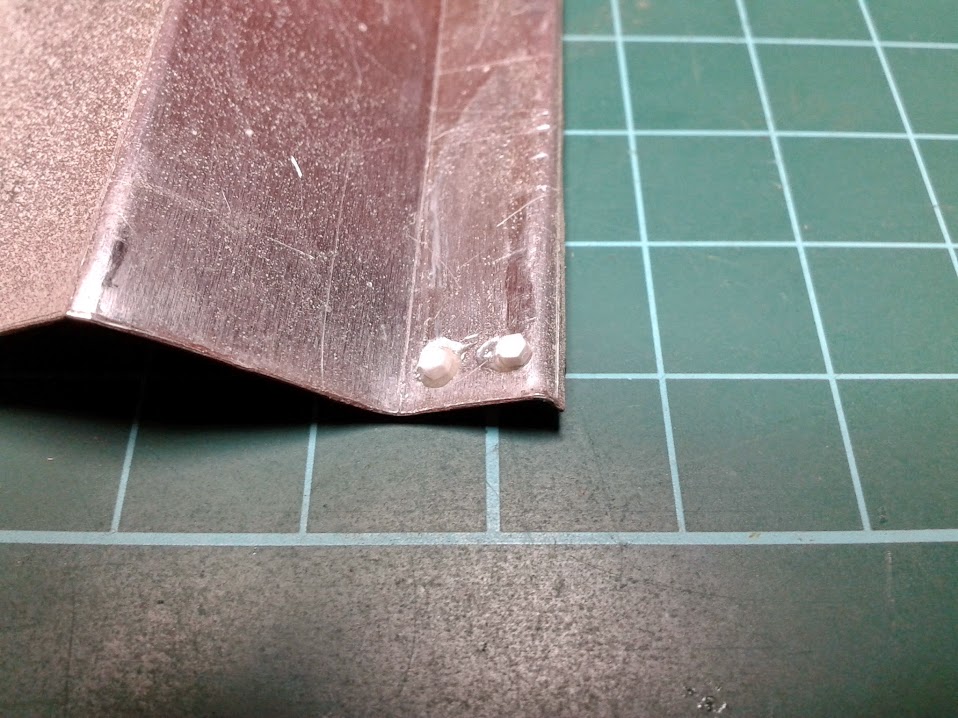
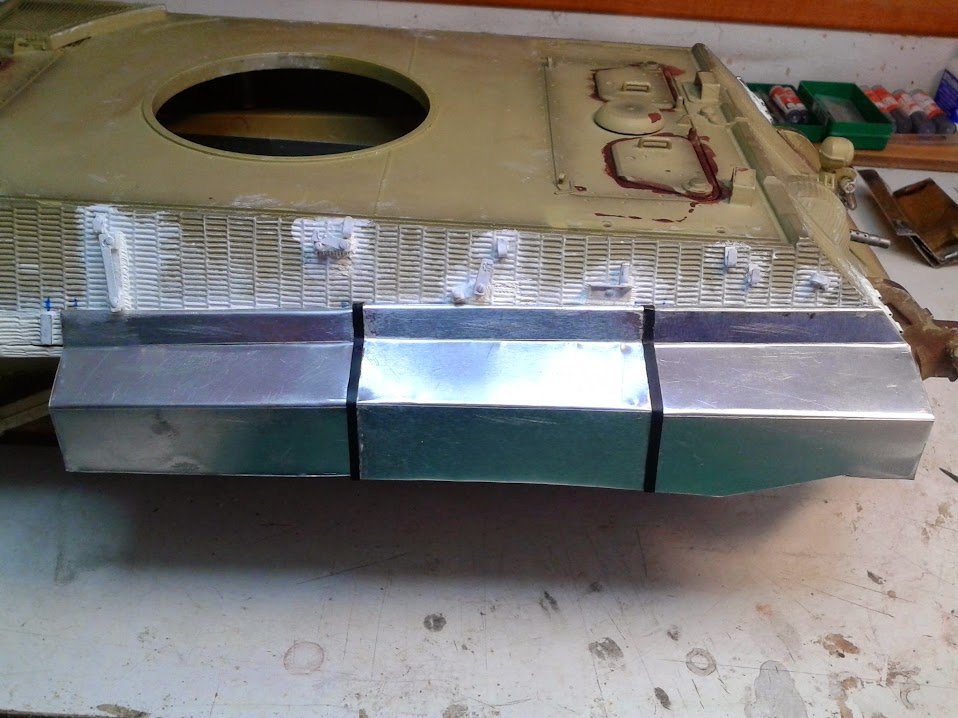
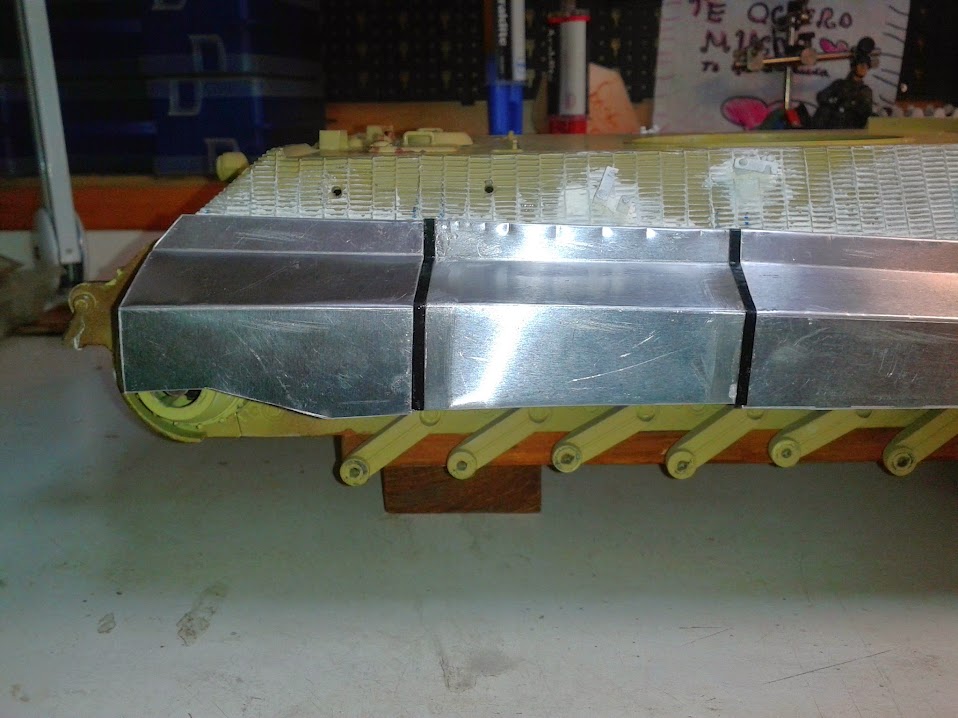
then i printed the fenders, cut them one by one with a rule and a cutter, and this 'mould' i put it over a sheet of 0.5mm aluminium, marking the contour and also the folds, then i put the piece in this tool to do the folding (sorry, i do not know how to name it in English)

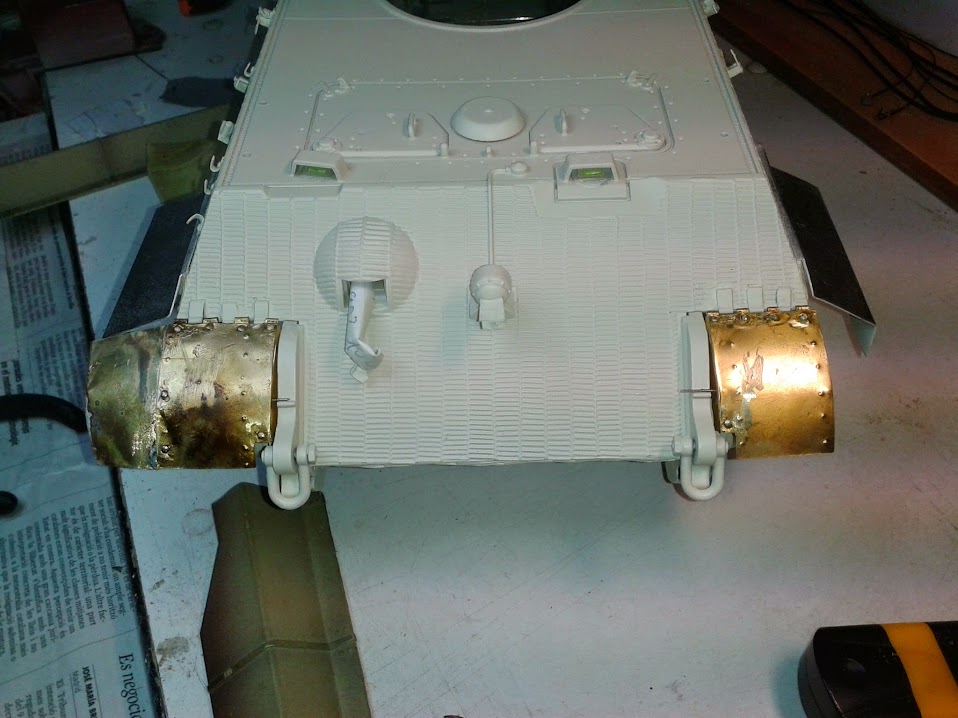
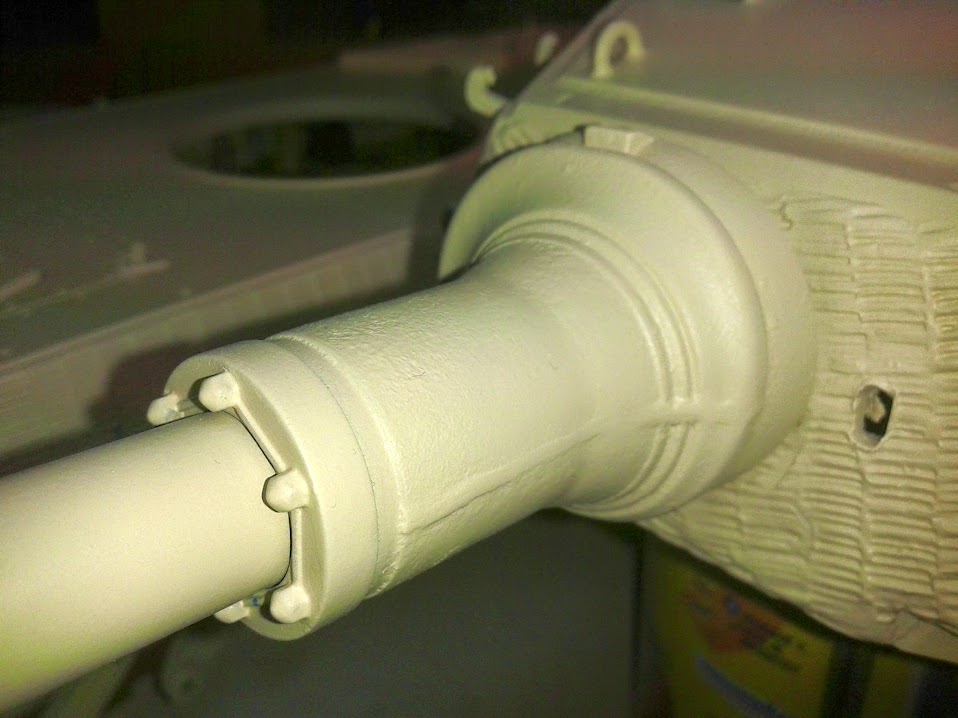
it's not so nice like the aber ones, but are a lot cheaper
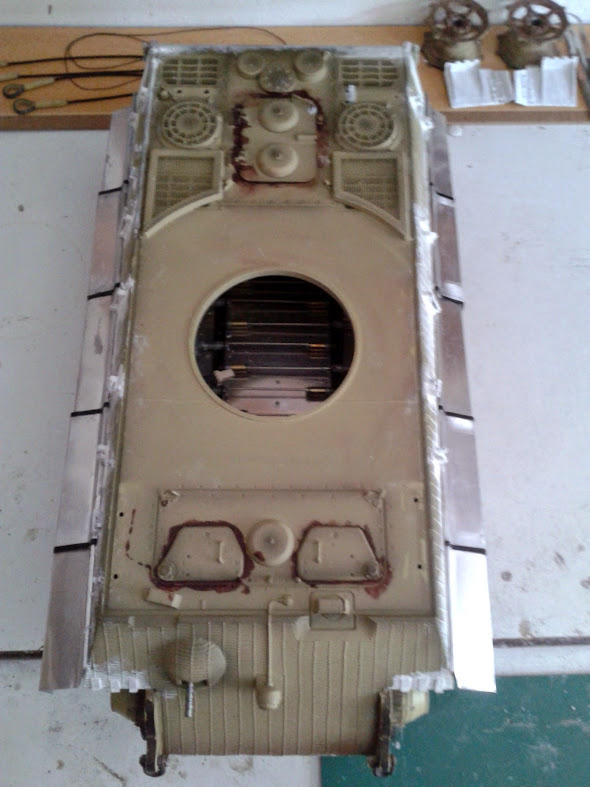
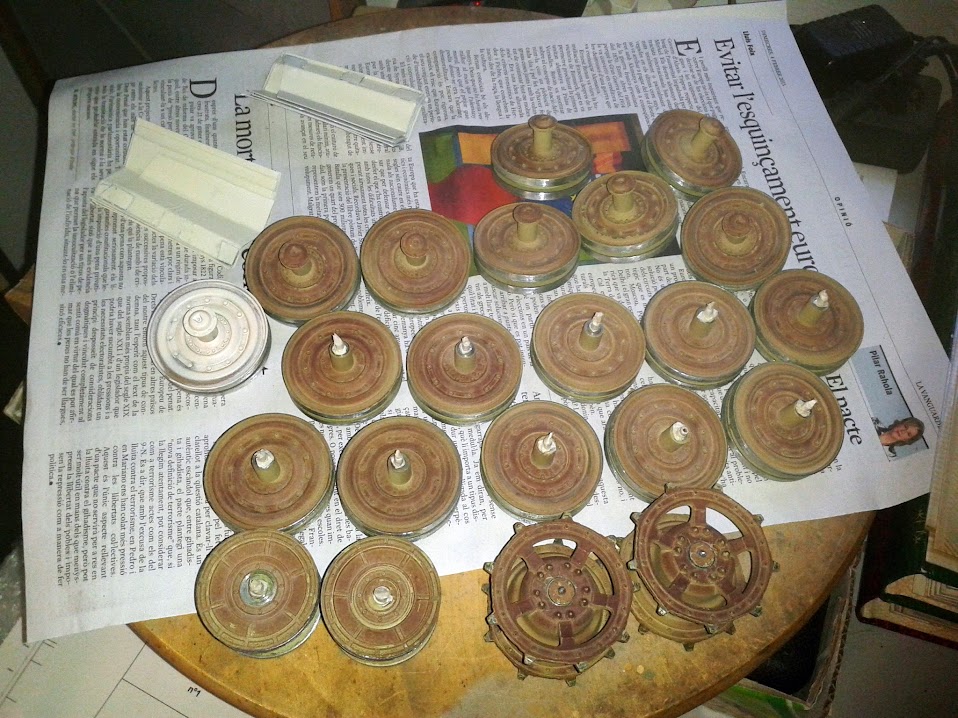
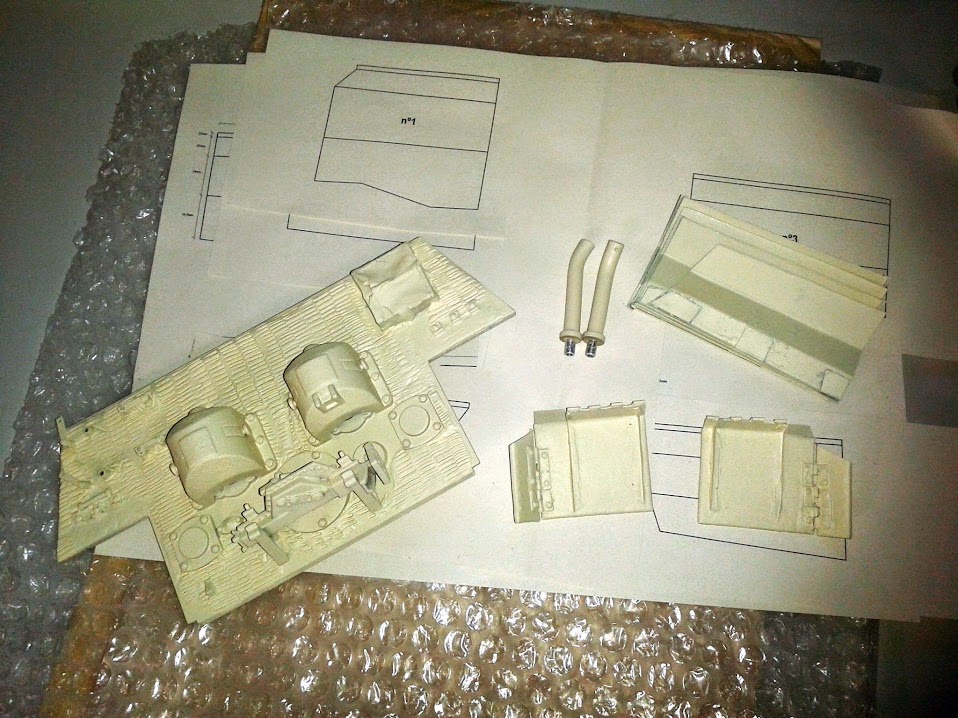
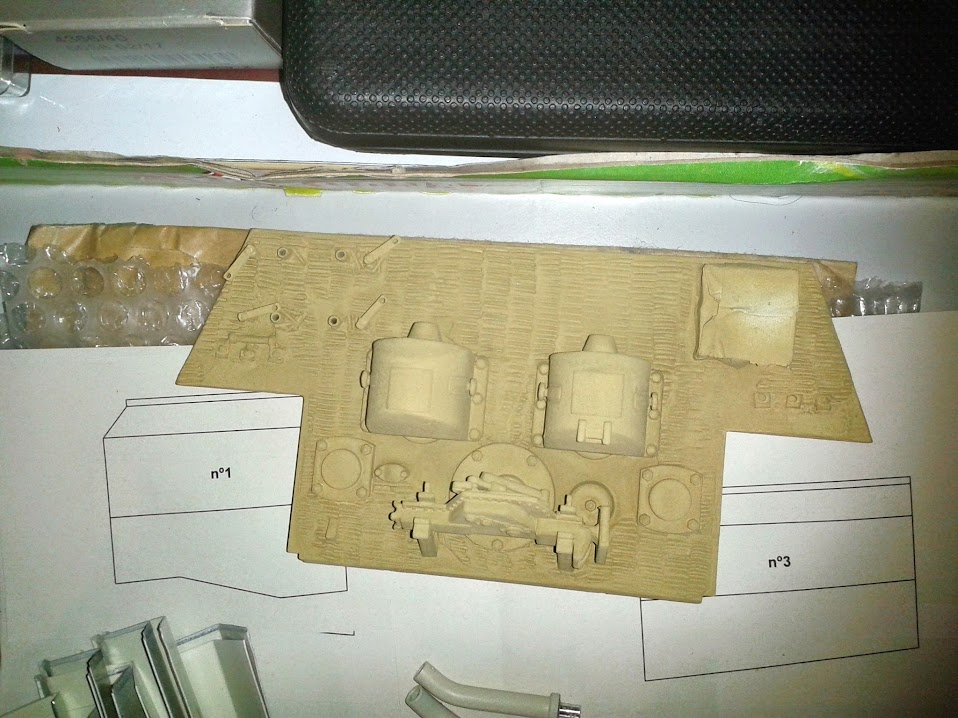
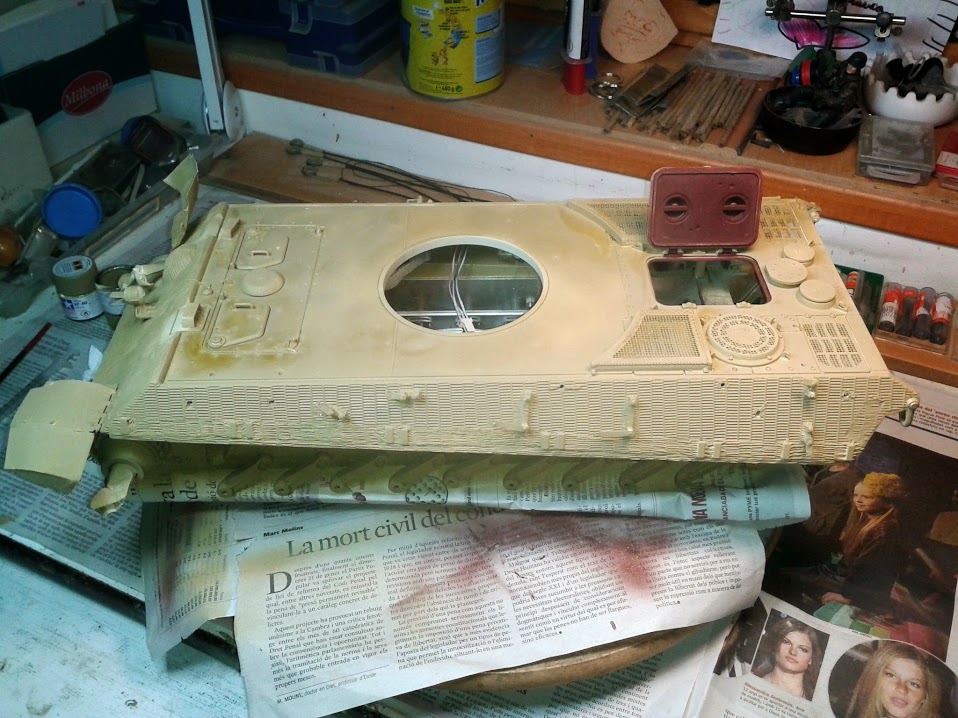
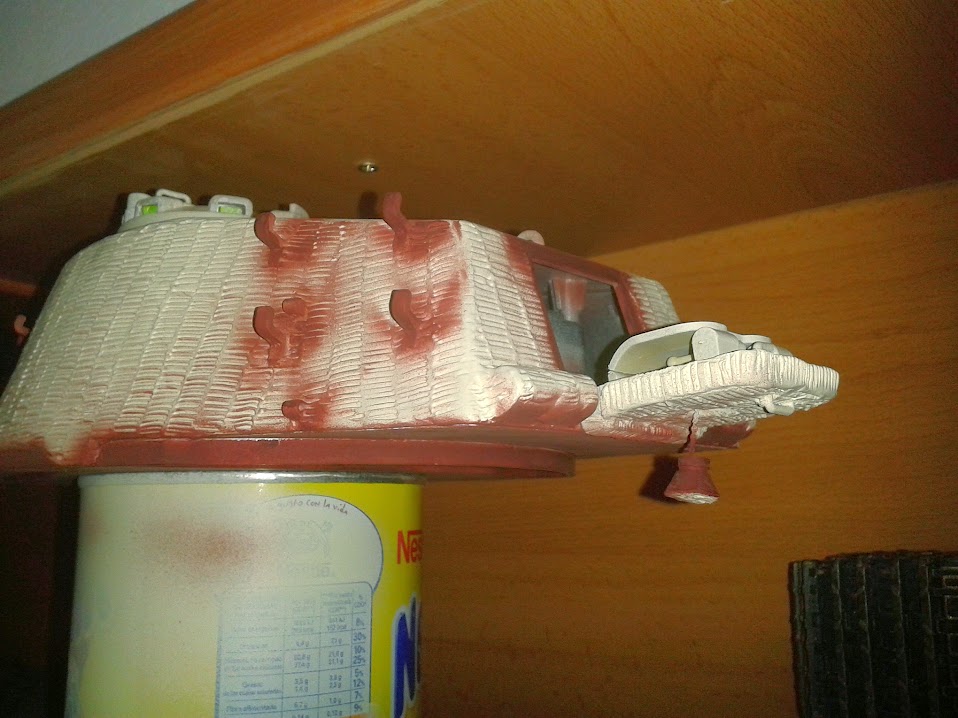
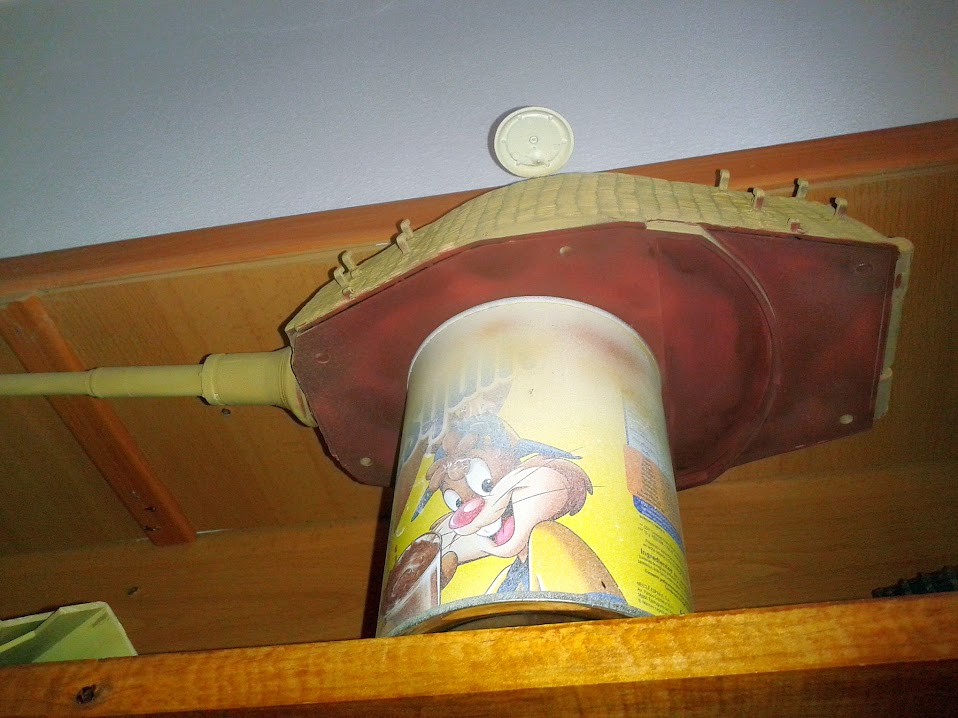
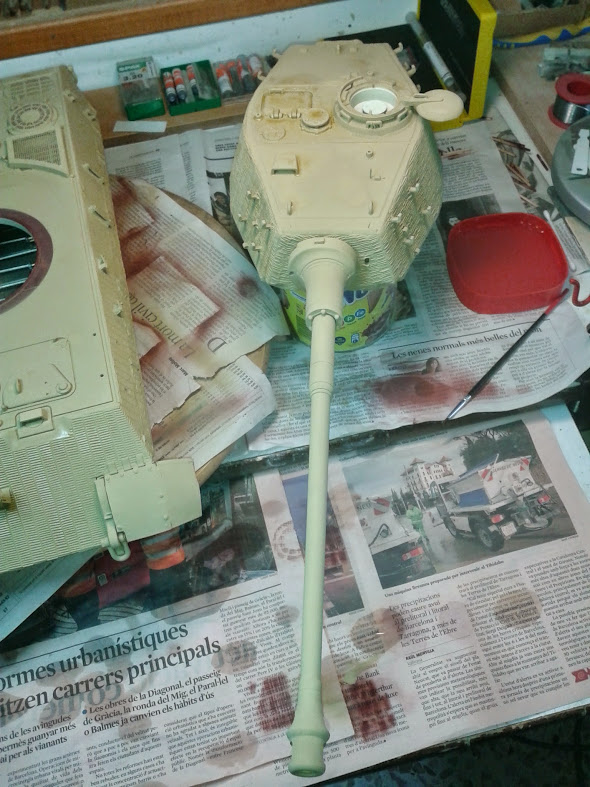
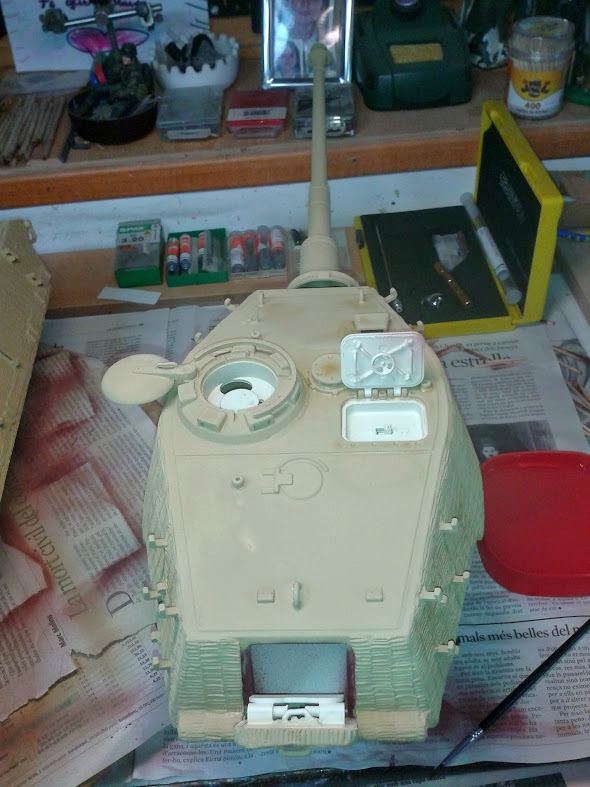
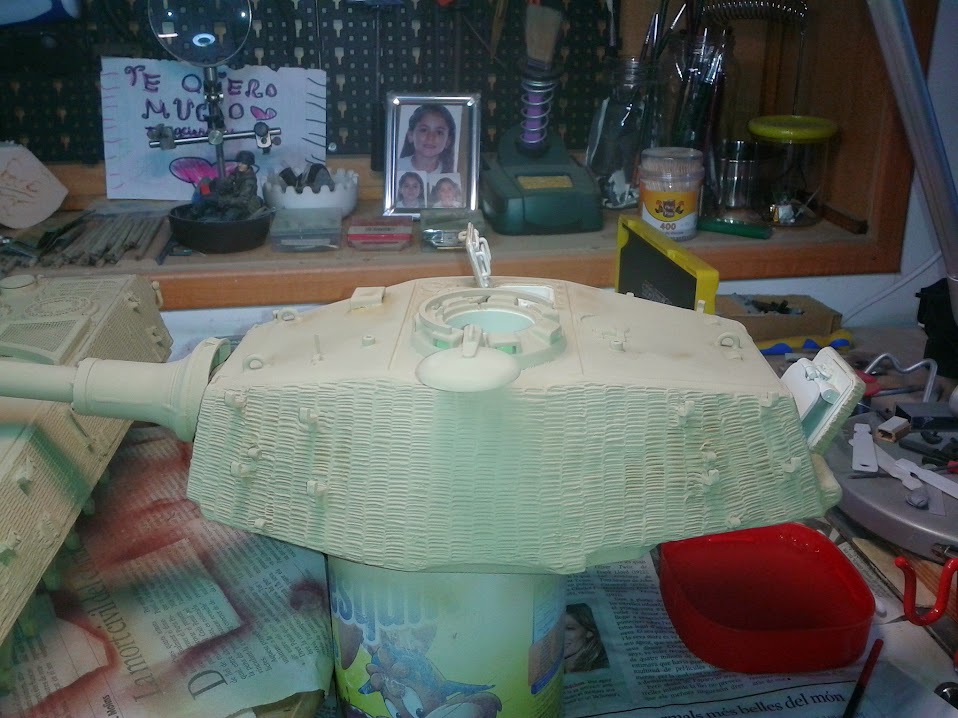
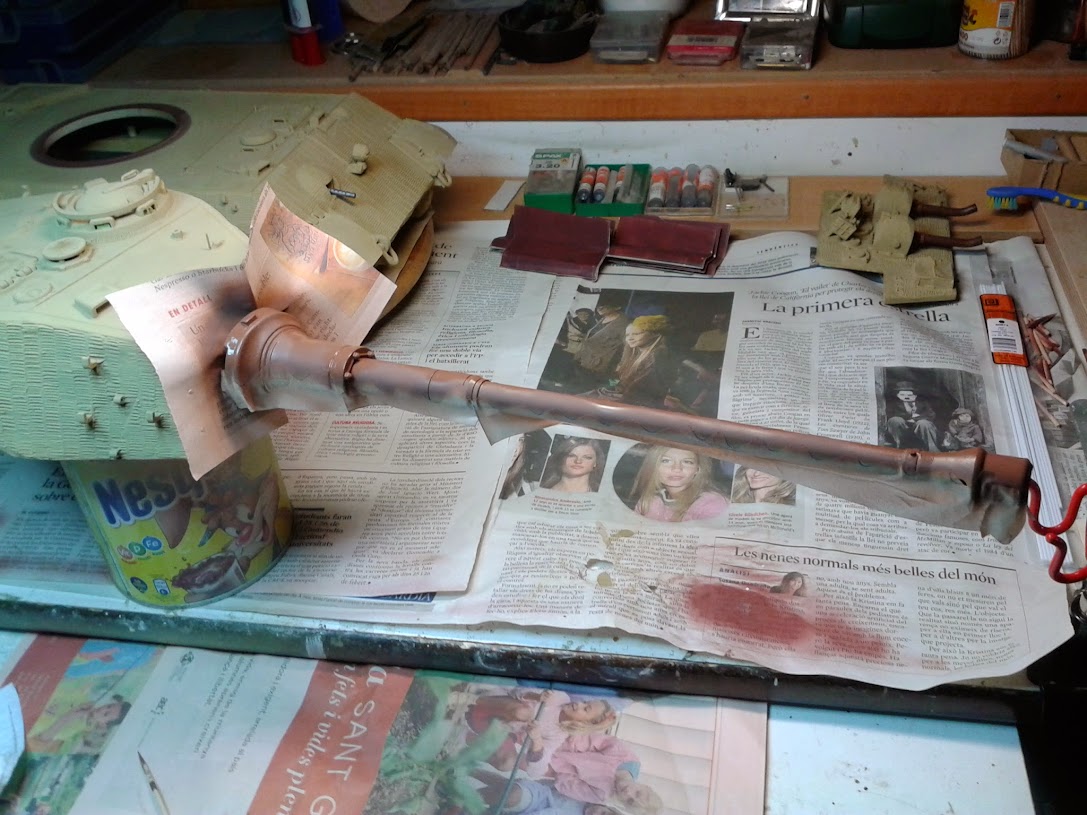
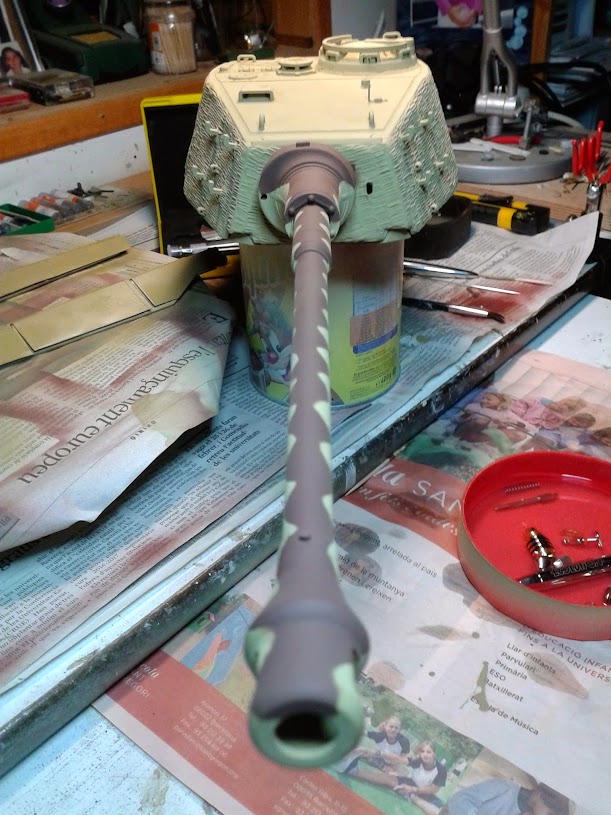
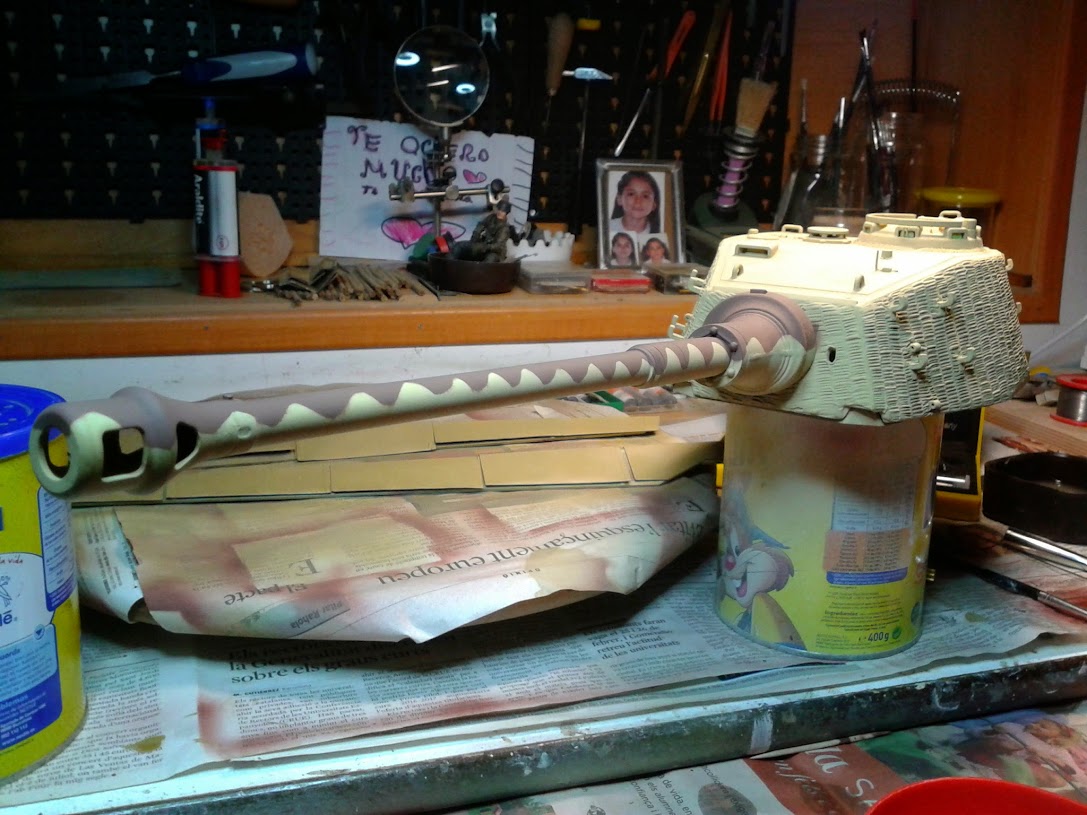
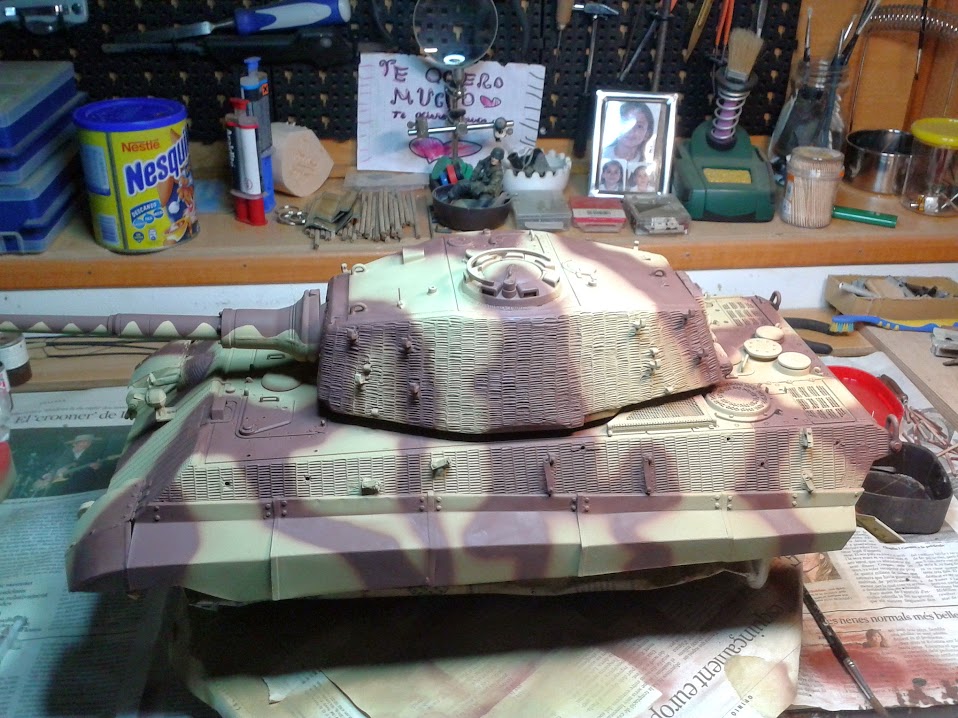
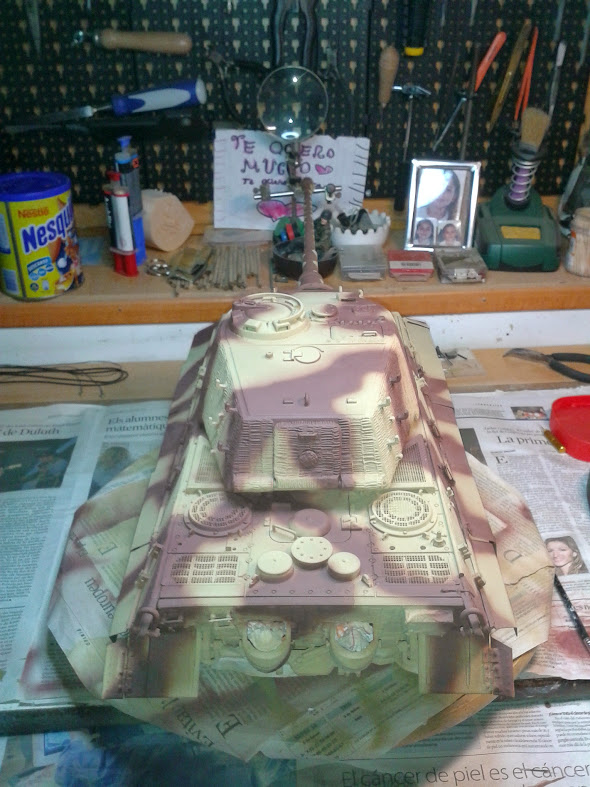
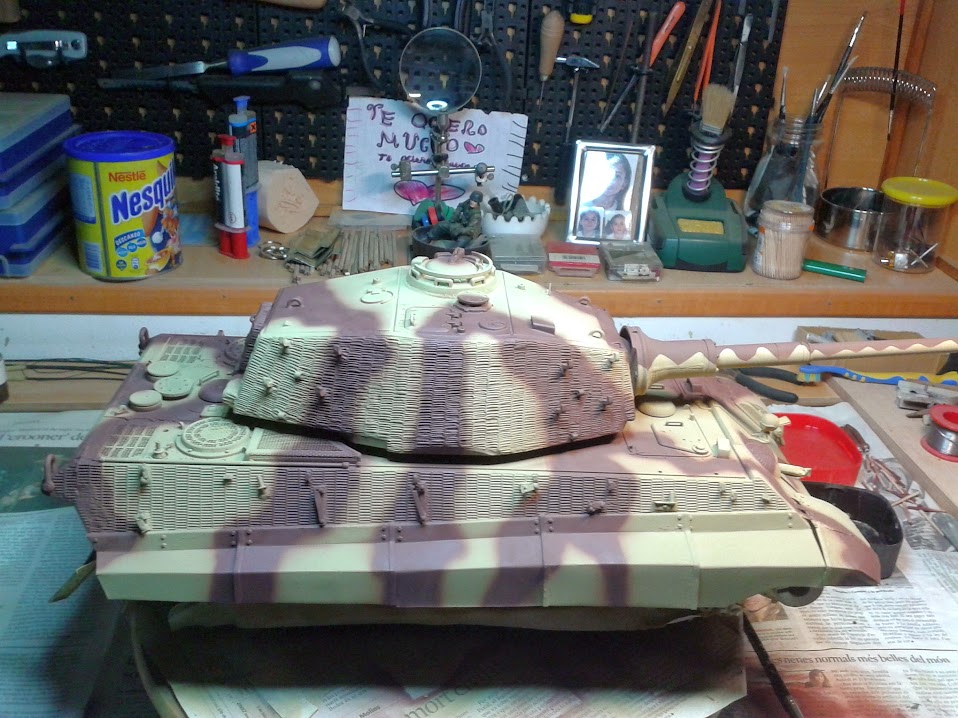
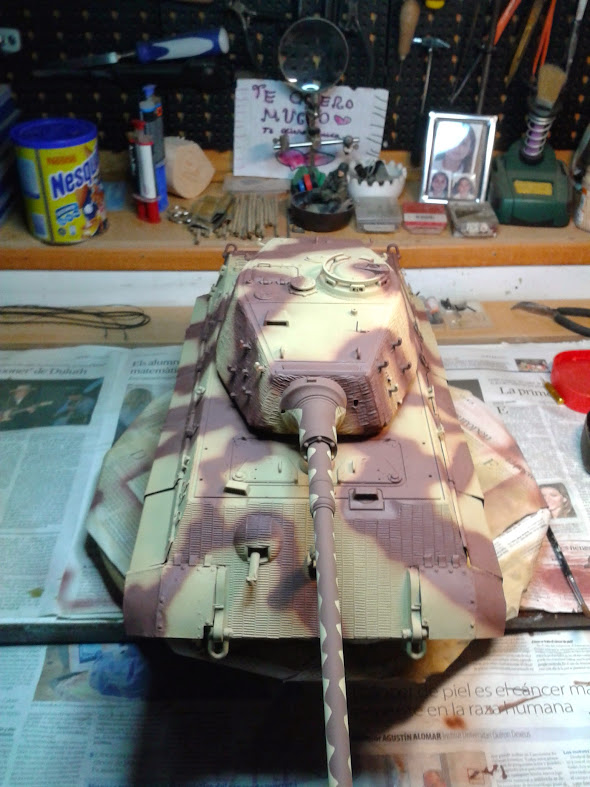
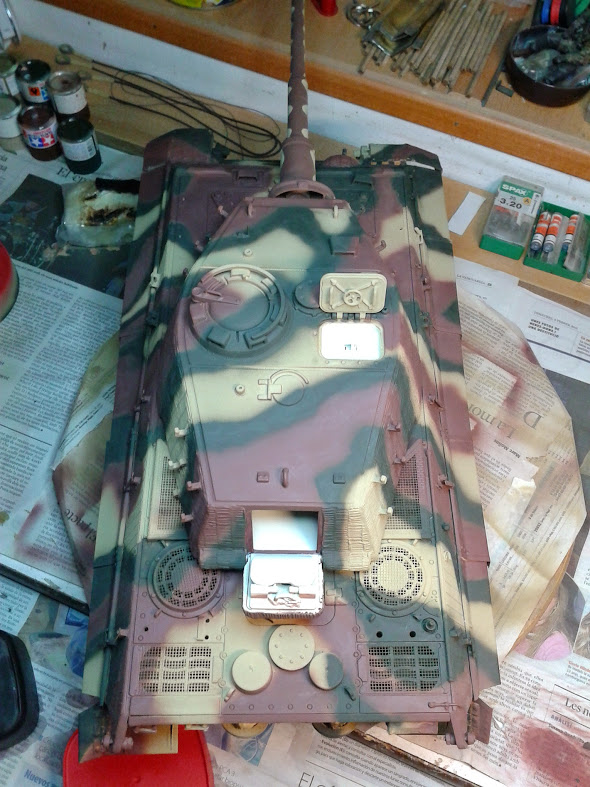
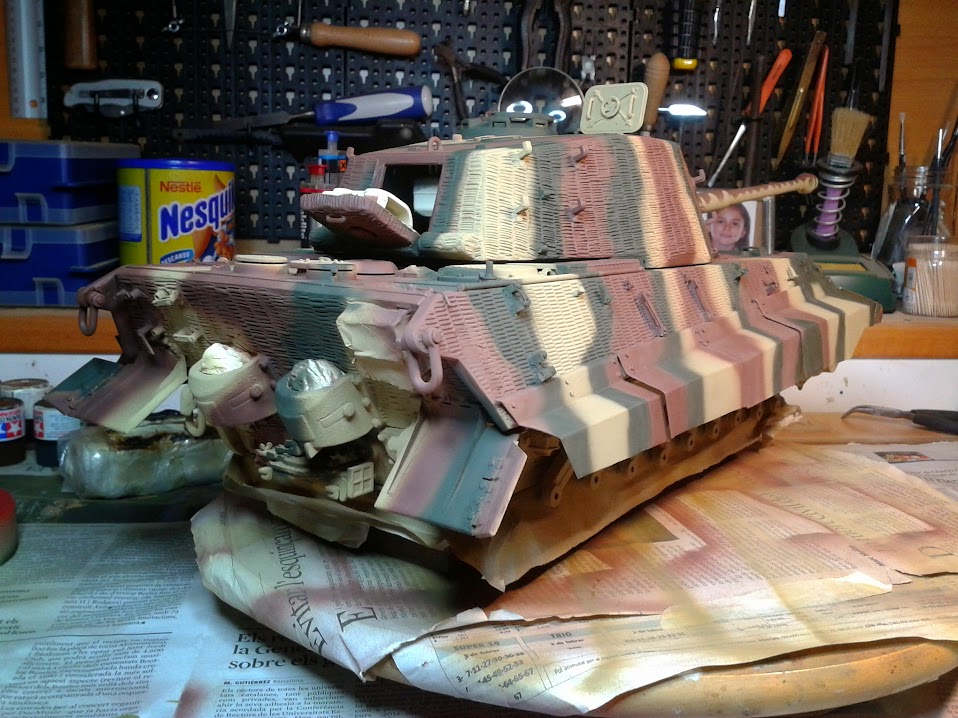
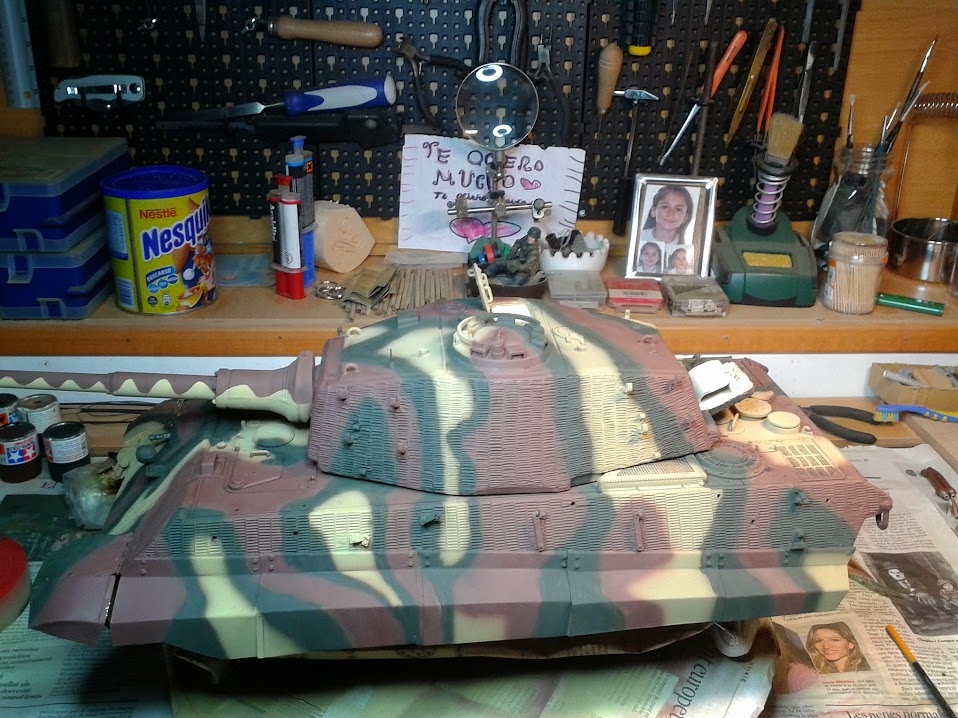
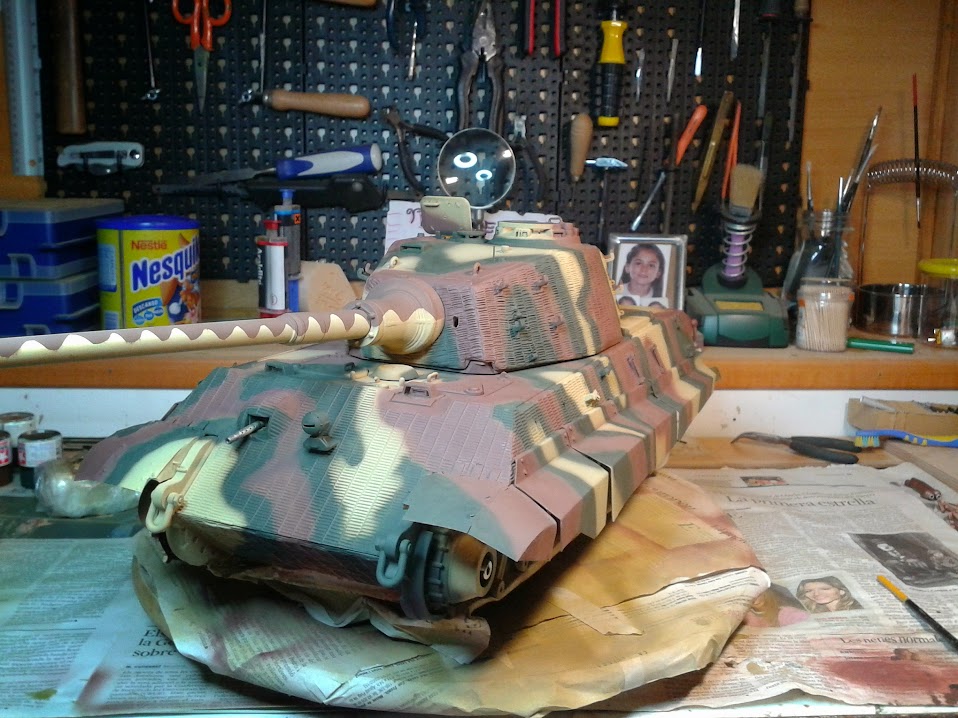
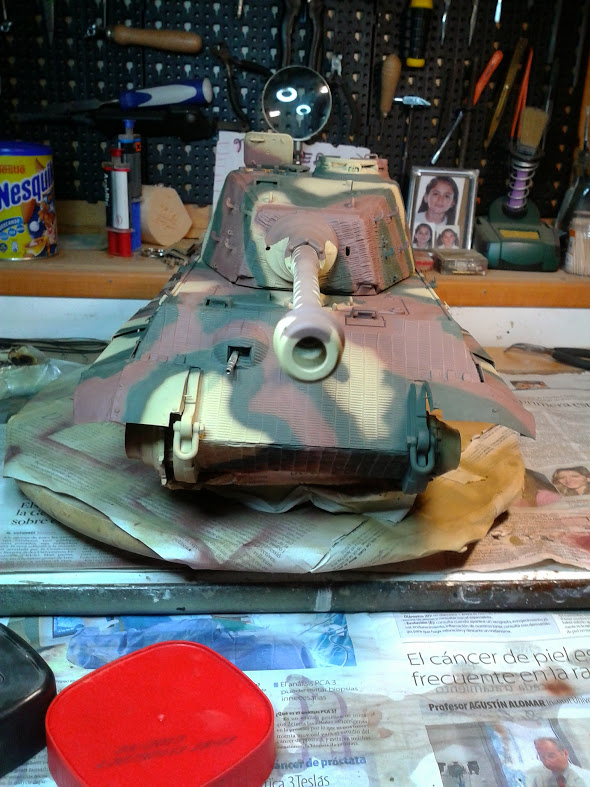
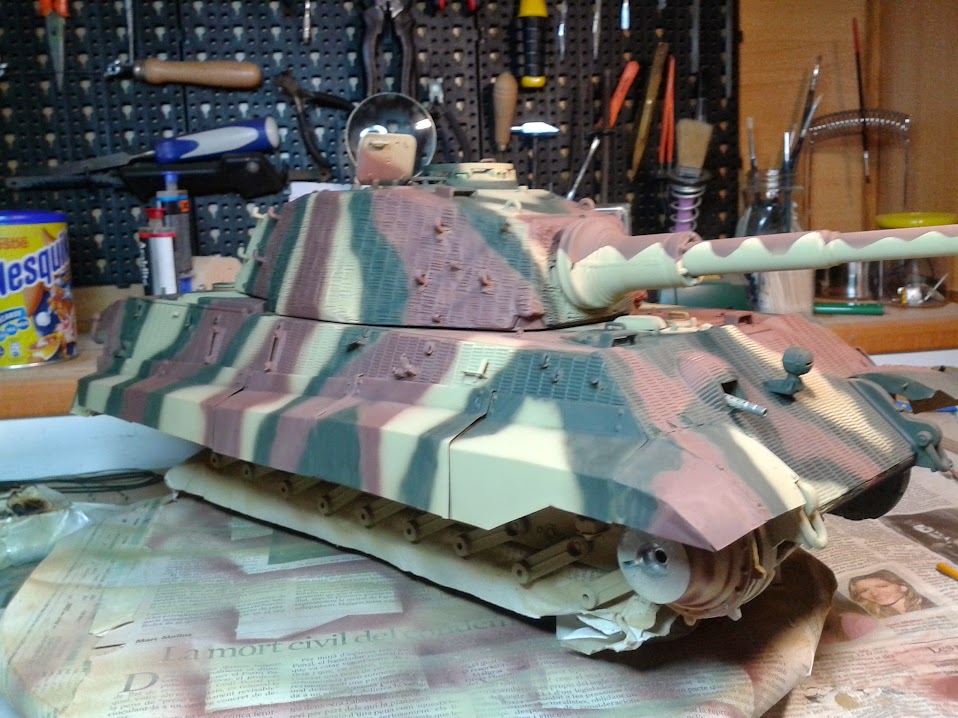
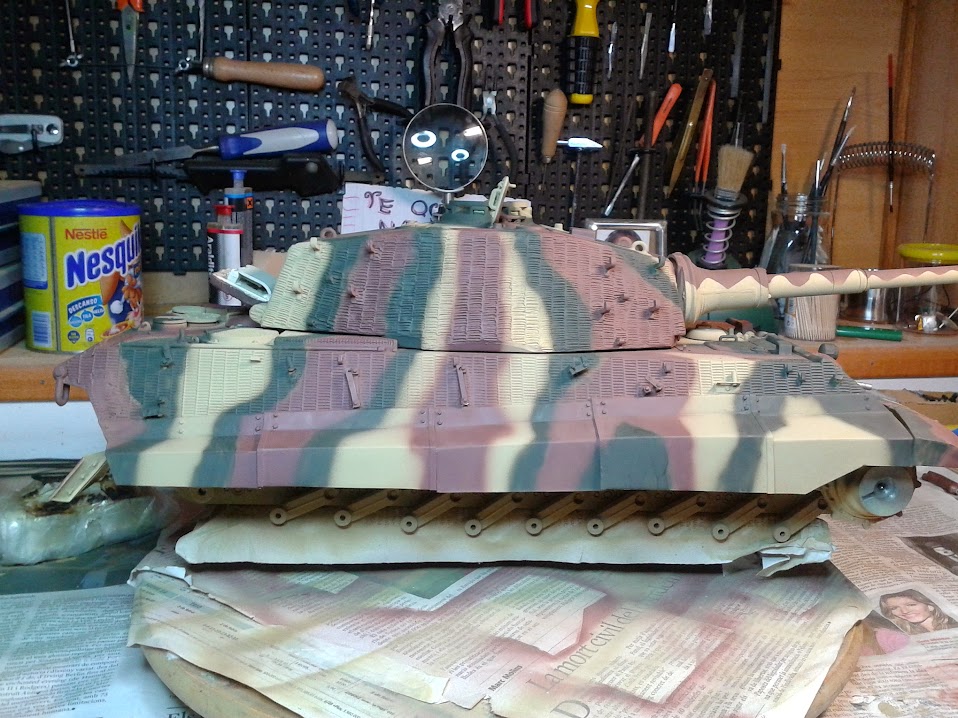
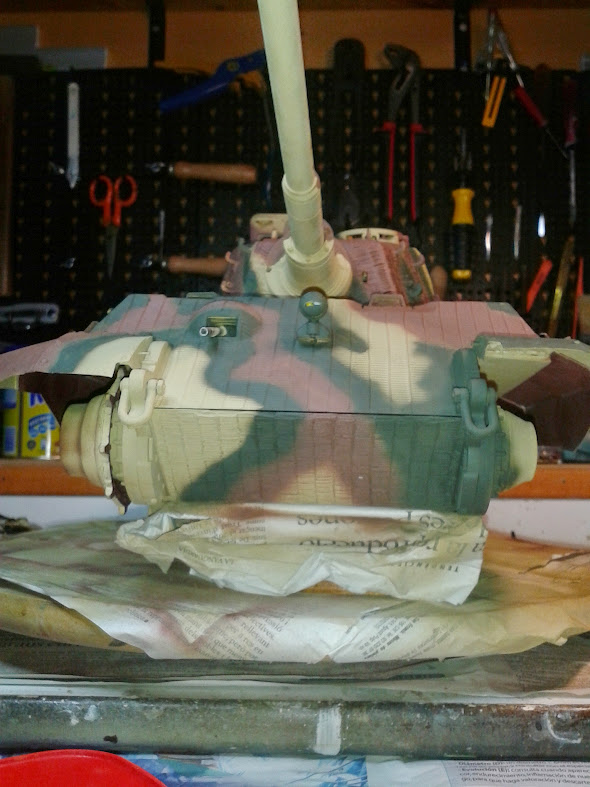
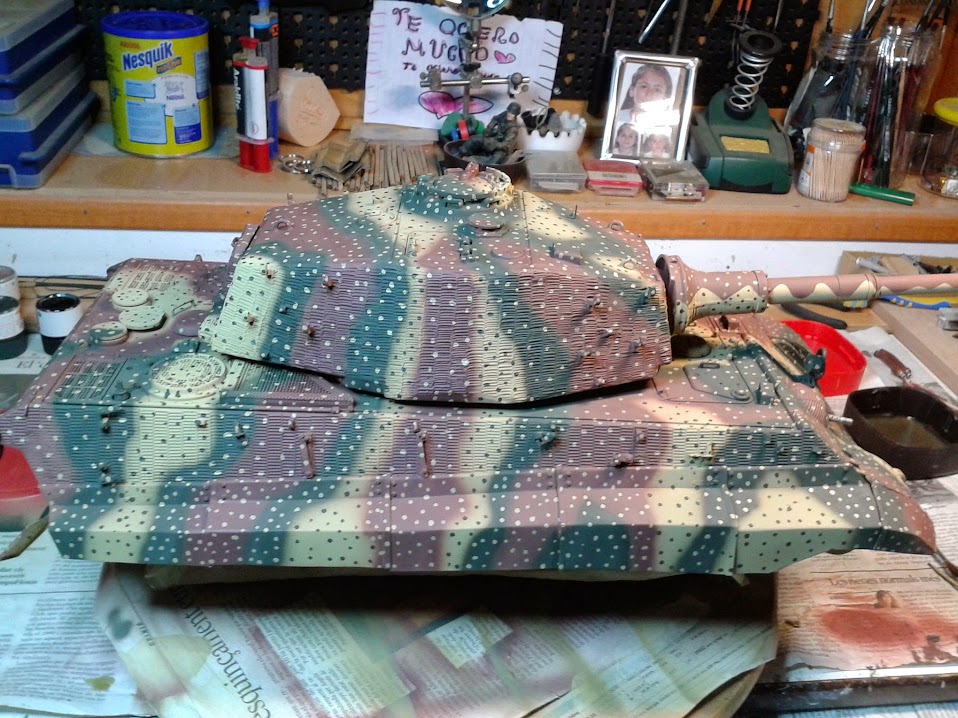
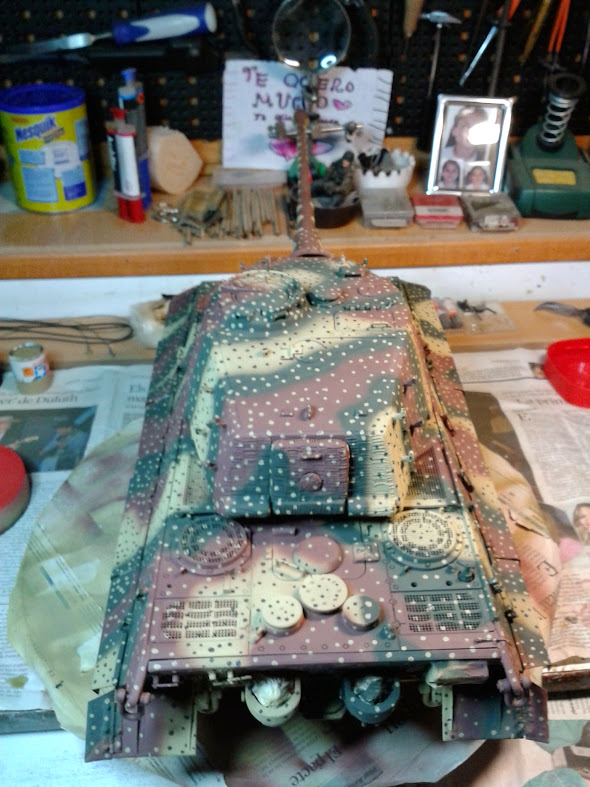
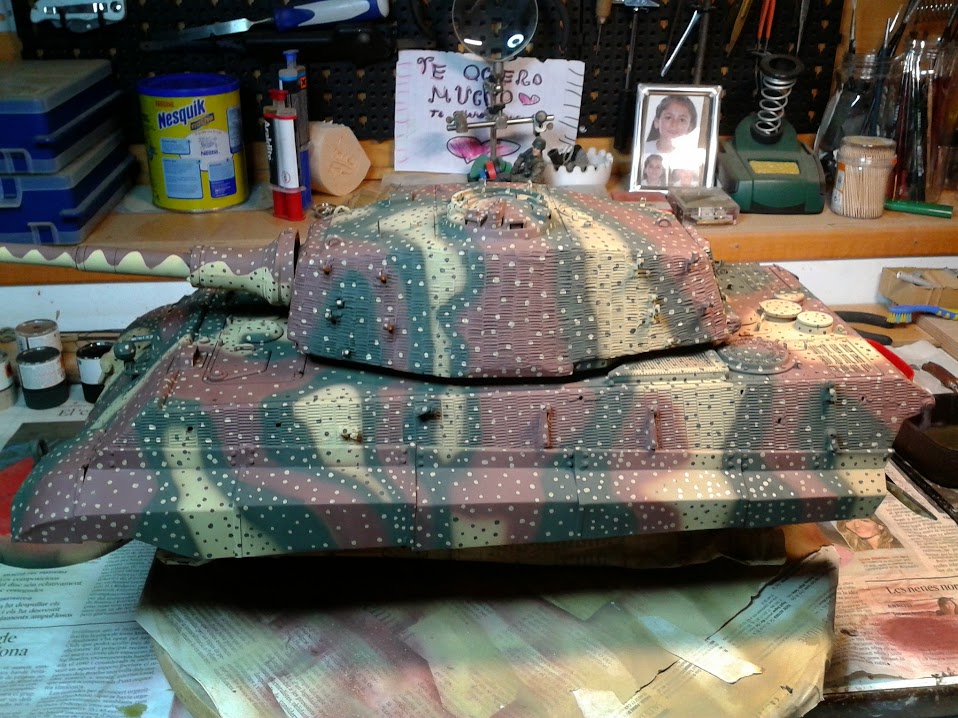
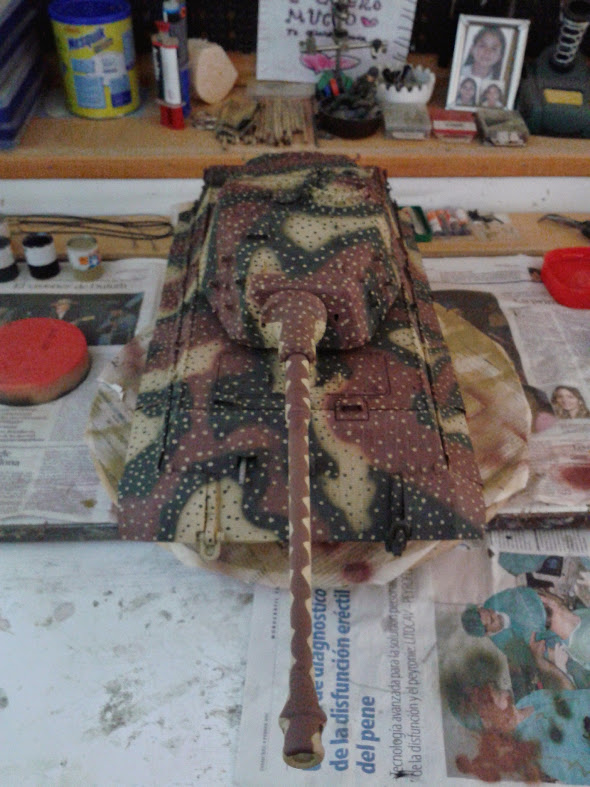
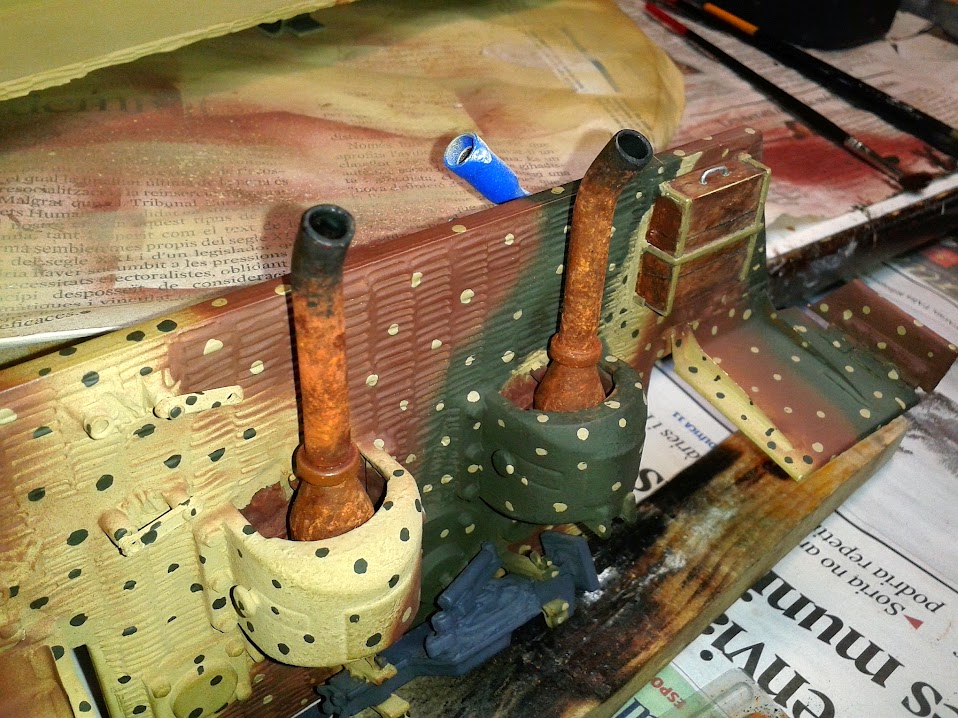
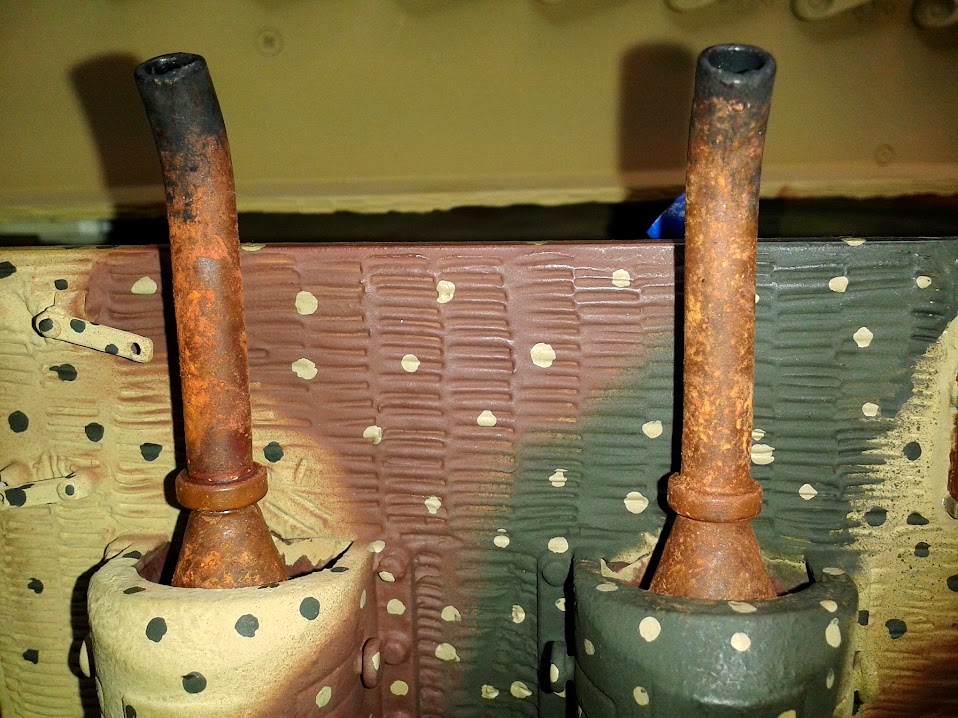
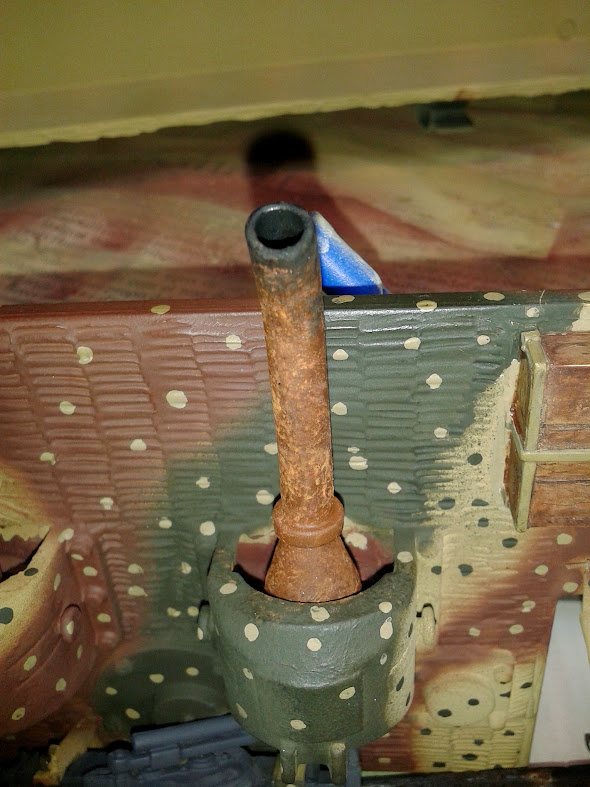
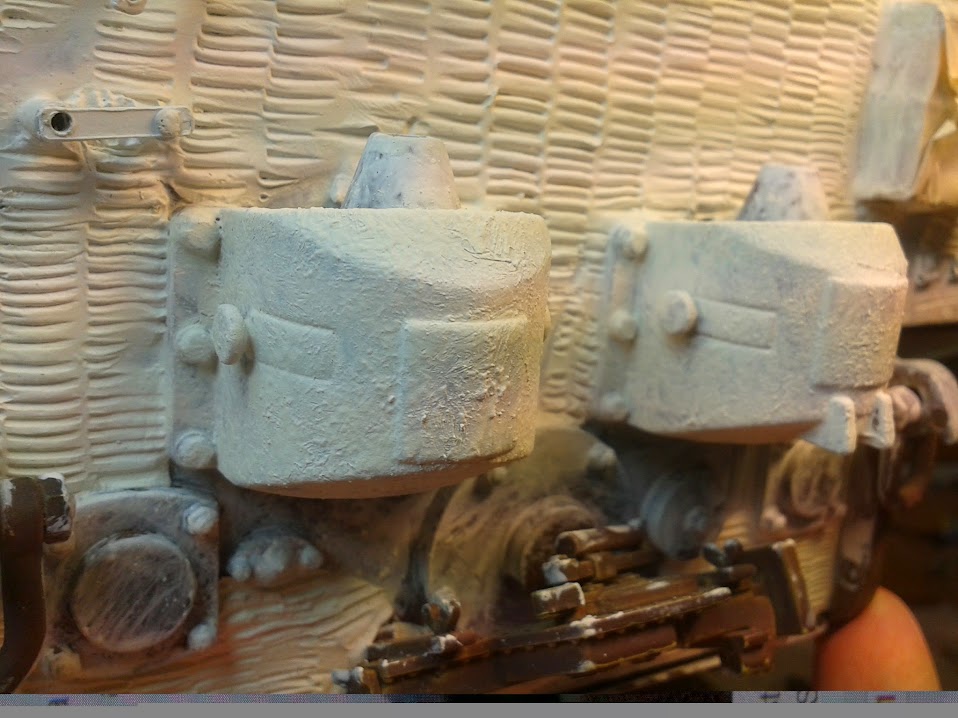
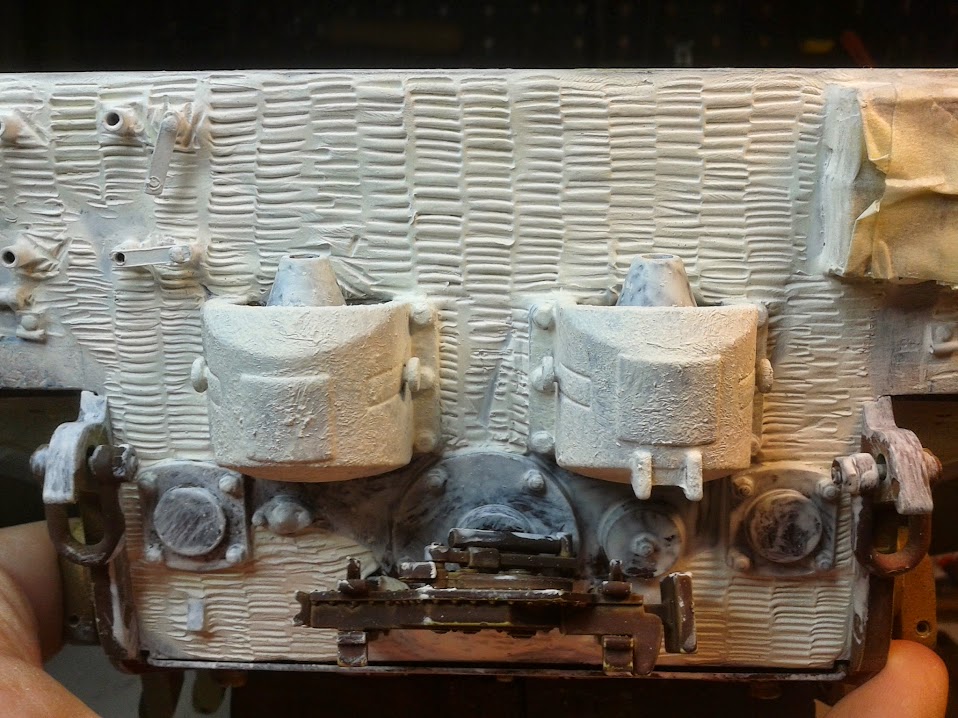
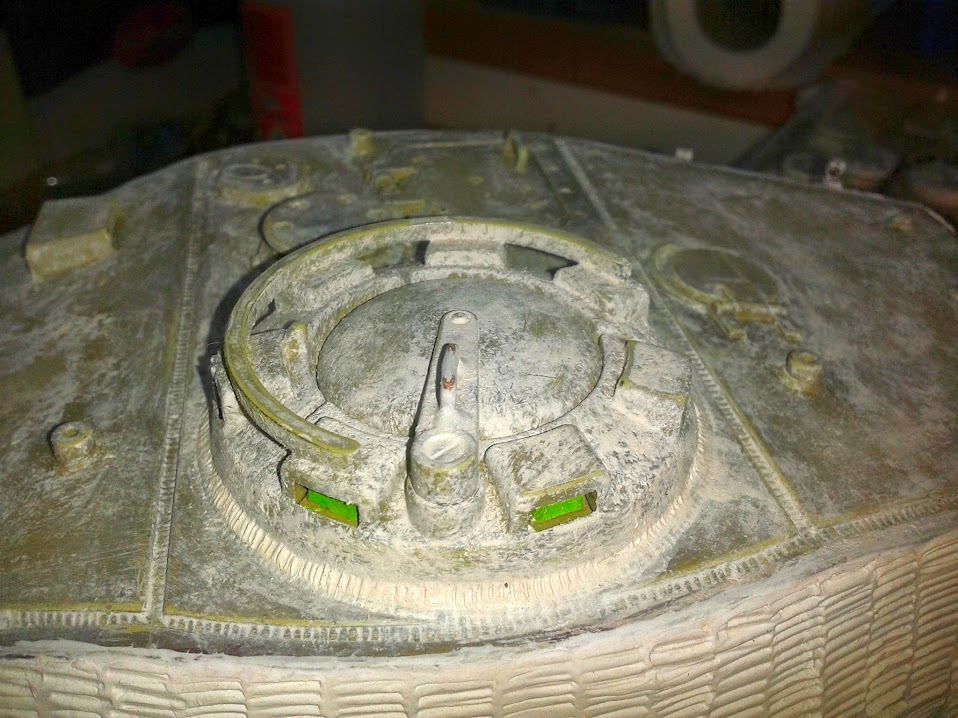
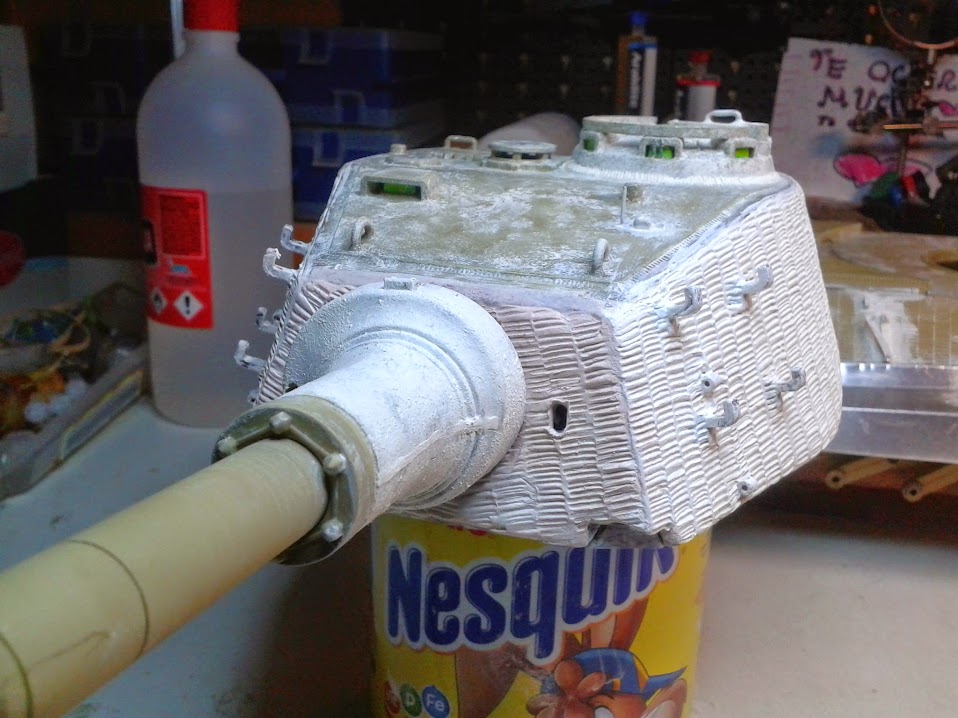
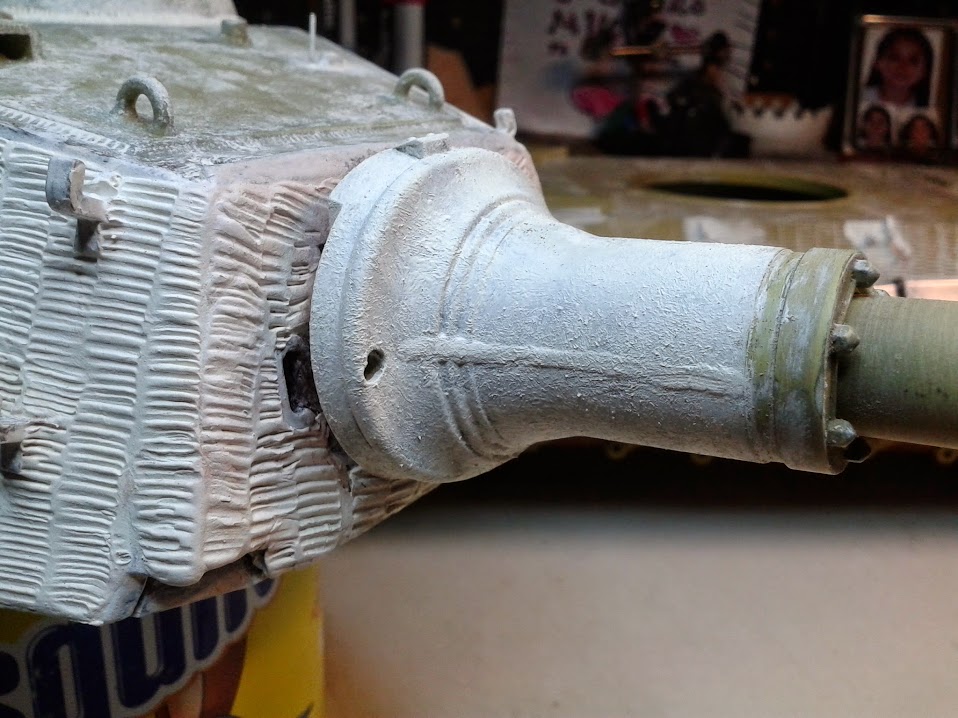
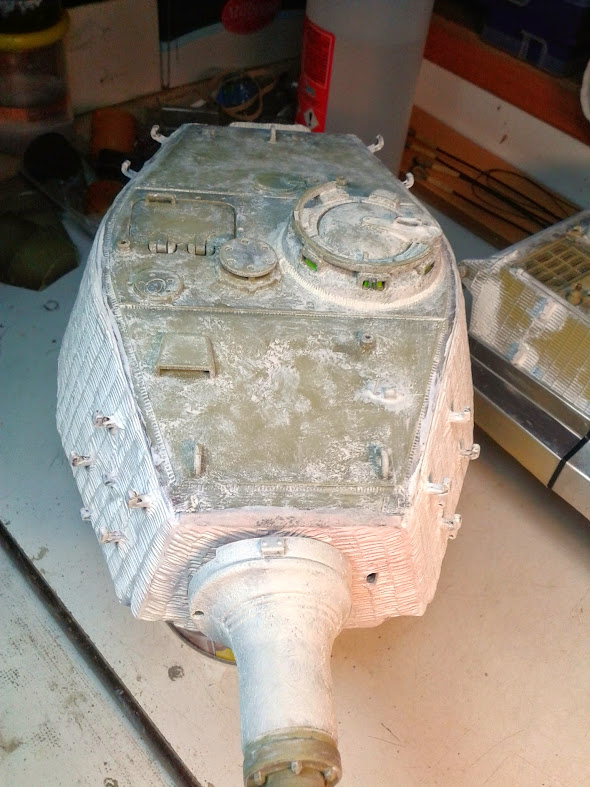
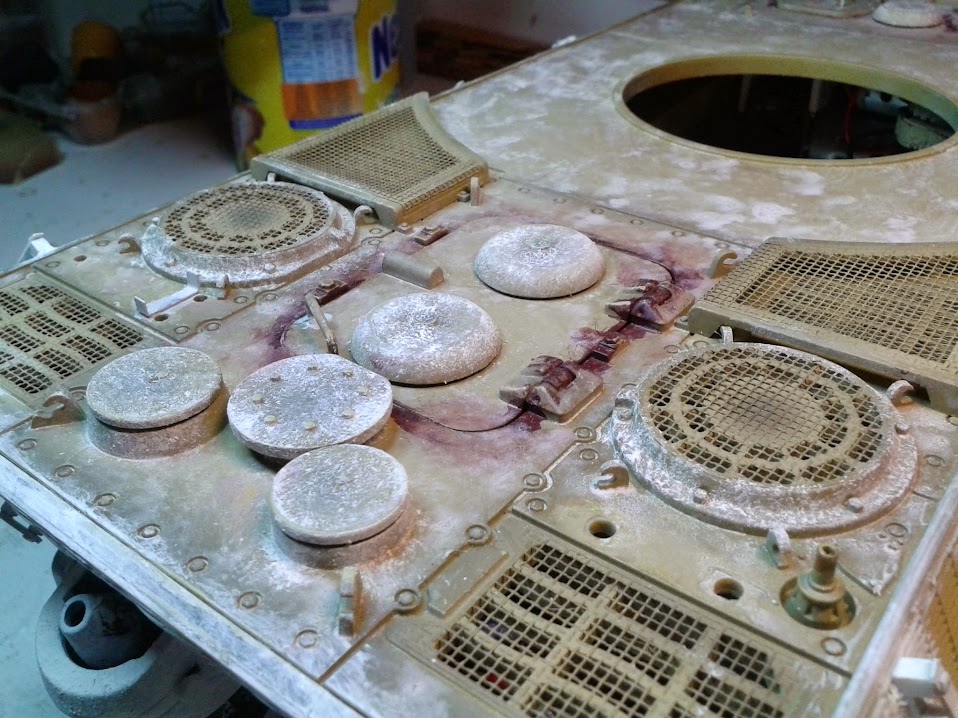
next step, the casting texture on several parts, i did it with milliput diluted in acetone and applied it with an old brush:
best regards